Happy National Quilting day. I love how quilting keeps me in the moment. And it is just creative and a joy to give.
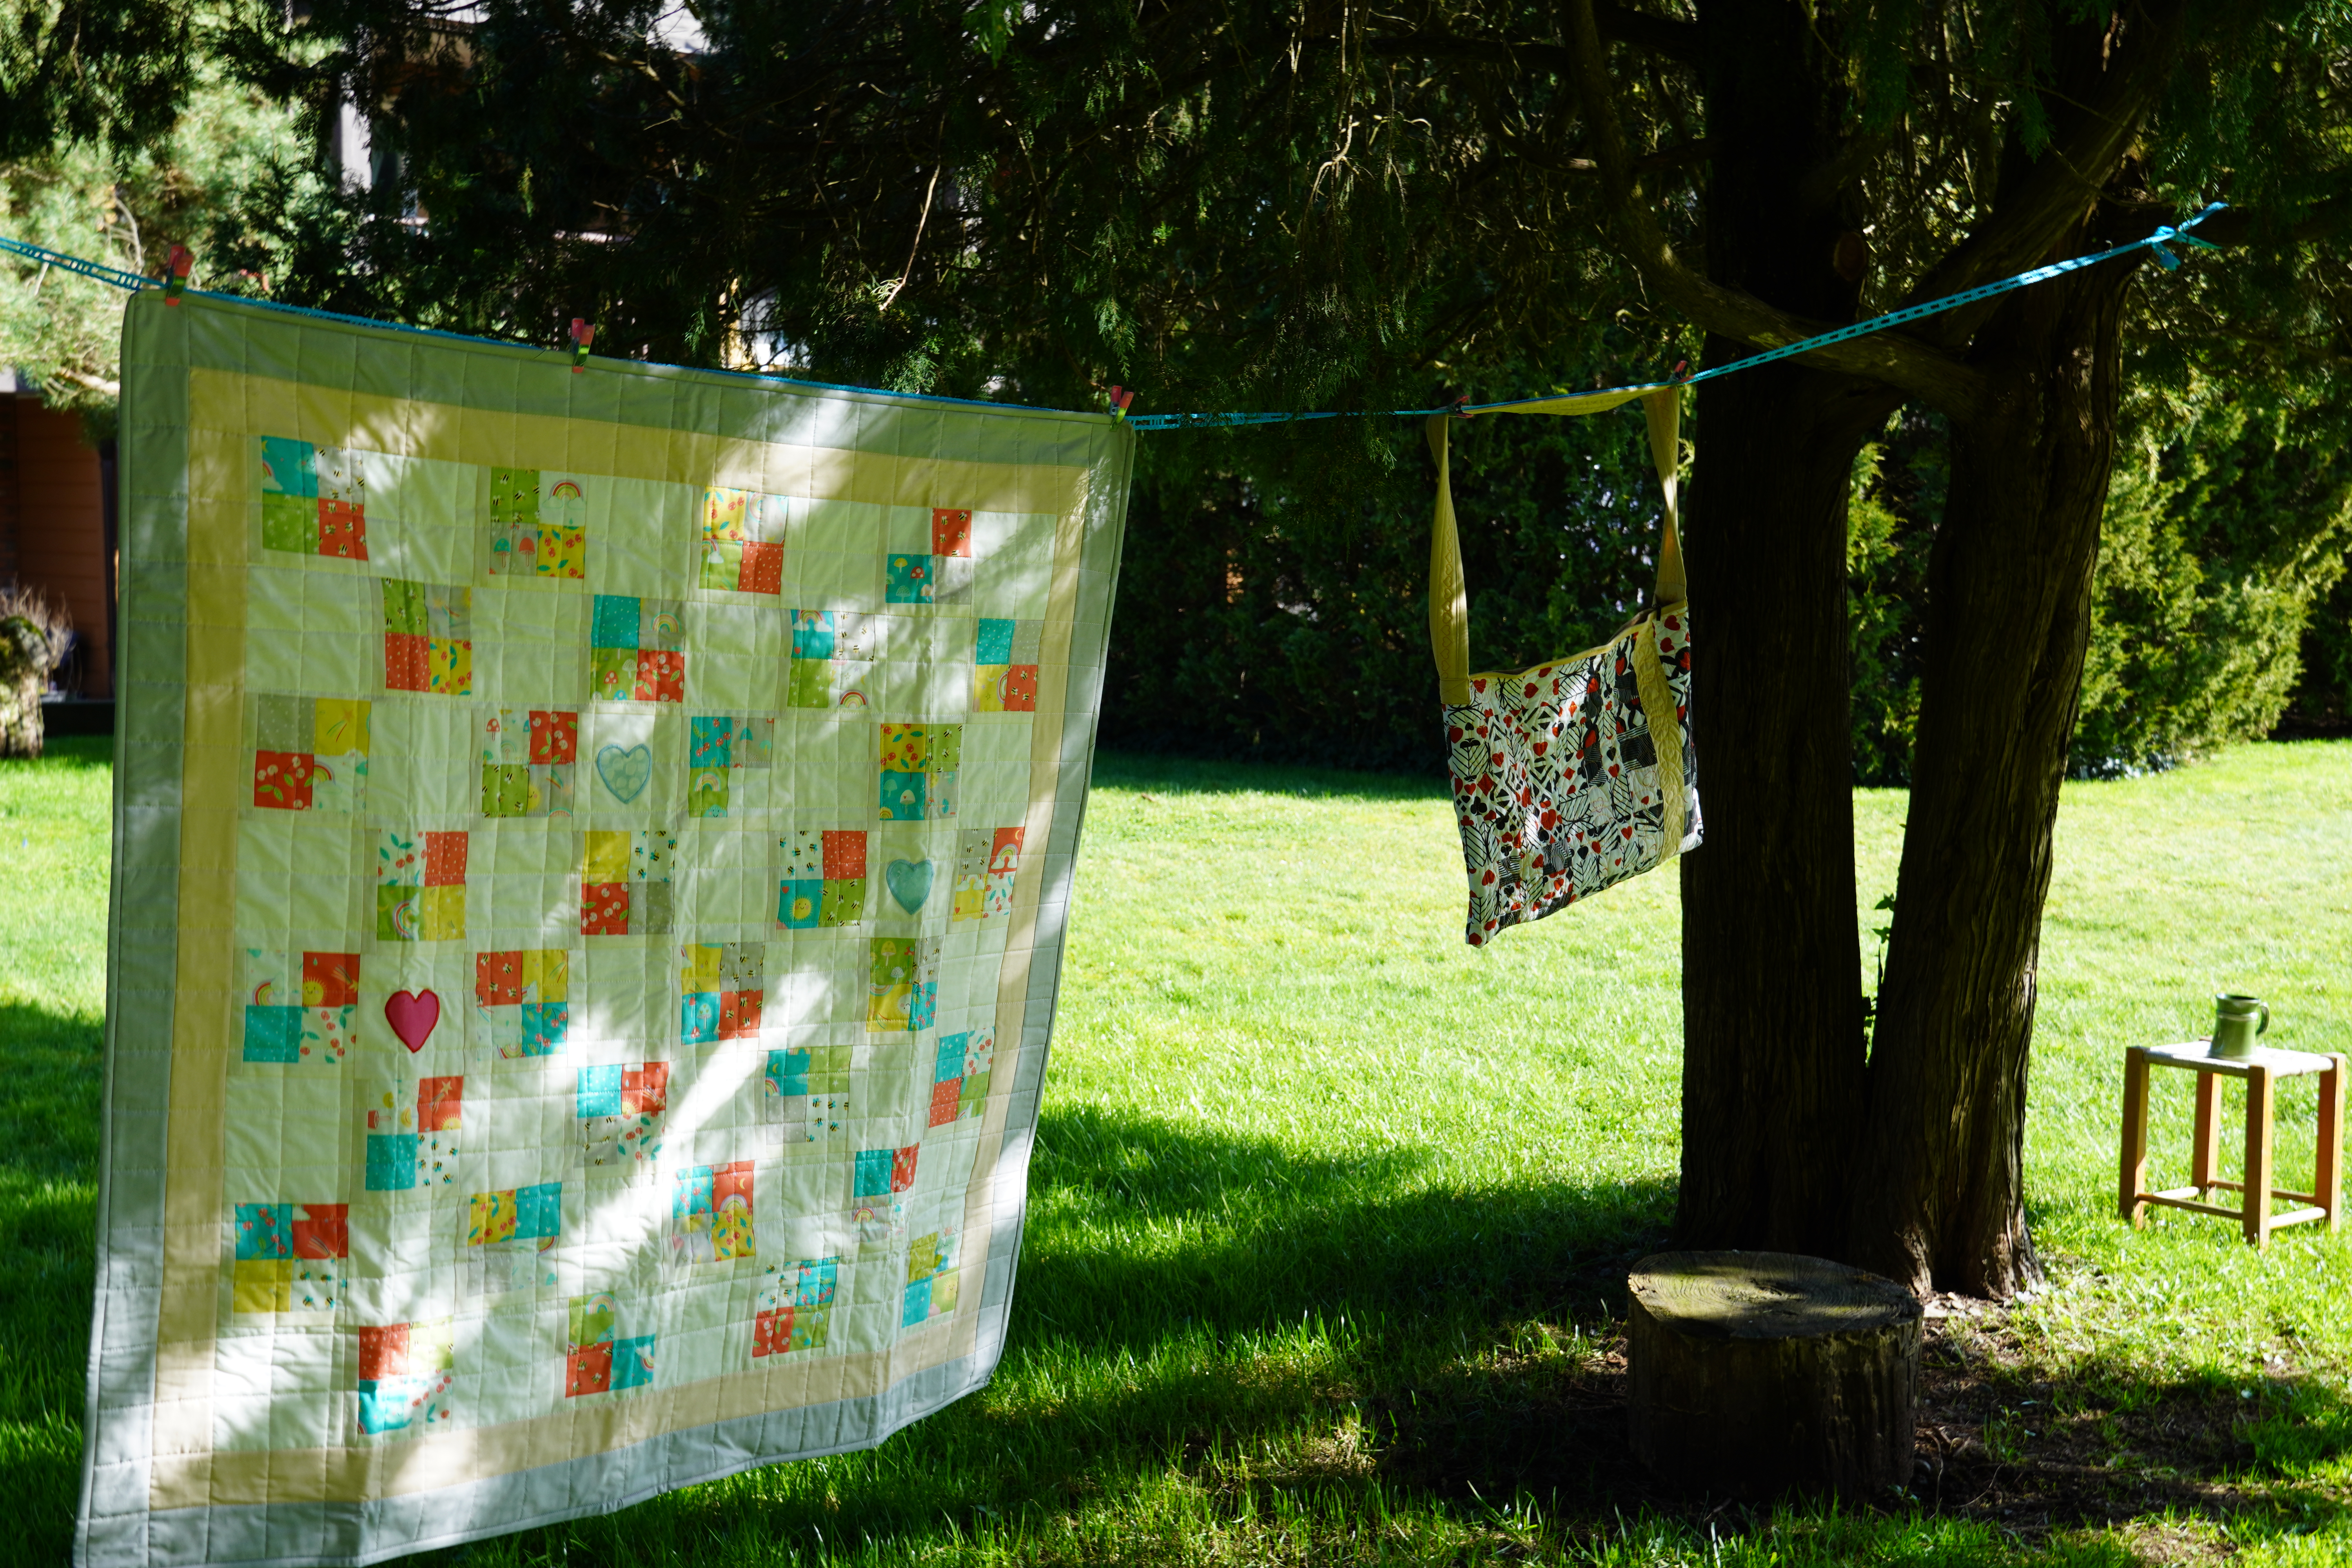

Happy National Quilting day. I love how quilting keeps me in the moment. And it is just creative and a joy to give.

if you look closely in at this photo you will notice the gull leading the geese – it happens sometimes that we need these kinds of change. so, embrace change in that we need to work together even when we differ.

This is a playful two sided muff for my gran. I knit it with some foundling wool at the thrift shop. One side is a variegated green and the other a fusion of reds and purples. My Gran will be 95 in the spring and has the early signs of dementia. Apparently these muffs help keep those with dementia calmer by allowing for the hands to fidget in a warm place.

I picked up the instructions on Ravelry.com. With chunky wool – a mix of colors and textures is best. Cast on 88 stiches and make the whole muff about 20 inches long. Knit to your hearts desire – the more stiches and variance in the texture the better.
Then comes the fun part.

The bobbles, bits and button that are large, shiny, smooth, bumpy and just fun. Chains, zippers, laces, and other nice things that will survive an industrial wash or two are good too.

So I delved into my stash for these bobbles. Once I had chosen the bobbles, button and such, I threaded groups together in random colorings and textures. I found some nylon/cotton kitting ribbon that I uses as my Gran would love the color. I used a doll makers needle – the really long one in the center of the photo above for most of this treading.
I pulled some cotton laces into a long squiggly thing .

Threaded together buttons to form a couple of chains for her old fingers to find in the warmth.
Next I picked up a threaded set or a button and sewed it firmly in place by weaving though a few kintted stitches and then though to the back where a placement button was waiting for the tie off.

The shot below is the underside of the placement with the button and knots. It is ok to leave the long bits, they will add to the texture and weight and that is good.

So, when I had attached all of the bits that I had set up, I then folded the two ends and attached them securely with a slip stich using the tail of the knit.
Apparently this playful muff will distract her from the frustration of loosing her memory. So, I hope at least.

Thanks for reading. Pass it on, care homes in Canada have found that these really do help.


I have a motto – it is “Let me try this”
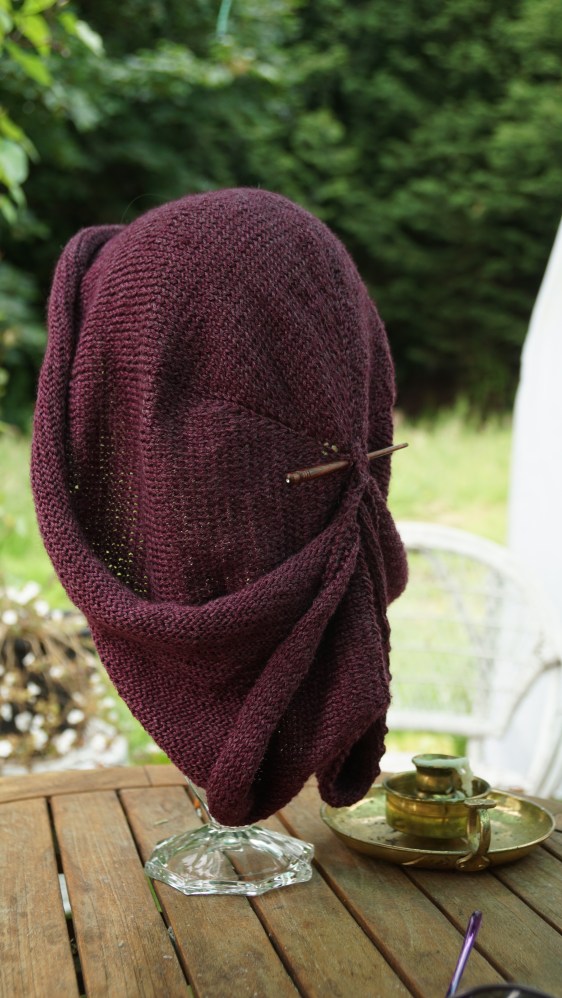
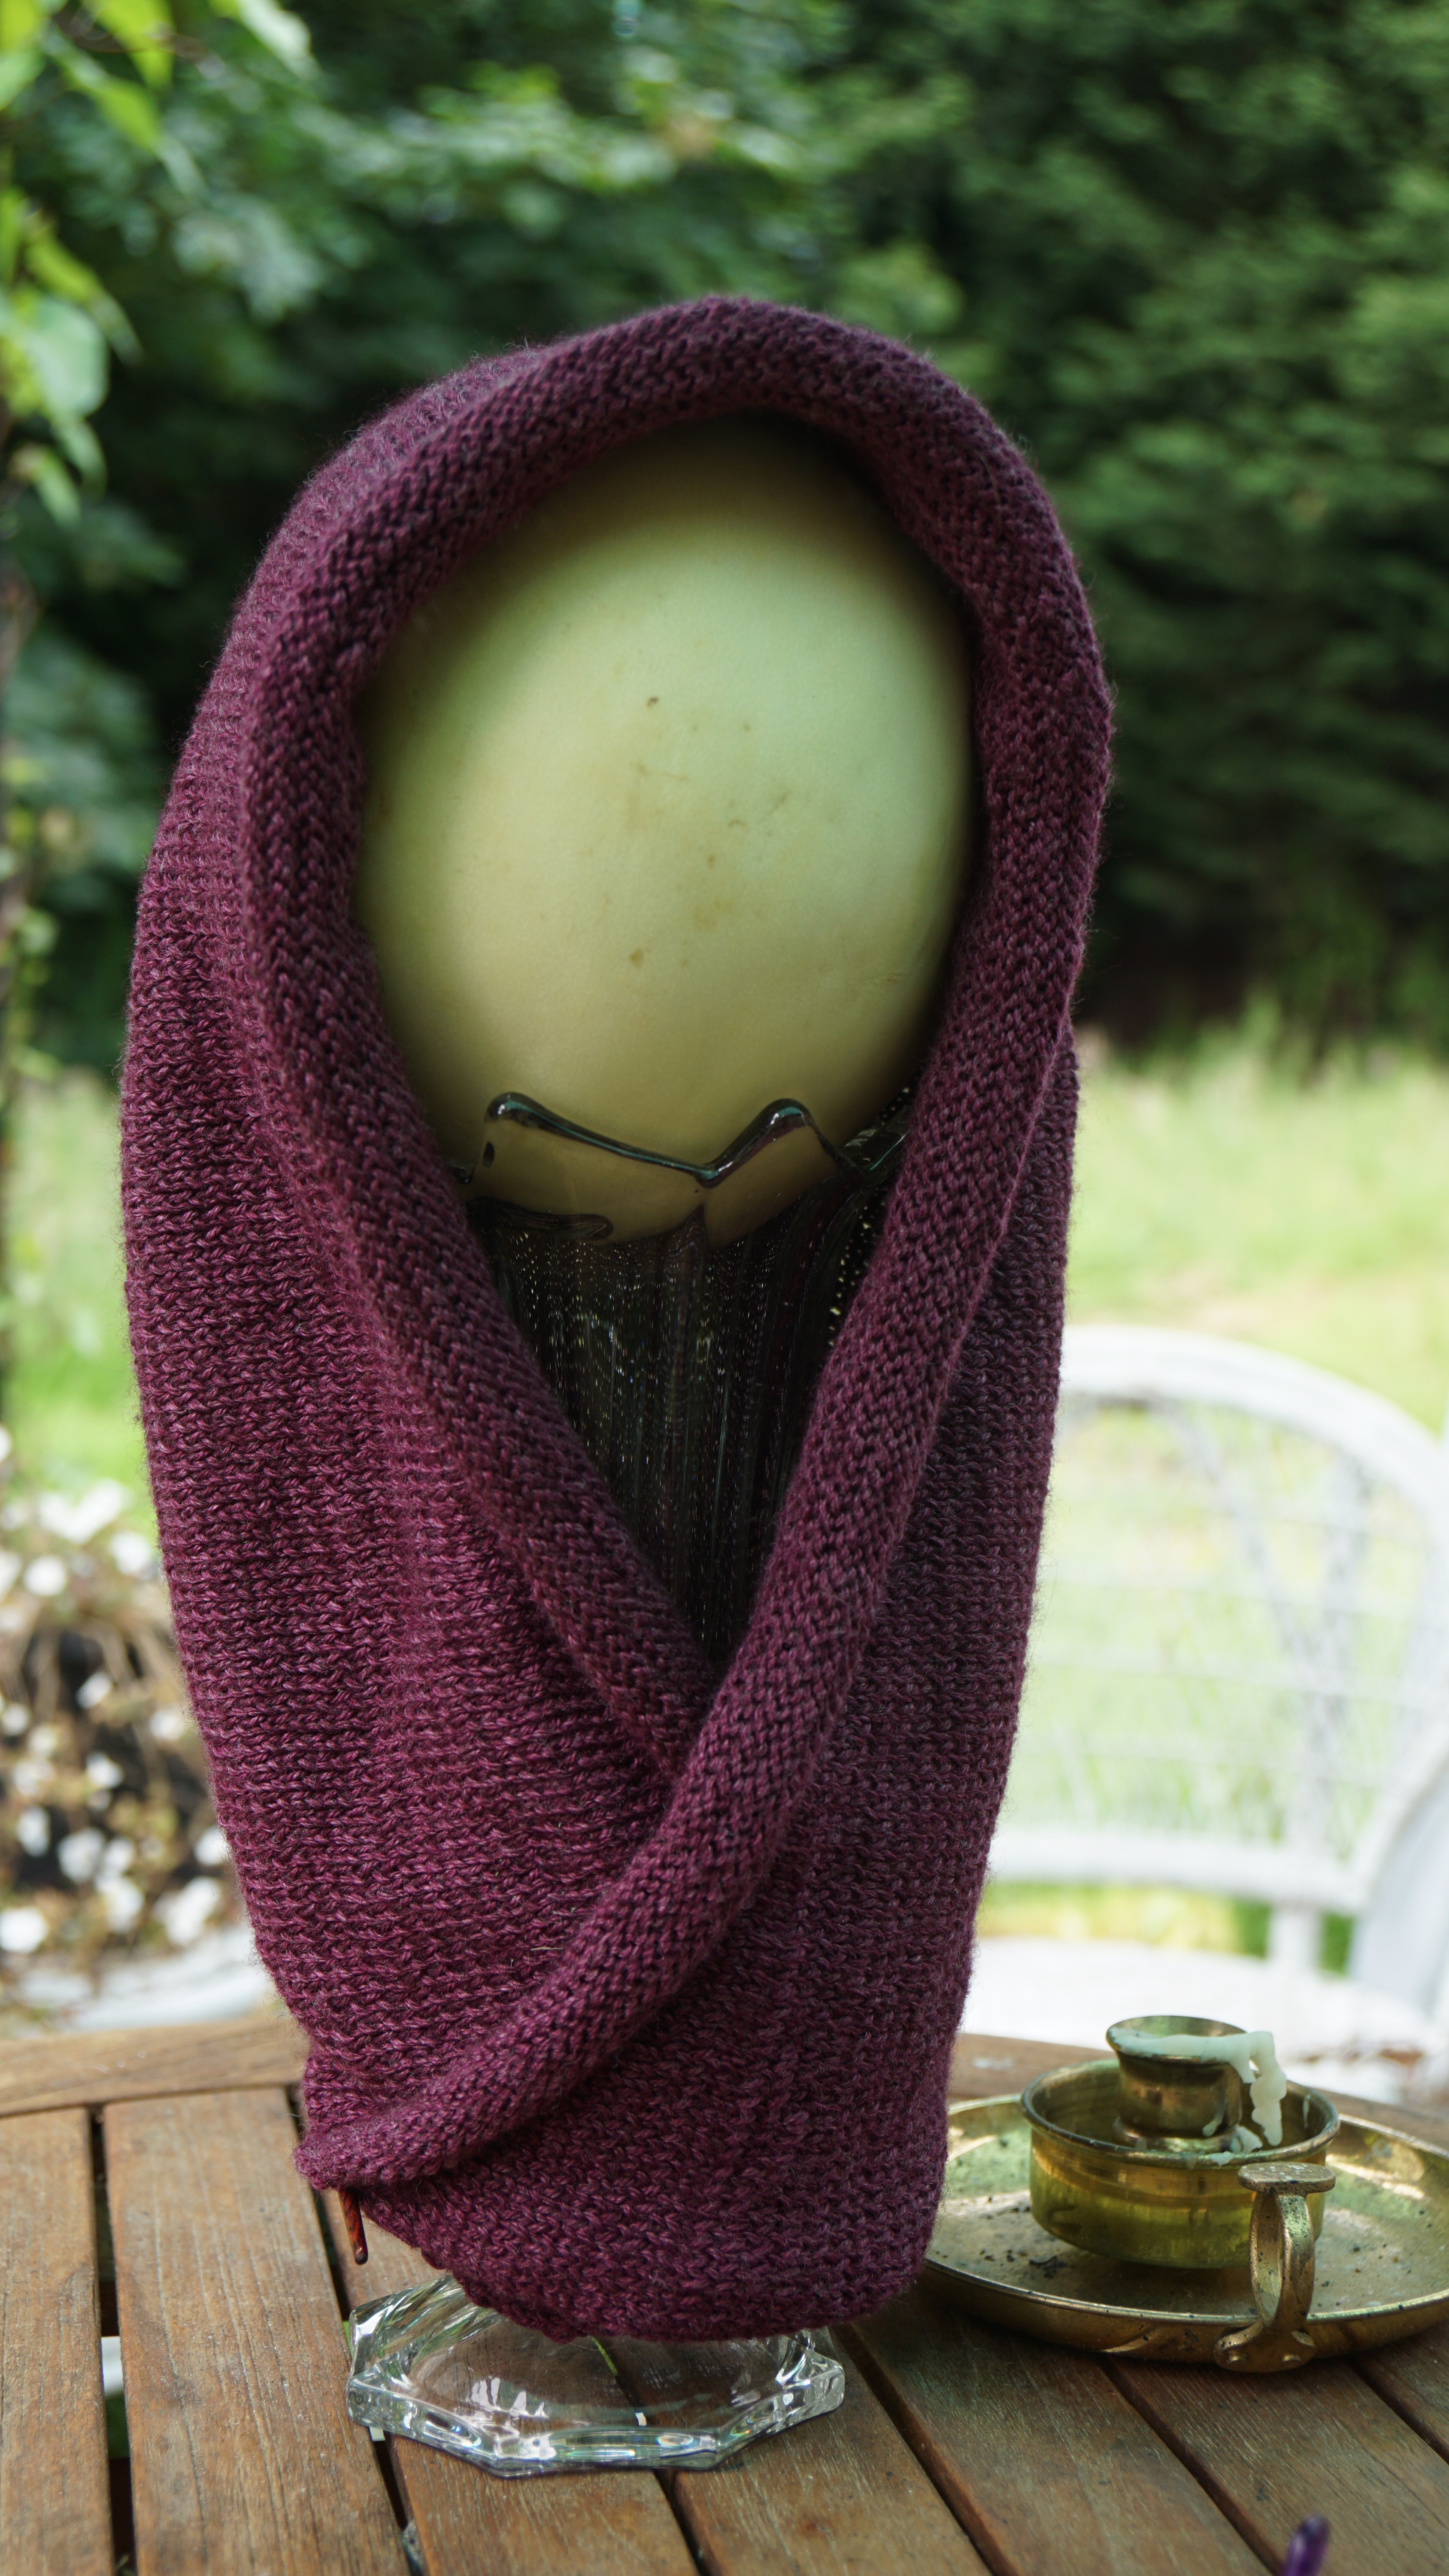
In early January I took on a knitting protect with a delicious plum yarn ( found here: http://www.ravelry.com/yarns/library/mirasol-yarn-nuna).
So I stated the shawl and it looked good but didn’t feel right. So, it was frogged – the knitting term for starting over.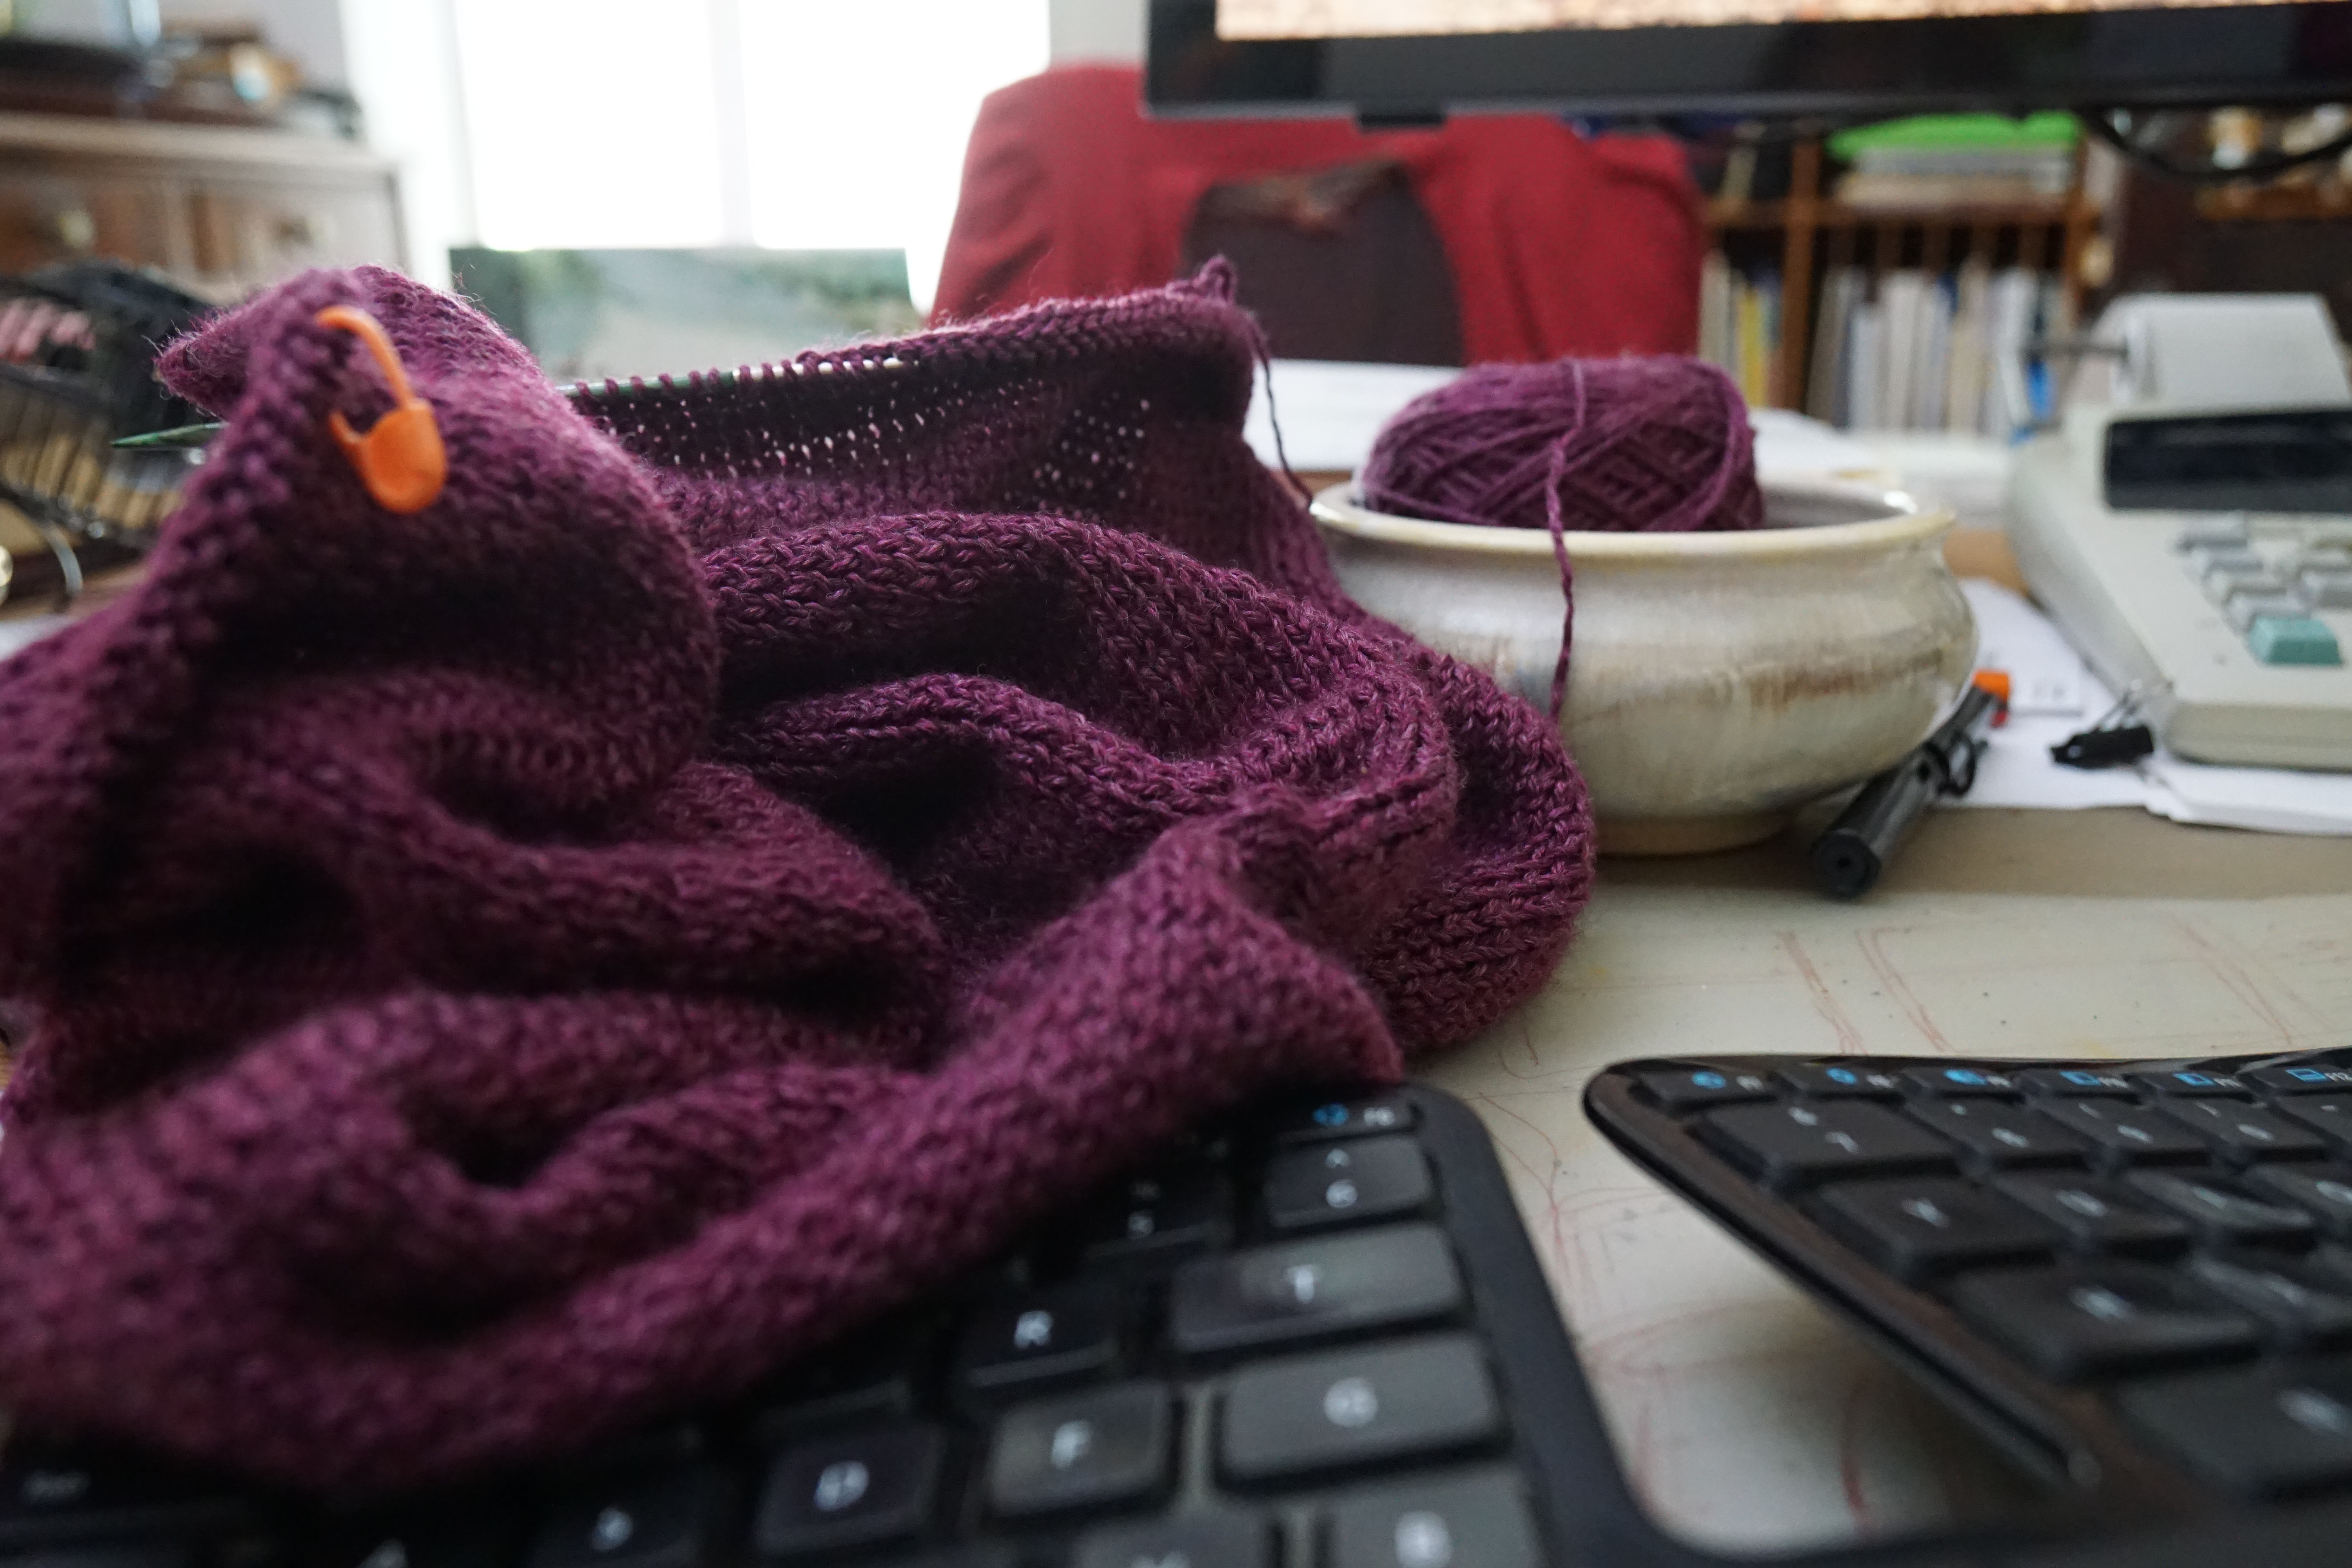
From my stash I had knit a similar hood in February – it was the beginning, neat yet not really something I would enjoy over time. So I picked up my needles, checked the gauge and cast on Turkish style.

With a lot of making 1, knit front and back, a couple of short rows I created my ZeeHoood.
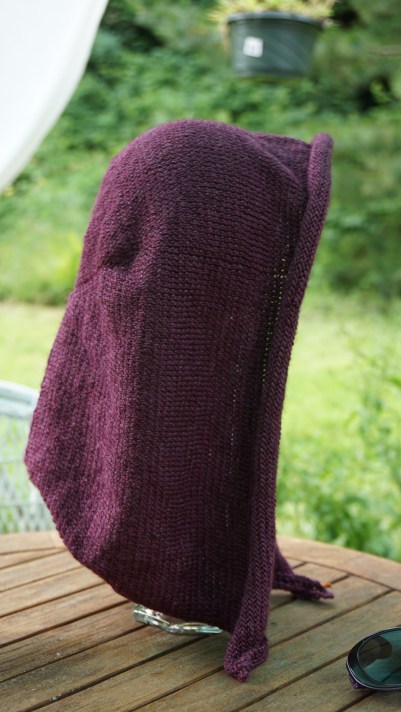
I never liked the points of modern hoods so I made the top round like my head!
The front opening measures 46.5 inches so it wraps nicely around the neck when needed. It was finished in the stocking stitch for the nice rounding that complements the style of the hood.
The back of the neck is tapered to a front point that tapers nicely below the neck.
Yes, my model is a melon place on a large glass vase.

Yes, it works like a charm! The fraying that you see here will not increase. Hemp linin is self finishing! 5 washes and the edges bind together like soft Velcro.


To boot, the first three washes, iron while still fresh from the washing machine and the seams learns to stay open! I only need to iron if I need it to look crisp from here on. The shots of the seams above are fresh from the dryer with no ironing. The caveat is to pull the dress (hemp linen garment) from the dryer (not an overly full one to crush the garment) as soon as it stops and hang it up. Put on a hanger and Done.
Here are some shots of the zipper after
One wash after the ironing.

three washes (still damp but drying) and after the ironing.
Love it!
First off, Dresses are so much easier than coats!
I cut the dress out of a modified pattern of the coat. Yes, the same but not the same.
I bought in the ease and lengthen the bottom to become a skirt. I love the feel of the material swishing around my ankles so I made it a maxi.
I tucked up the sleeves from a gather to a tuck and it falls nicely from the shoulders. 
The dress is made of 55% Hemp and 45% organic cotton so it is a keeper. As this is hemp I have taken upon myself not to finish the seams in any way as hemp has a tendency to just act like Velcro when washed a few times at the raw edges. So I am keeping my fingers crossed that whole dress doesn’t fall apart meantime. If the raw edges do begin to deteriorate I will do a Hong Kong finish. Only time will tell.
Start to finish 3hrs for the dress and 35hrs for the coat. Dresses are so much easier!

A care free evening in Victoria BC Canada at the Gorge Waterway.
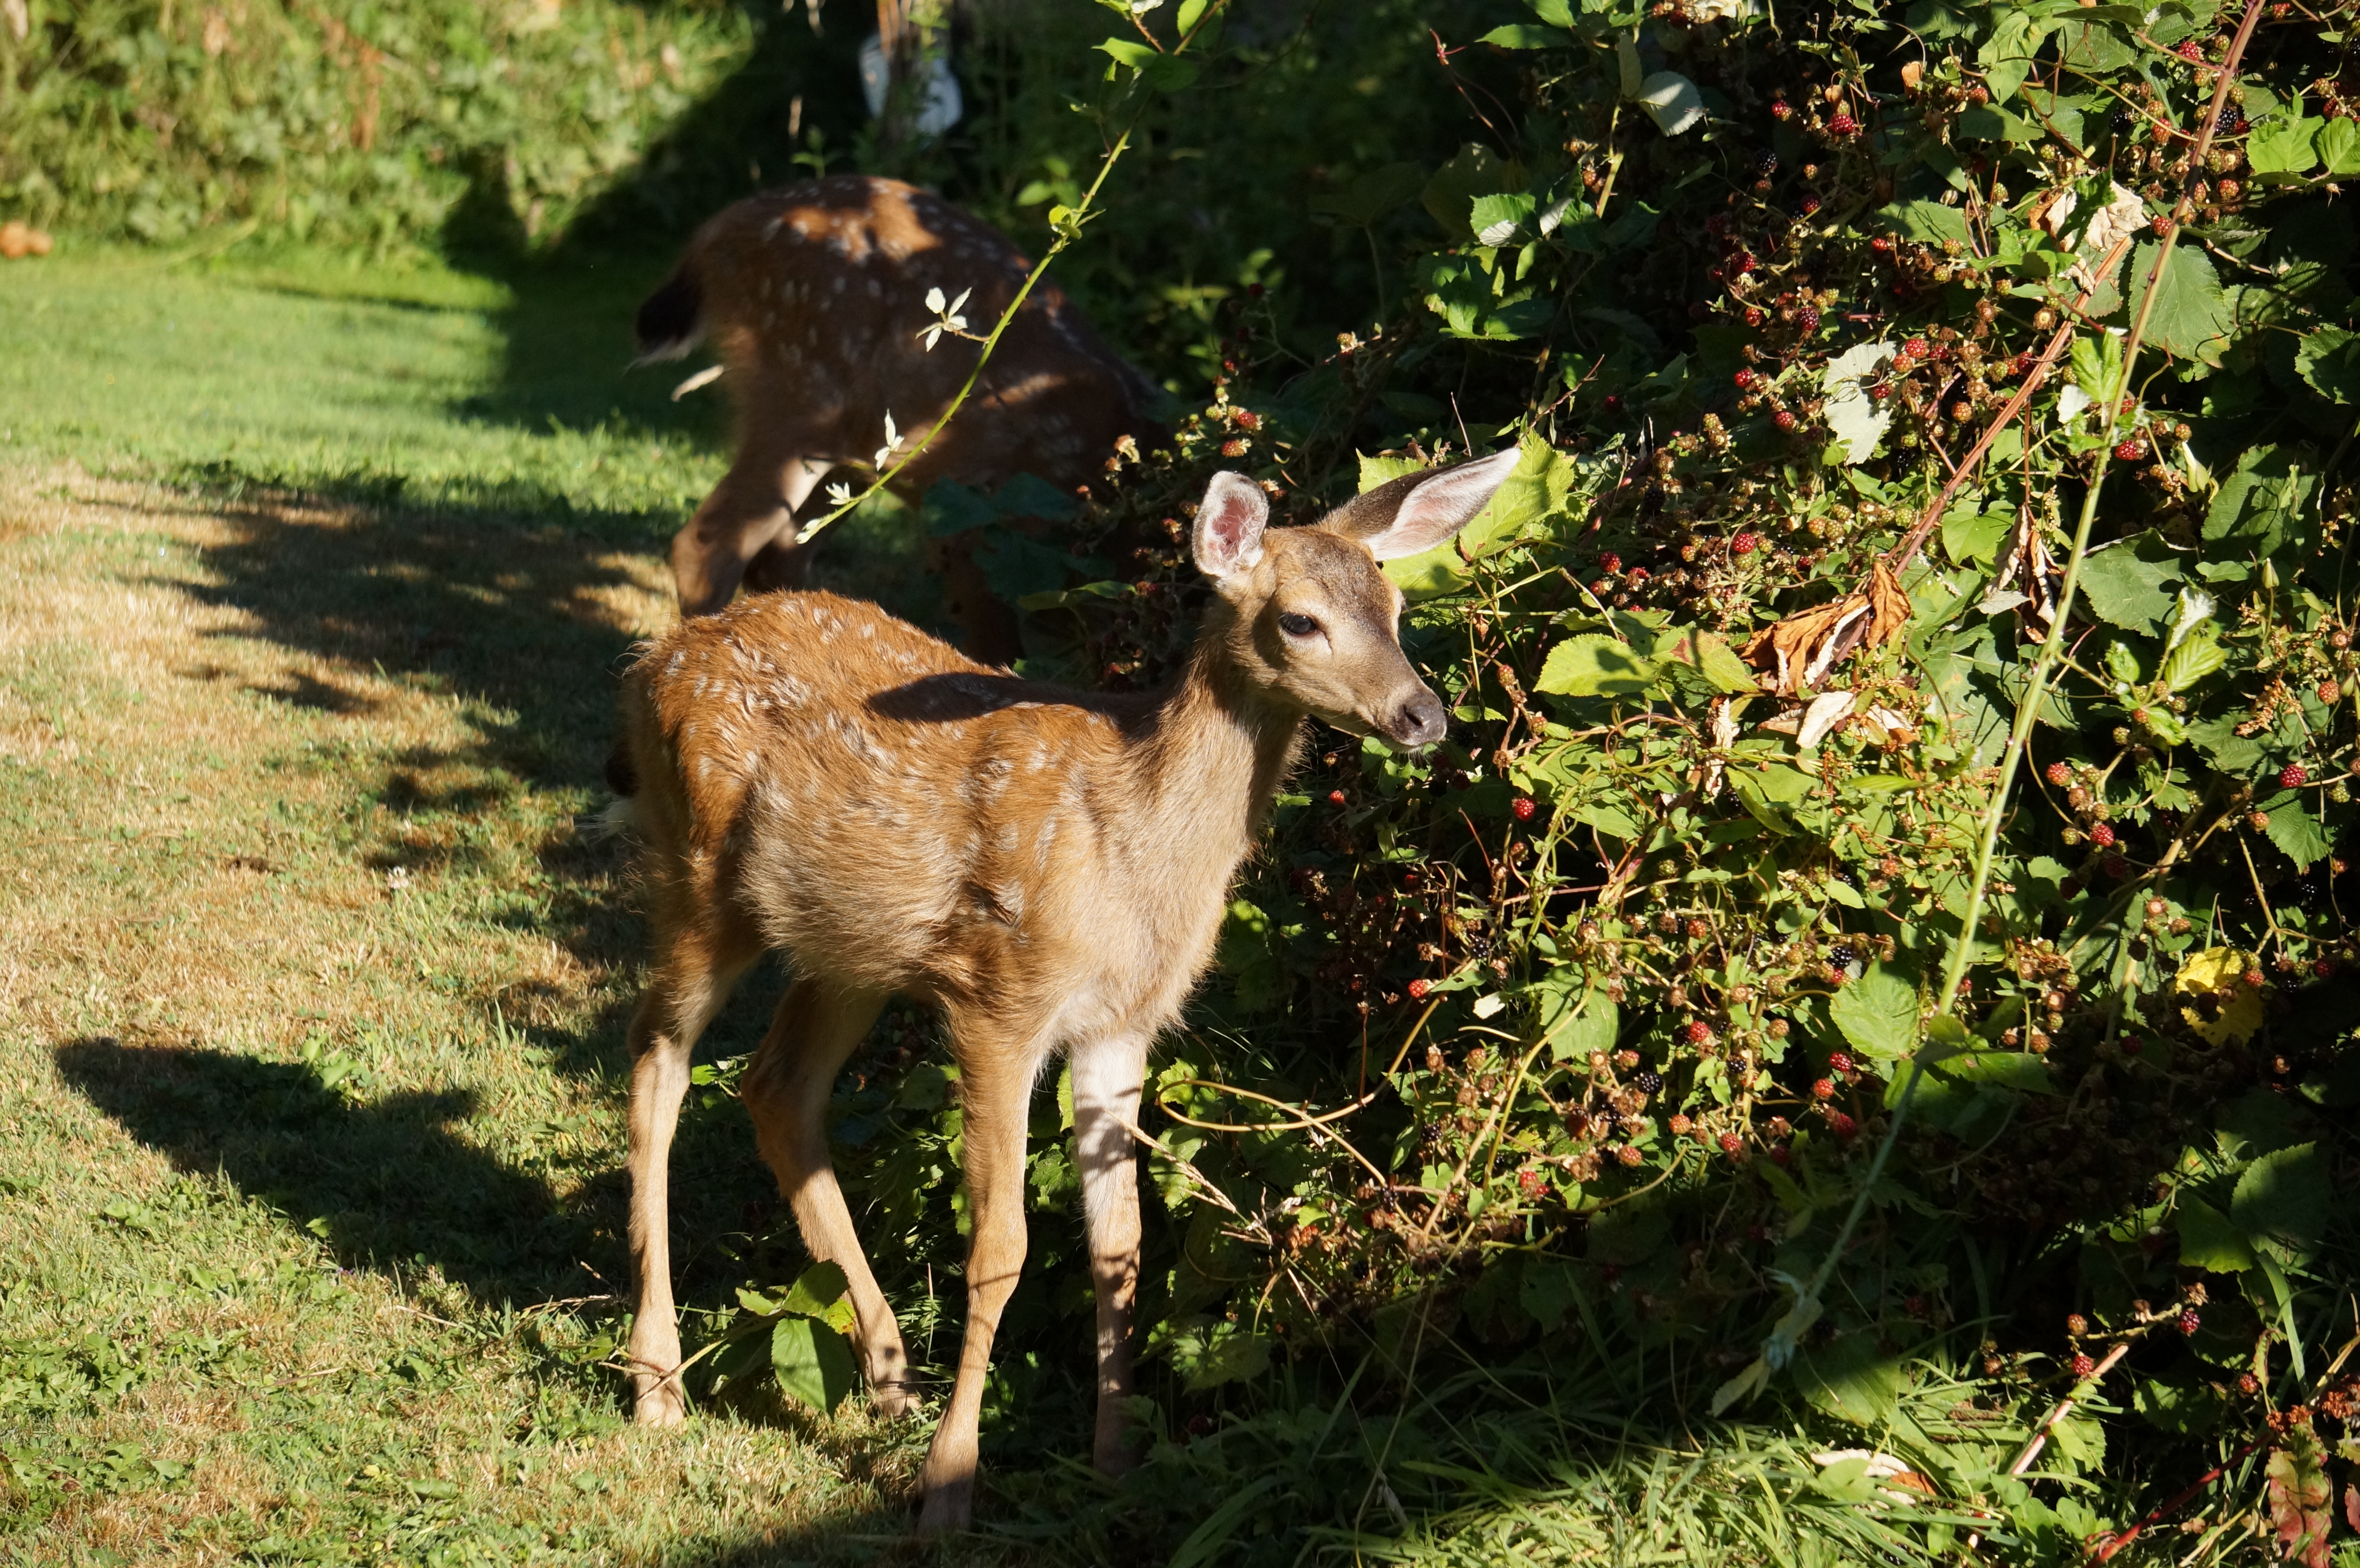
Something new has grabbed her attention from the blackberry’s but only monetarily in the end.

Morning saunter though the wildlife kitchen
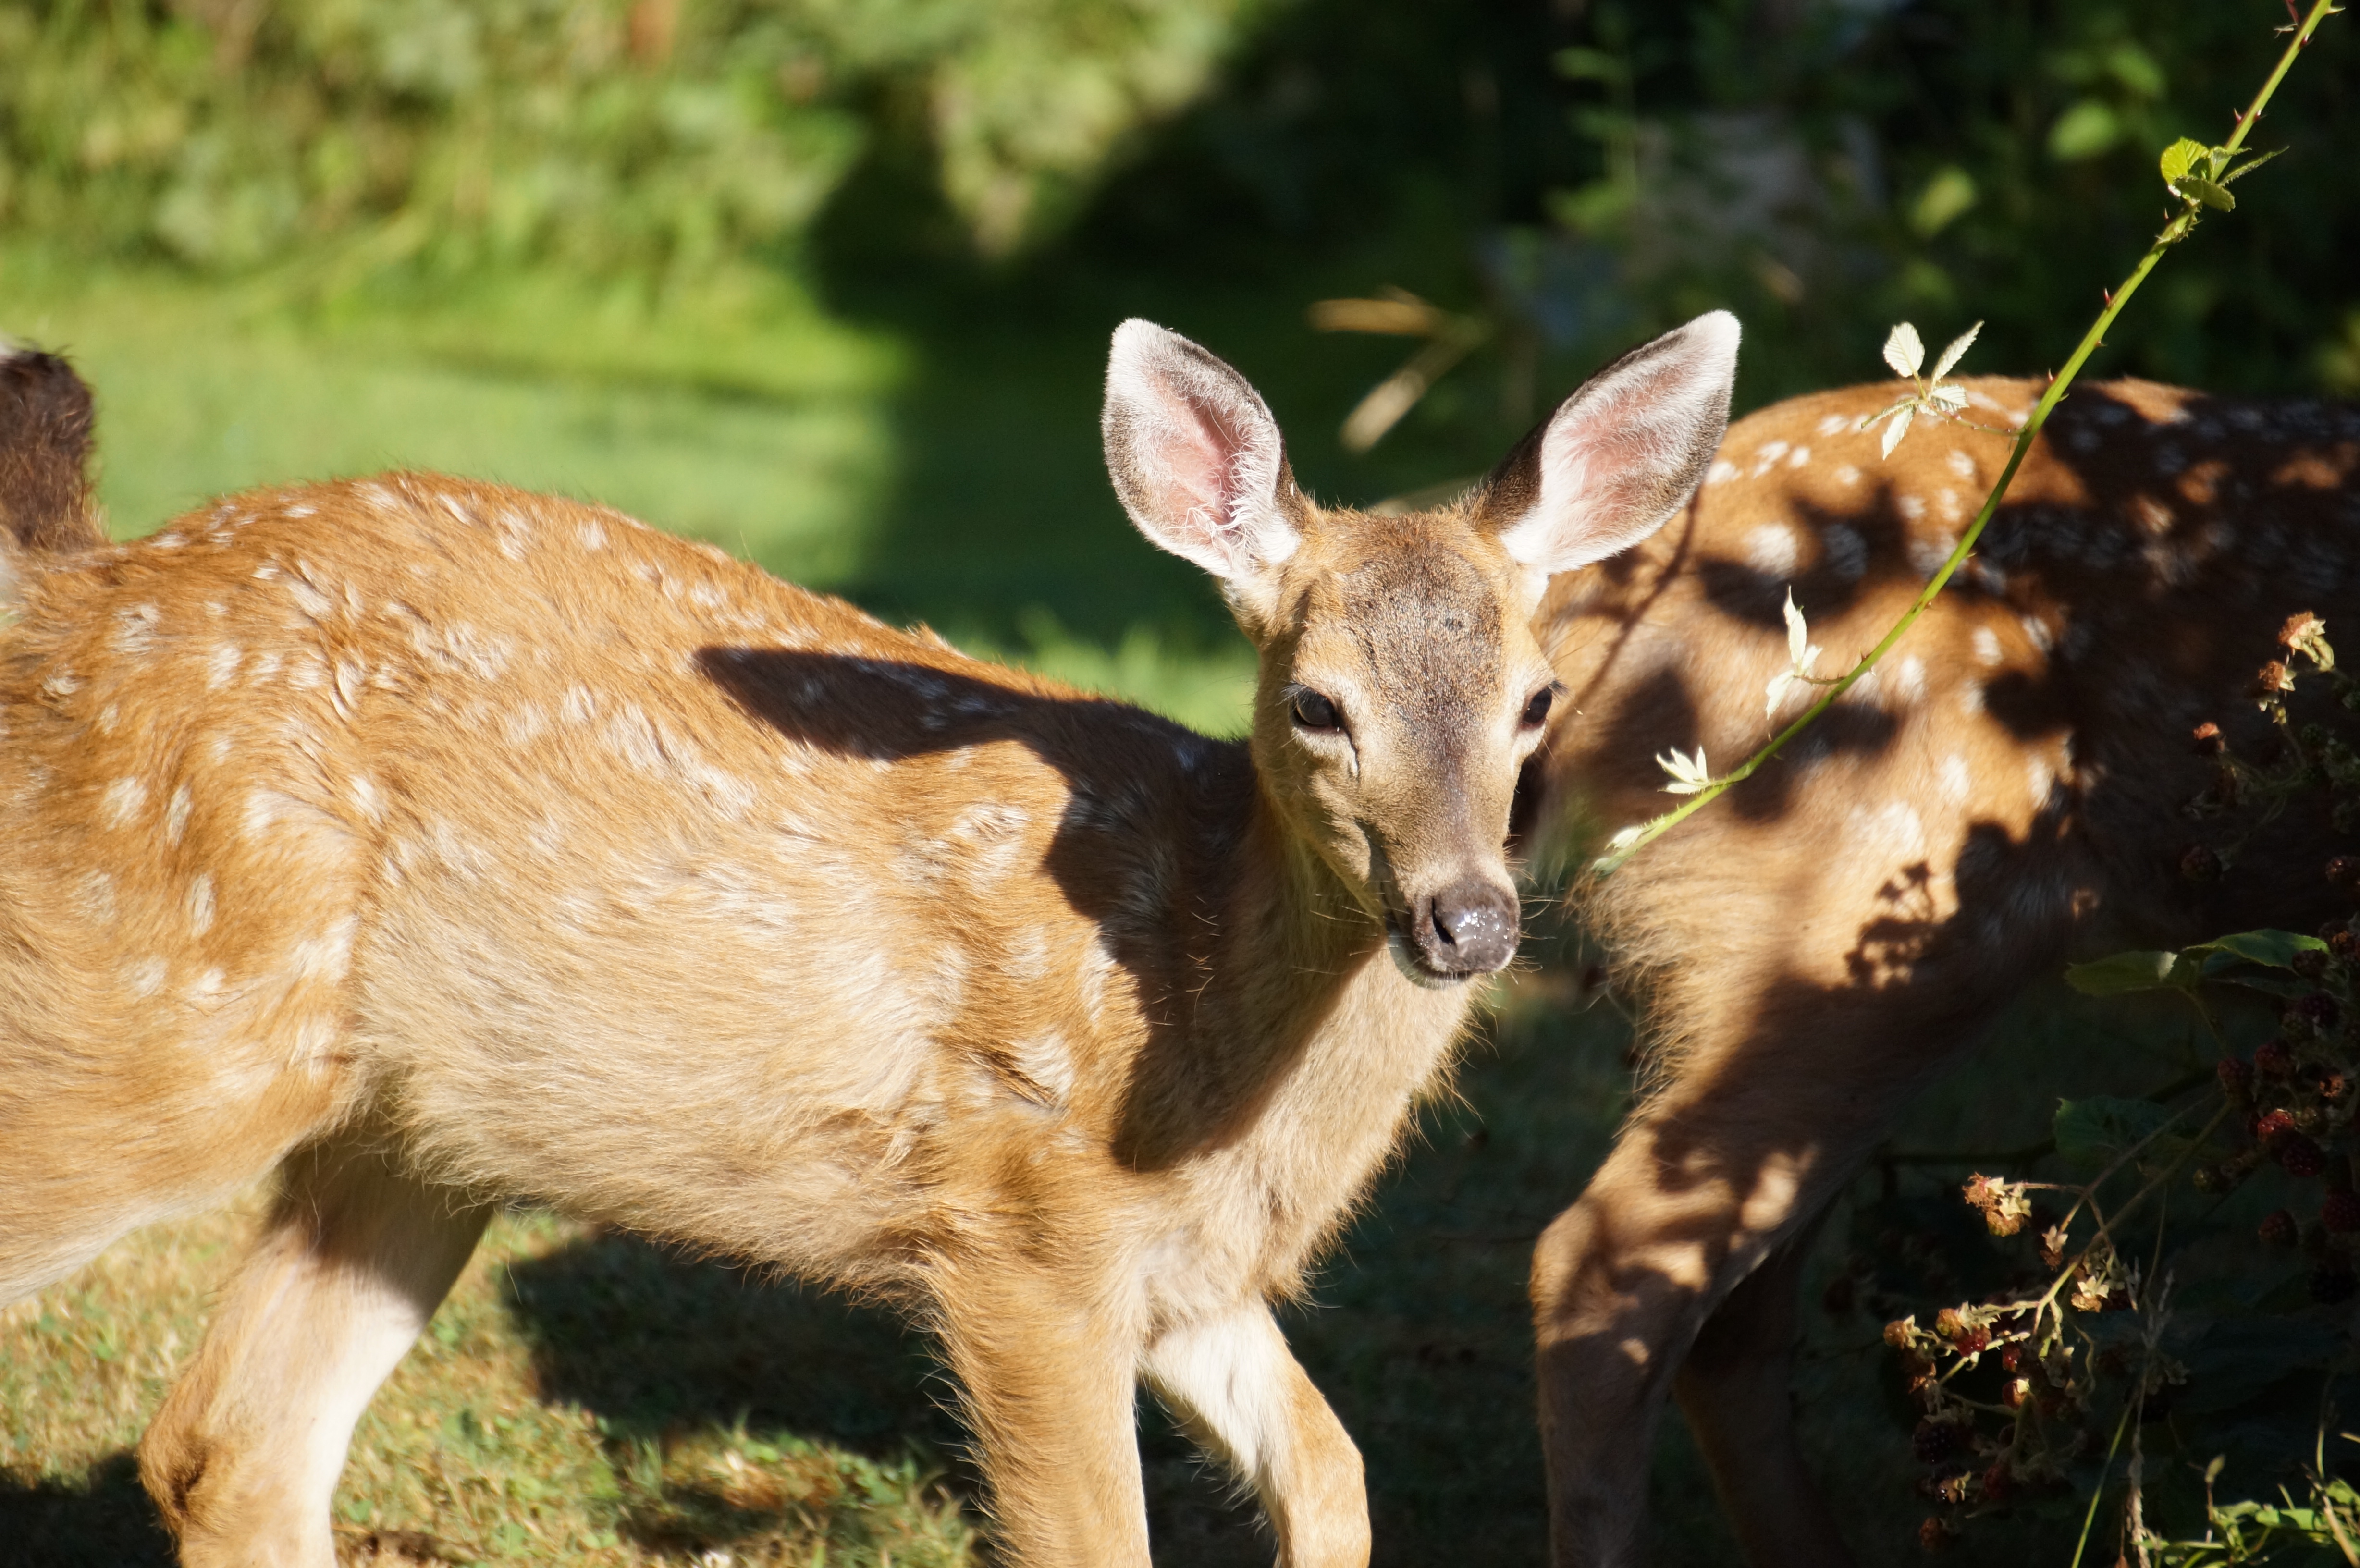
The blackberry patch is a delectable breakfast for fast growing fawns.

A most watchful mom!
Seeing this family wandering though the neighbourhood is like seeing a unicorn.
I had an idea that I could sew while camping so I started a Kimono. 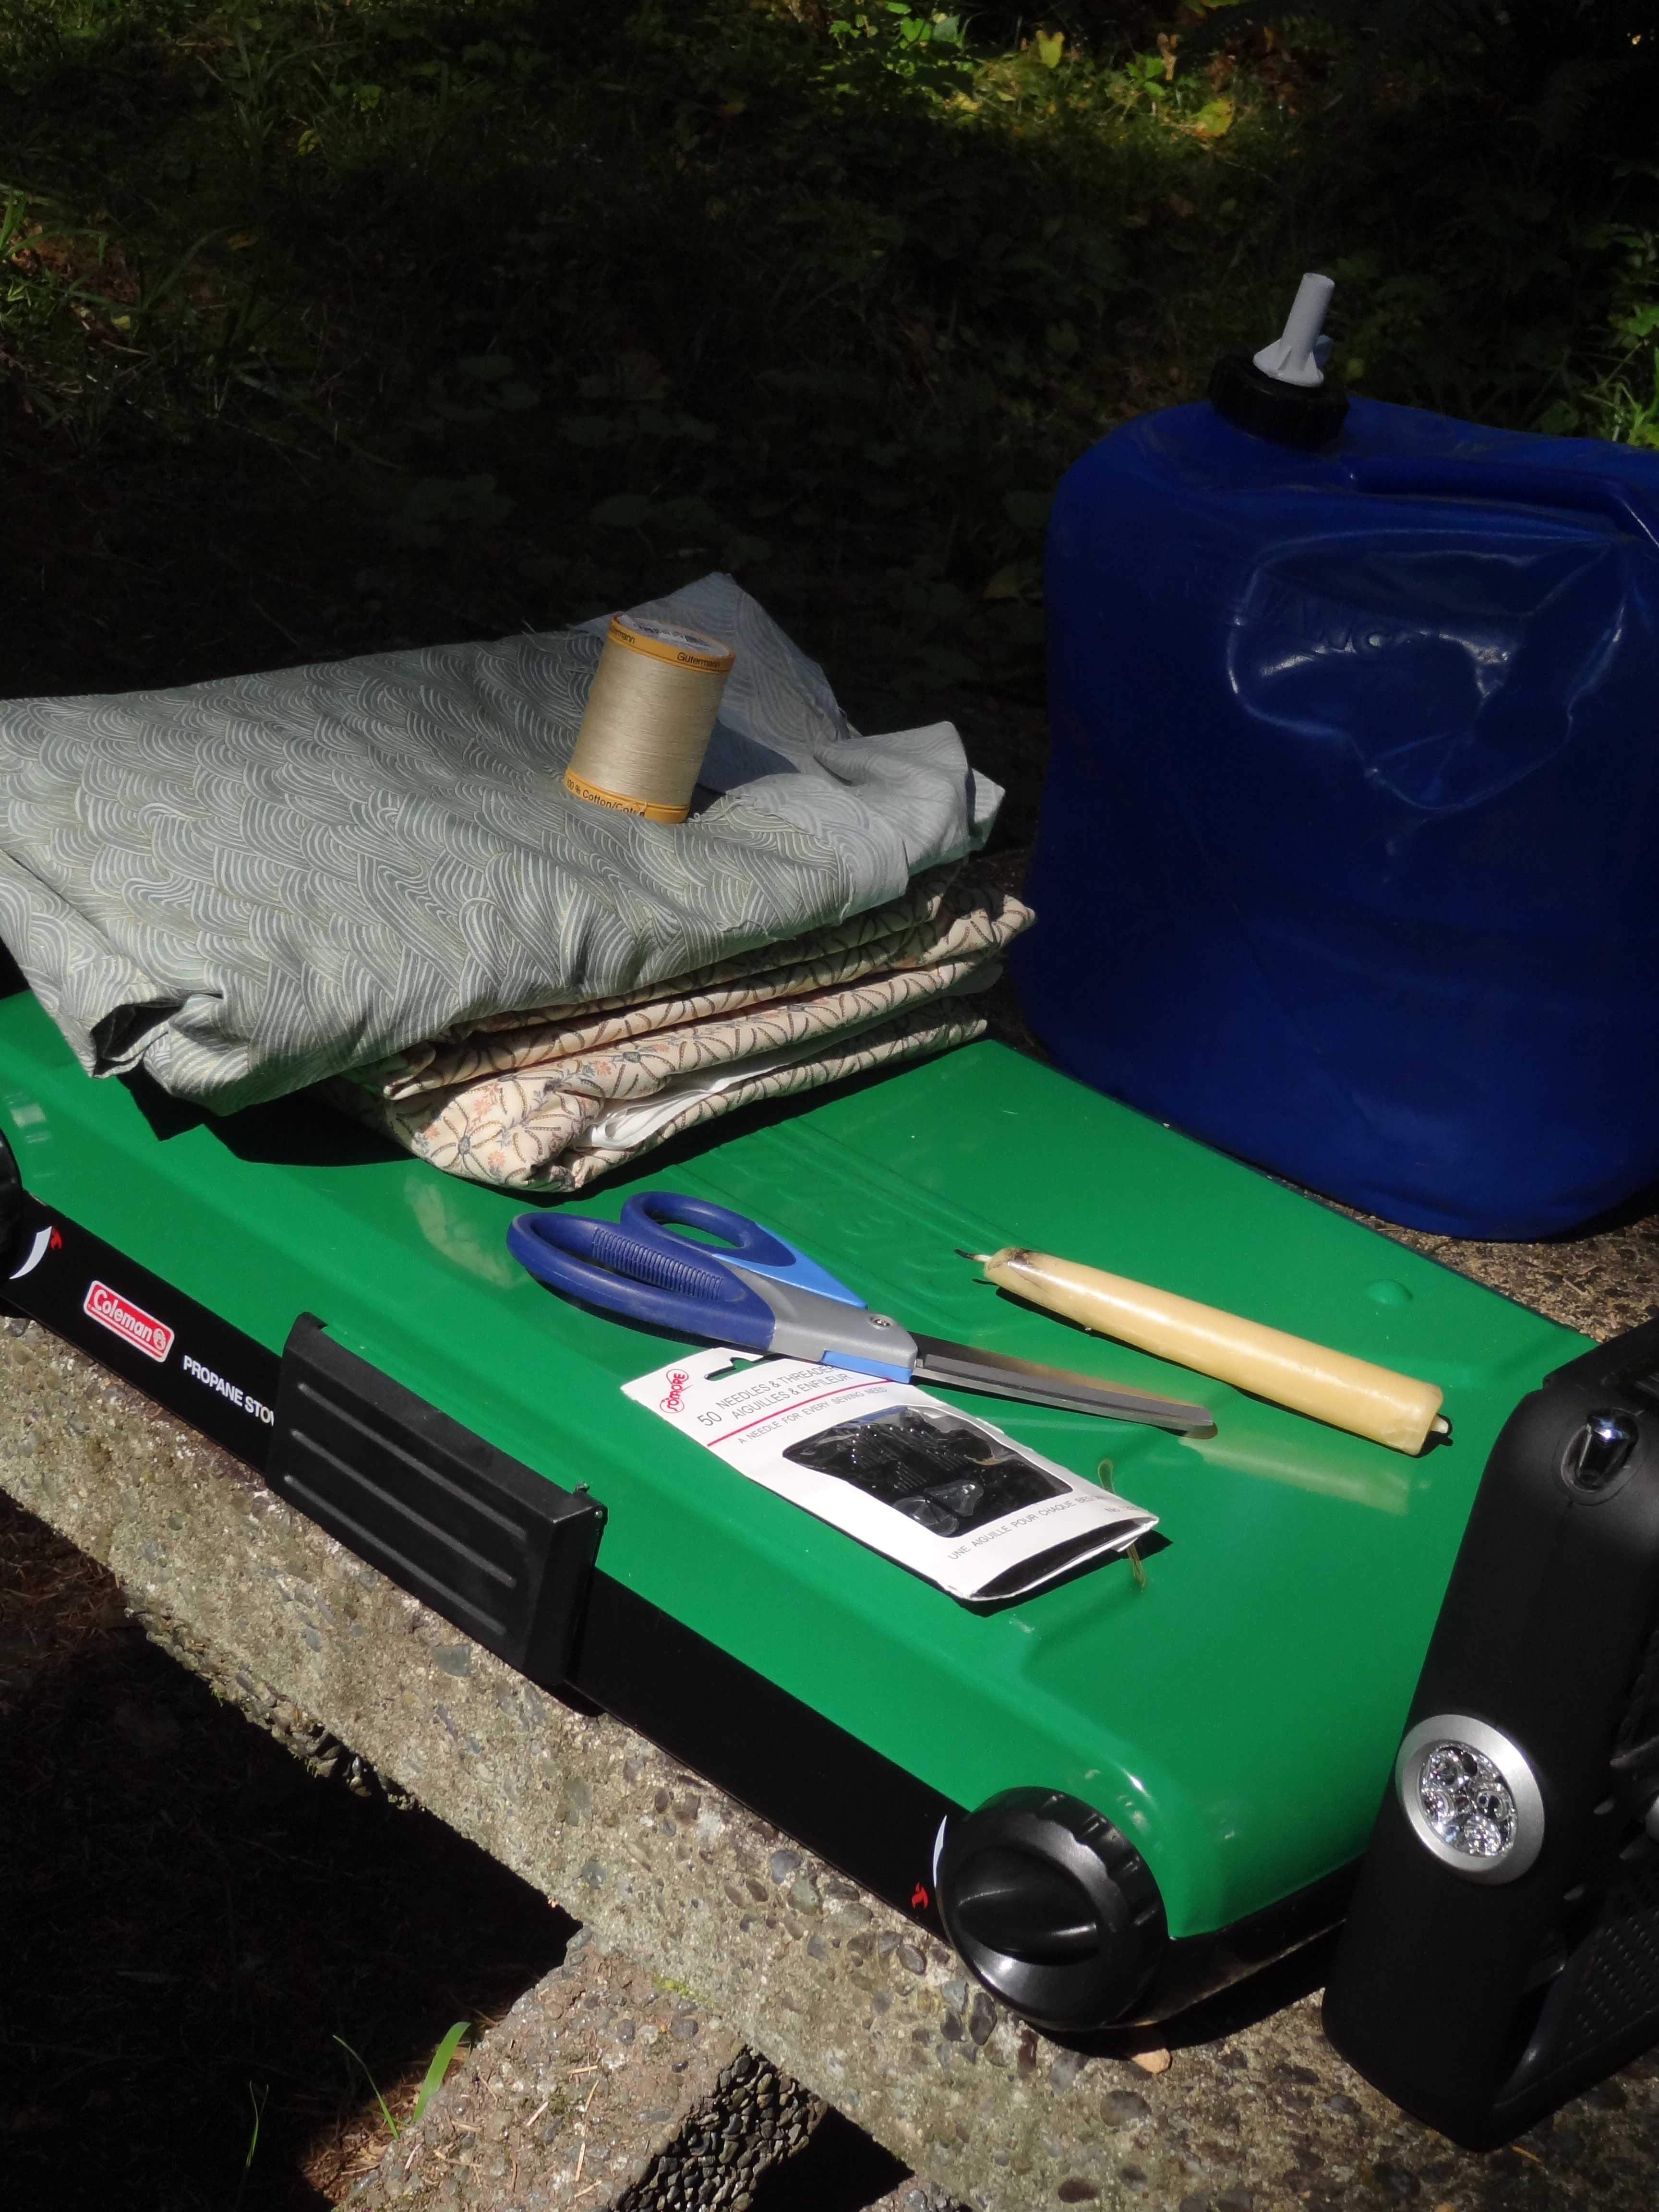
I brought a bees wax candle,

So once I was a bit rested ( a couple of days) I took scissors to cloth after measureing against my sholders. I added a couple of inches and it is was here that I made my first mistake – I did not give enough ease for this type of garment – I should have added another 4 inches for the extra ease that you want in a house robe. Oops but I carried on!
I next made a cut down the centre of the fabric to the just shy of the halfway mark of the full panel. This is where to cut a few inches on either side for the neck opening – a very long T cut is the finished result.

I slipstitched the side seams into two nice French seams and had the beginnings of a small kimono. I then remembered I needed two front panels – oh, the joy of being very tired.
 This is where I made my second mistake.
I did not make the front panels long enough as they should be shy of the T top opening. Also, the angle was not necessary but this was how I made my first three kimonos of a Folkware pattern and the method stuck with me. Oops # 2
 The distracting woods.
So I had to come up with a fix in the bush and this is what I did. I took a long piece (probably 7 feet) and cut it in half – Oops #3 – it should have been a diagonal cut but I was trying to make up for the first Oops.. So the final fix was cutting the a remnant , matching the pattern and slip stitching to keep it in place and I had the front almost finished.
Once home, I neatened up the panel fix seams with some folding and overstitching the neater seams.


Very time consuming but I was on holidays and had the time. Once home, over the next few days I finished what normally takes two hours on the machine.
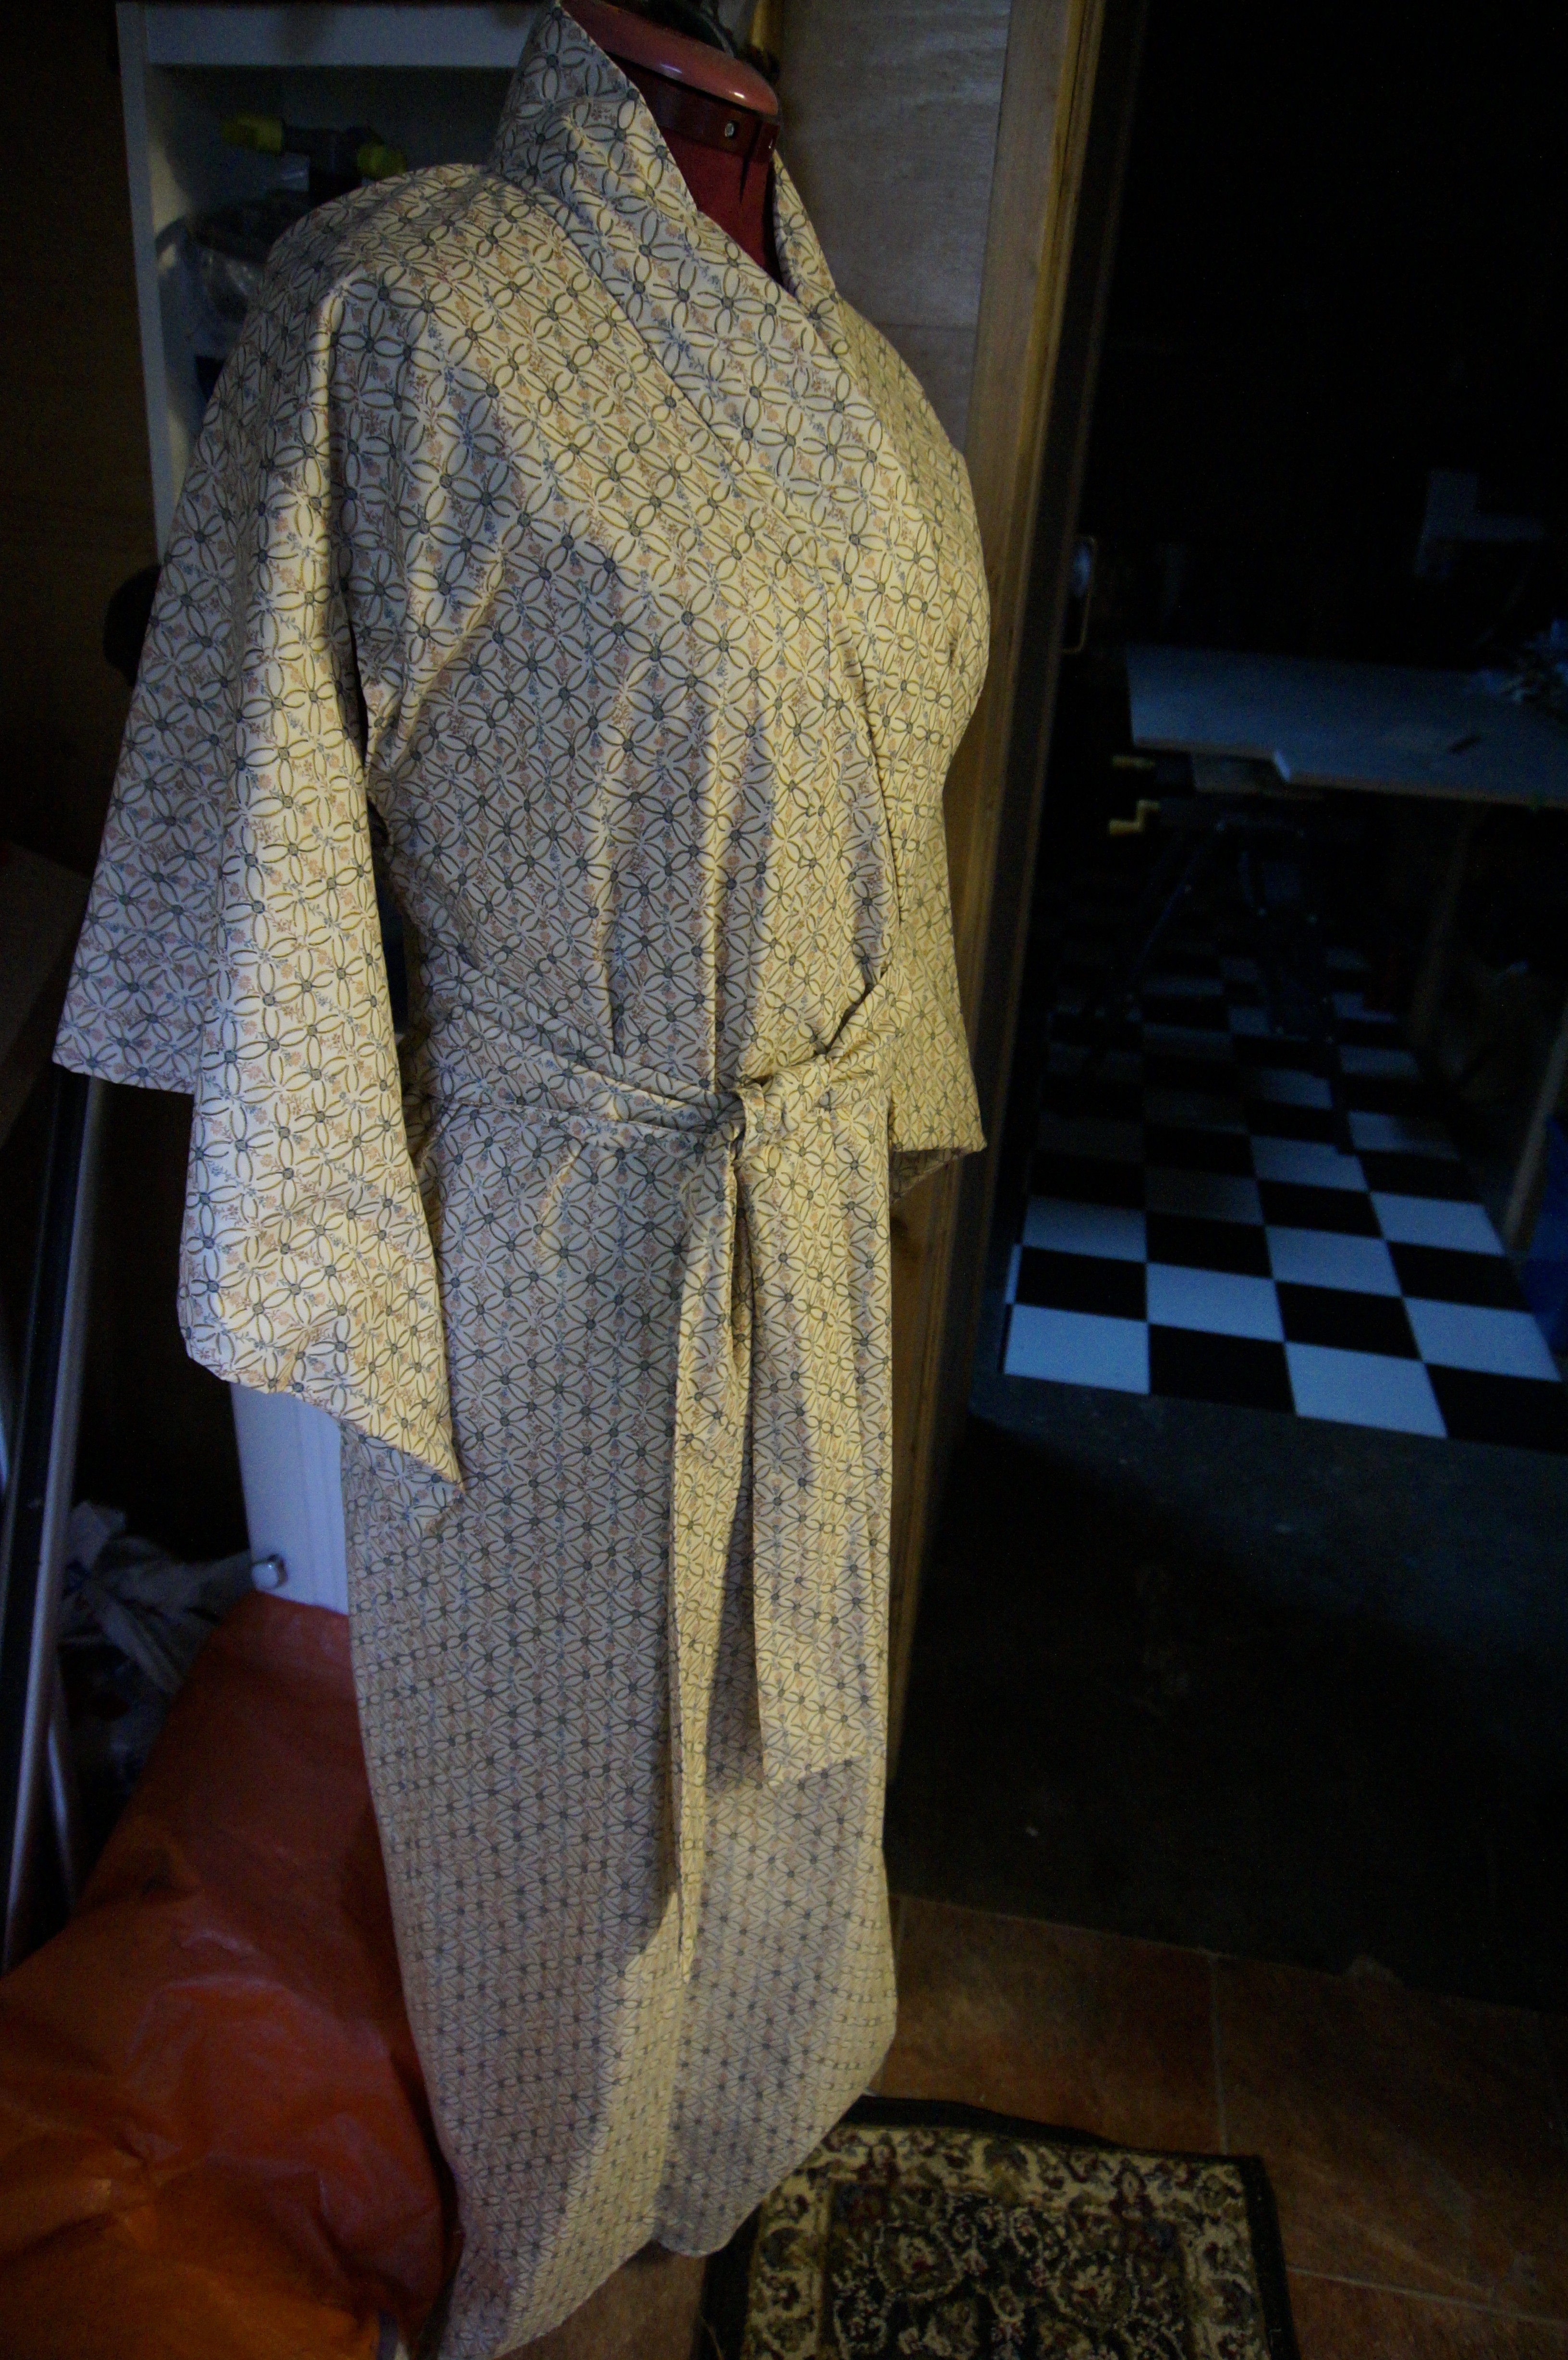
Amazingly it still looks like a Kimono! I have more details on the collar and the sleeves as well as the finishing touches.
And if any one is interested I will do anther page to finish the job, just drop me a line in the comment’s to encourage me to find the time this week.
Let’s chat! marriage, love, daily motivation, uplifting, self love & more
Nature's nuances in a nutshell
Everyday thoughts . . .
Where curiosity meets opportunity
Geschichten mitten aus dem Leben; über Momente die uns prägen, Freude, Schmerz, Hoffnung und Schicksal dem wir täglich begegnen. Ein kleiner Blick ins Innere, ein Blick hinter die Tür.
Photos, stories and more
Photographer Of Life and moments
Your official home for all things New York Mets
yup! words love me
Loves, lamentation, and life through prose, stories, passions, and essays.
Philosophical Soul Ventures
Entertaining Story Cards to inspire writers
The fictional adventures of Simon Birdsong.
A Portal To Another Green World
Illustration, Concept Art & Comics/Manga
投資とレビューと商品紹介

