
A trio of birds waiting for their turn to eat. Bird feeders can be fun.
A trio of birds waiting for their turn to eat. Bird feeders can be fun.
This Robin is too hot!

This Robin is too Cold.And this Robin is just right and full of song!And this Robin is just right and full of song!

And this Robin is just right and full of song!


 Just in time for Winter I finished the coat!

 I removed the excess cotton lining from the sleeves and finished by folding the silk up and over the cotton and slip stitched to the wool. This stoke of laziness gave me a warm inner sleeve as the silk falls gently around my wrist.
I created hoops of hemp thread for the hooks at the top and waist. They work really well.

This was an overly long project but worth every bit. The coat will keep me warm for our west coast winters!
Basted: My washed wool winter coat. The beginnings.

The washed wool was a 4 meters of wool plaid found at the thrift shop for 10$. I washed it in hot sanitize cycle of my washing machine with the bath mats and slippers! This was done over two years and the material stuck around in the stash. I suspect that this winter will be cold and that I need a proper warm coat.
For the pattern, I am using the 1912 traveling coat. https://austerity101.wordpress.com/2012/08/08/now-for-my-jacket-2/ I really like the princess cut of the pattern. It is easy to meld into my shape. As I added greatly to the length to bring the coat to just above my knees I found that I was a bit short. So the under sleeves and front under panel are in the natural wool.
 The coat will comprise of the washed wool in plaid and a natural wool also picked up from the thrift shop for a few dollars and washed the same as the plaid over time. I purchases some quilting cotton batting for the inner layer for warmth. The lining will be in blue sand washed silk. Again, a thrift shop find of 6meters for 20$.

 When I put the cut wool pieces together and sewed them on they shifted. And that was with the walking foot in full gear! So, I pulled each seam apart and hand basted each seam so the plaid now matches at all seams.

The front opening is by zipper on the left side. Again this was had picked into place and topstitched by hand to keep it there.

 So before I can add the interlining and lining, I will topstitch by hand all seams. This is to seal each seam with the overlap. It will add bulk that will be hidden once the interlining is in place. Then I will steam the seams. Then on to the interlining, lining, hood and cuffs.
Cape 2 from a single piece of fabric and some hemp thread.
Hemp Thread – yes Hemp! It is .2mm and I think too big for my machines so hand stitching is in order.

Recently purchased wool plaid from the thrift store was begging to be a wrap. It measured 172cm long and 155 wide.

So, I started to fold at one corner 8 inches ( I use both metric and imperial in my sewing and cooking – it comes from starting my school years in imperial measurements and having to learn metric in middle school) from the raw edge and folded to the count of 10. Secured it with some pink hemp thread As this is only a test, I hand basted the raw edge of the plaid with more pink hemp.

Then I got another Idea and it was not to pleat the left side but to bring it up in a swanky way. To complete it I did a fast chain stitch on the left side to keep the folds in place for the drape of the hood.


So this is what I now have hanging out with Daisy (yes, I named the thing that pretends to be me for these photo shoot.)


The beginnings of a cape. It is asymmetrical but has a nice look. To finish this, I need to baste the bottom hem as it is the cut side of the fabric, craft an opening for the right hand and imagine a closure for the front.
But should I take the time to finish it or rip it apart and make a skirt? Or pants, or vest? you get the idea. Feedback is always appreciated.
I have already started a new one but it is only pinned. It is a dusty rose-pink from the 80’s, a woven silk with a very nice drape. It is my next part of the little sewing no cutting capes that bellow from my fabric stash.

Of something interesting.
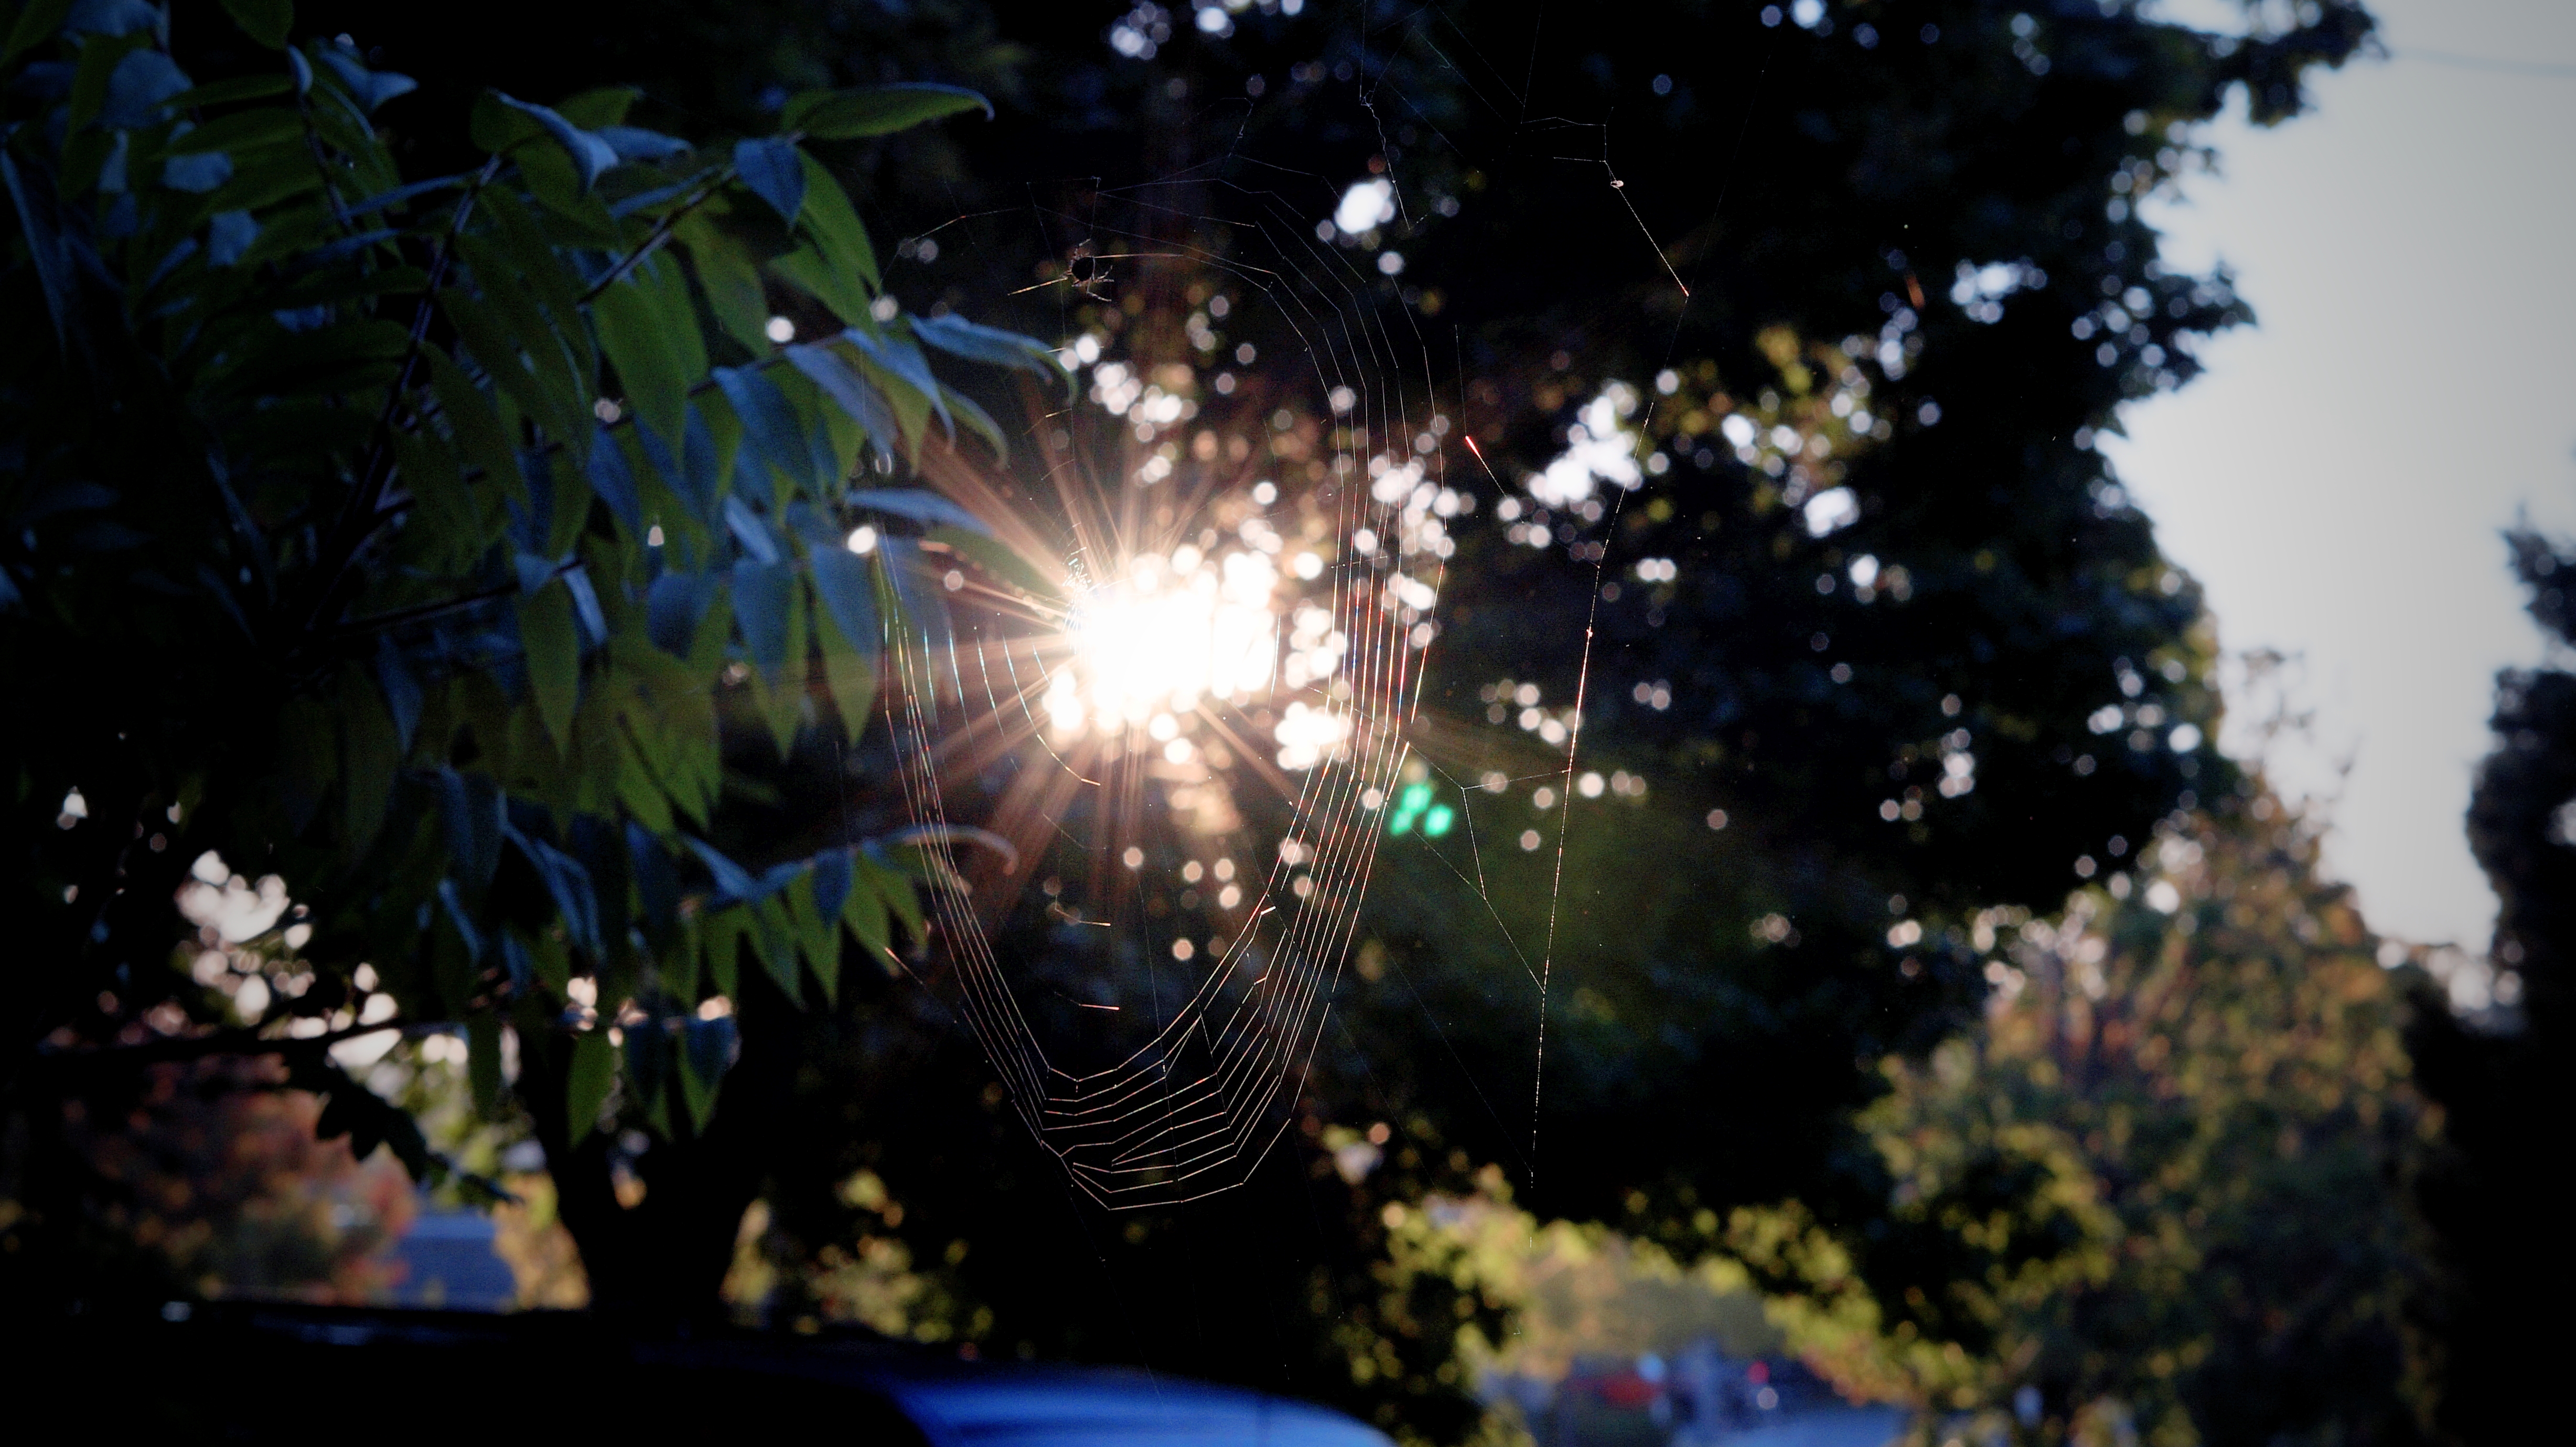
Spider at sunrise
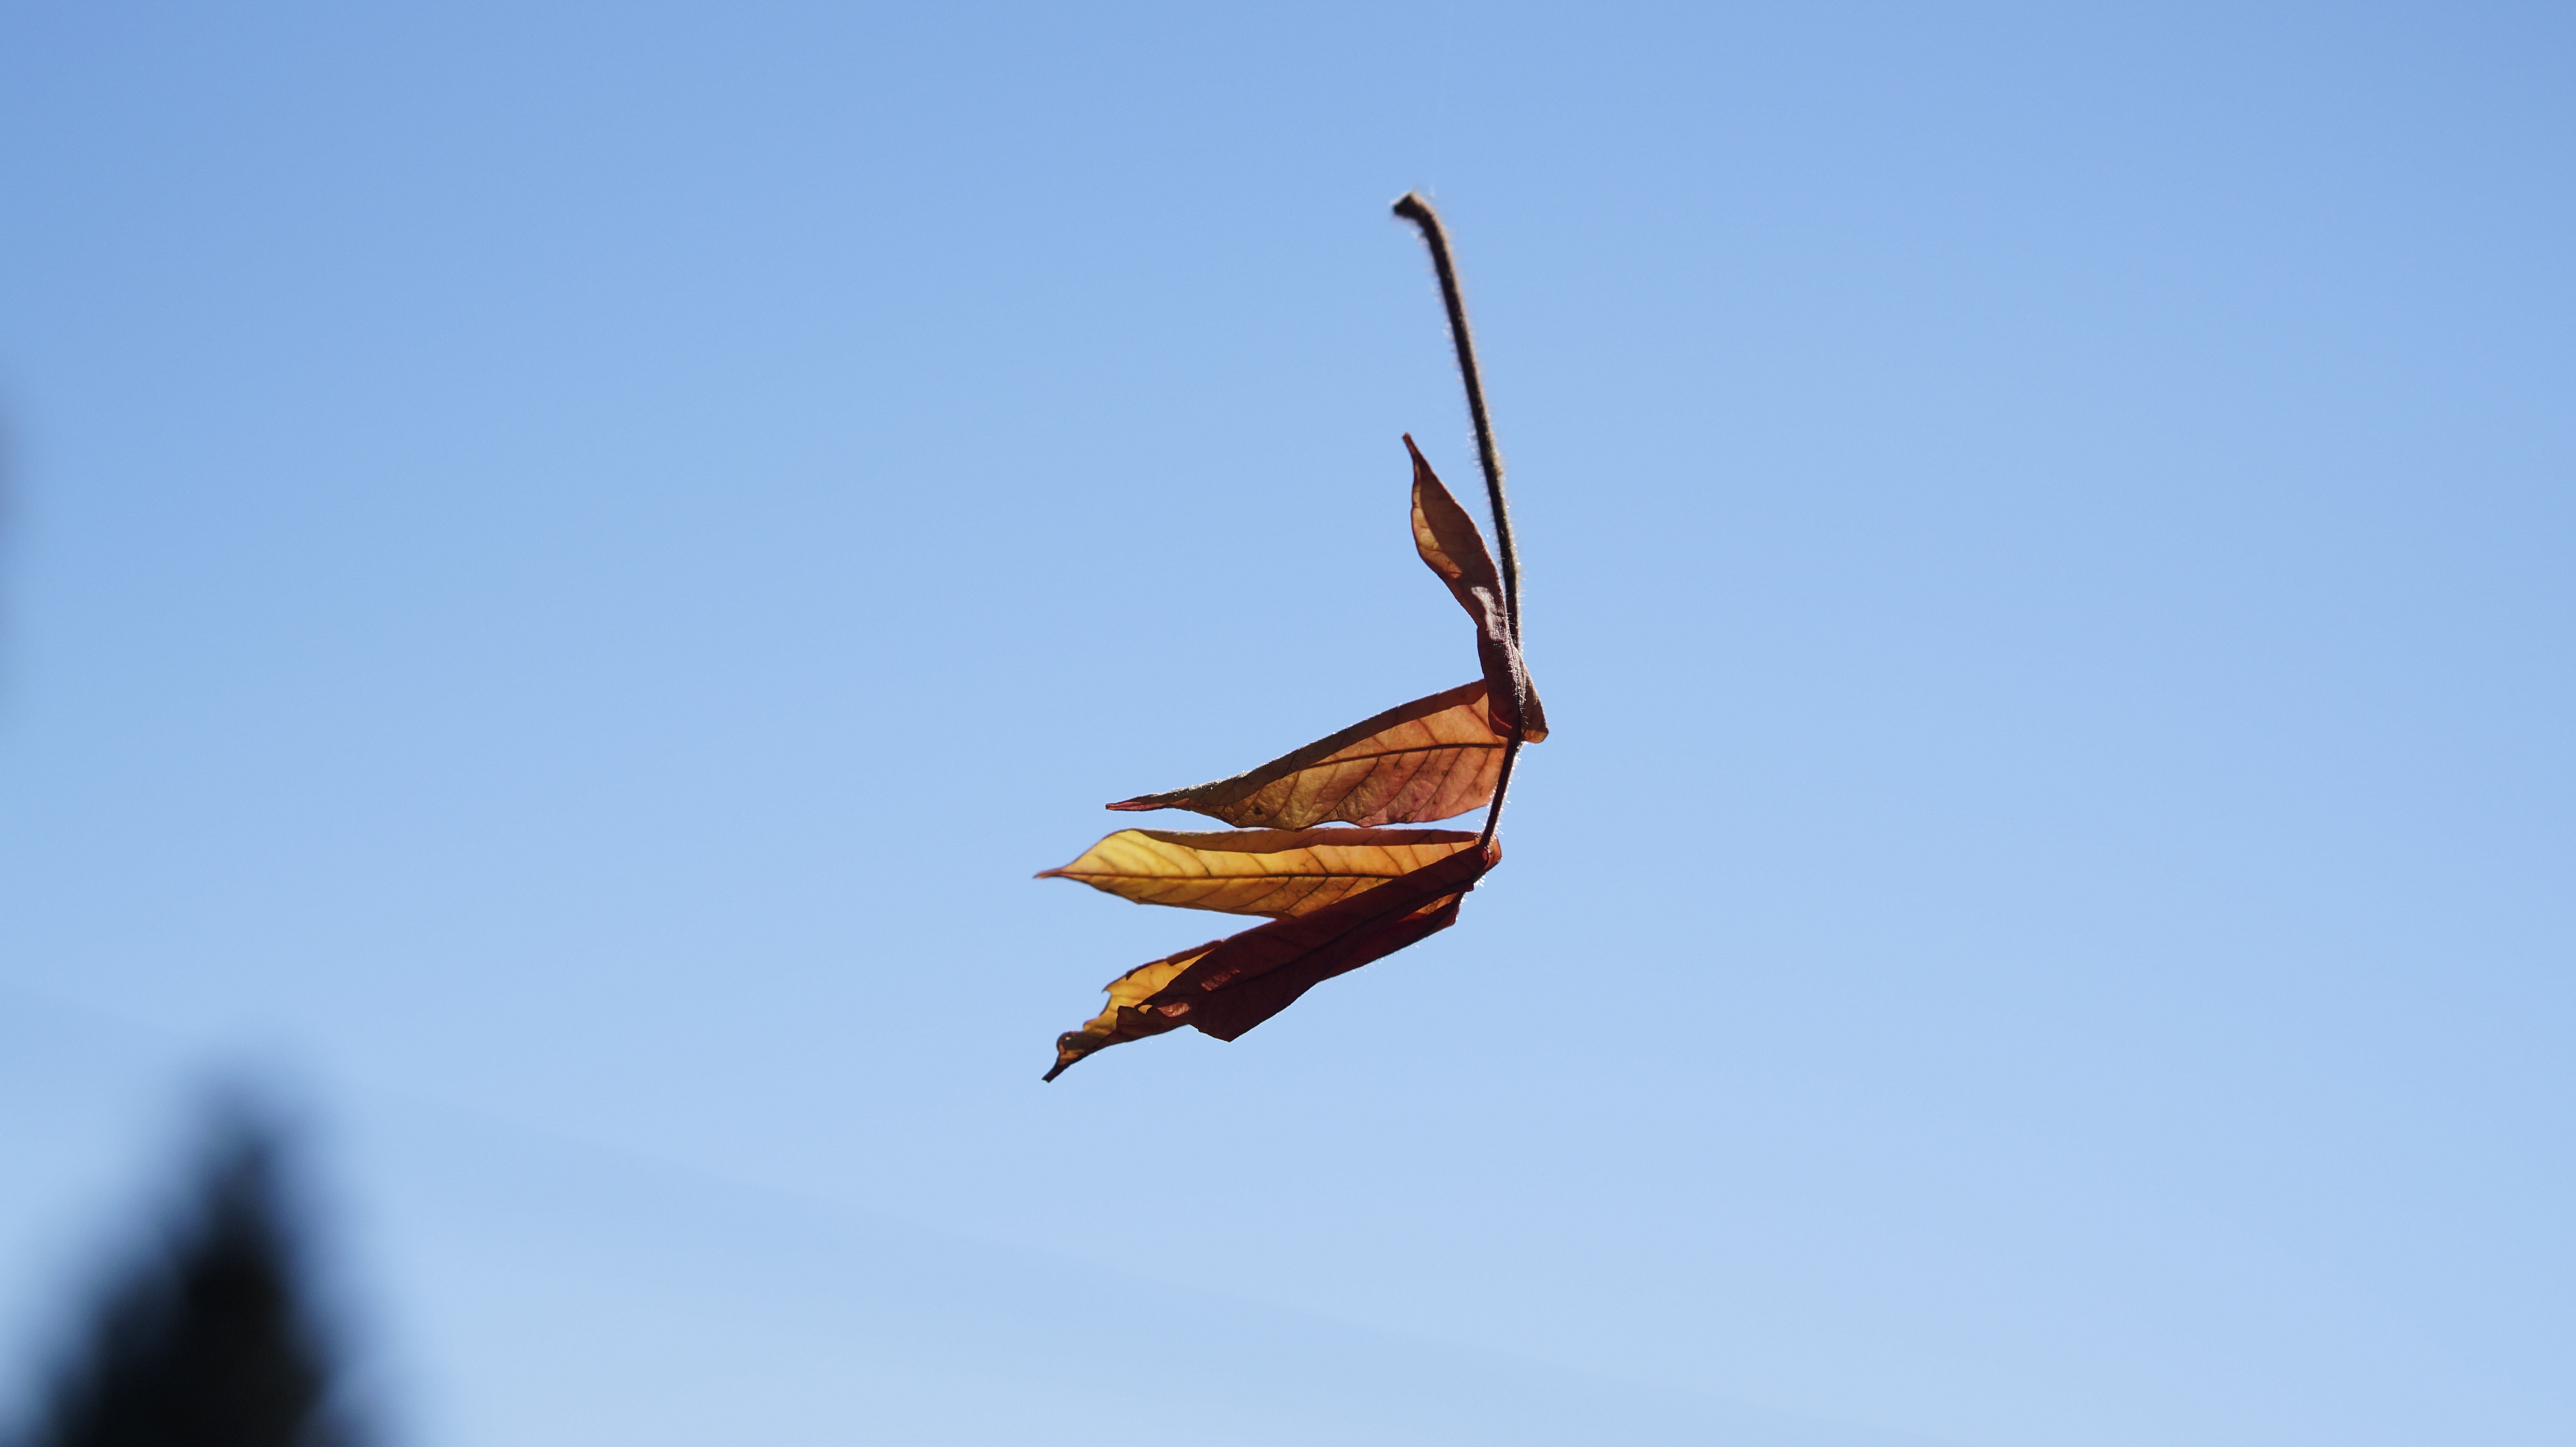
The magic of fall
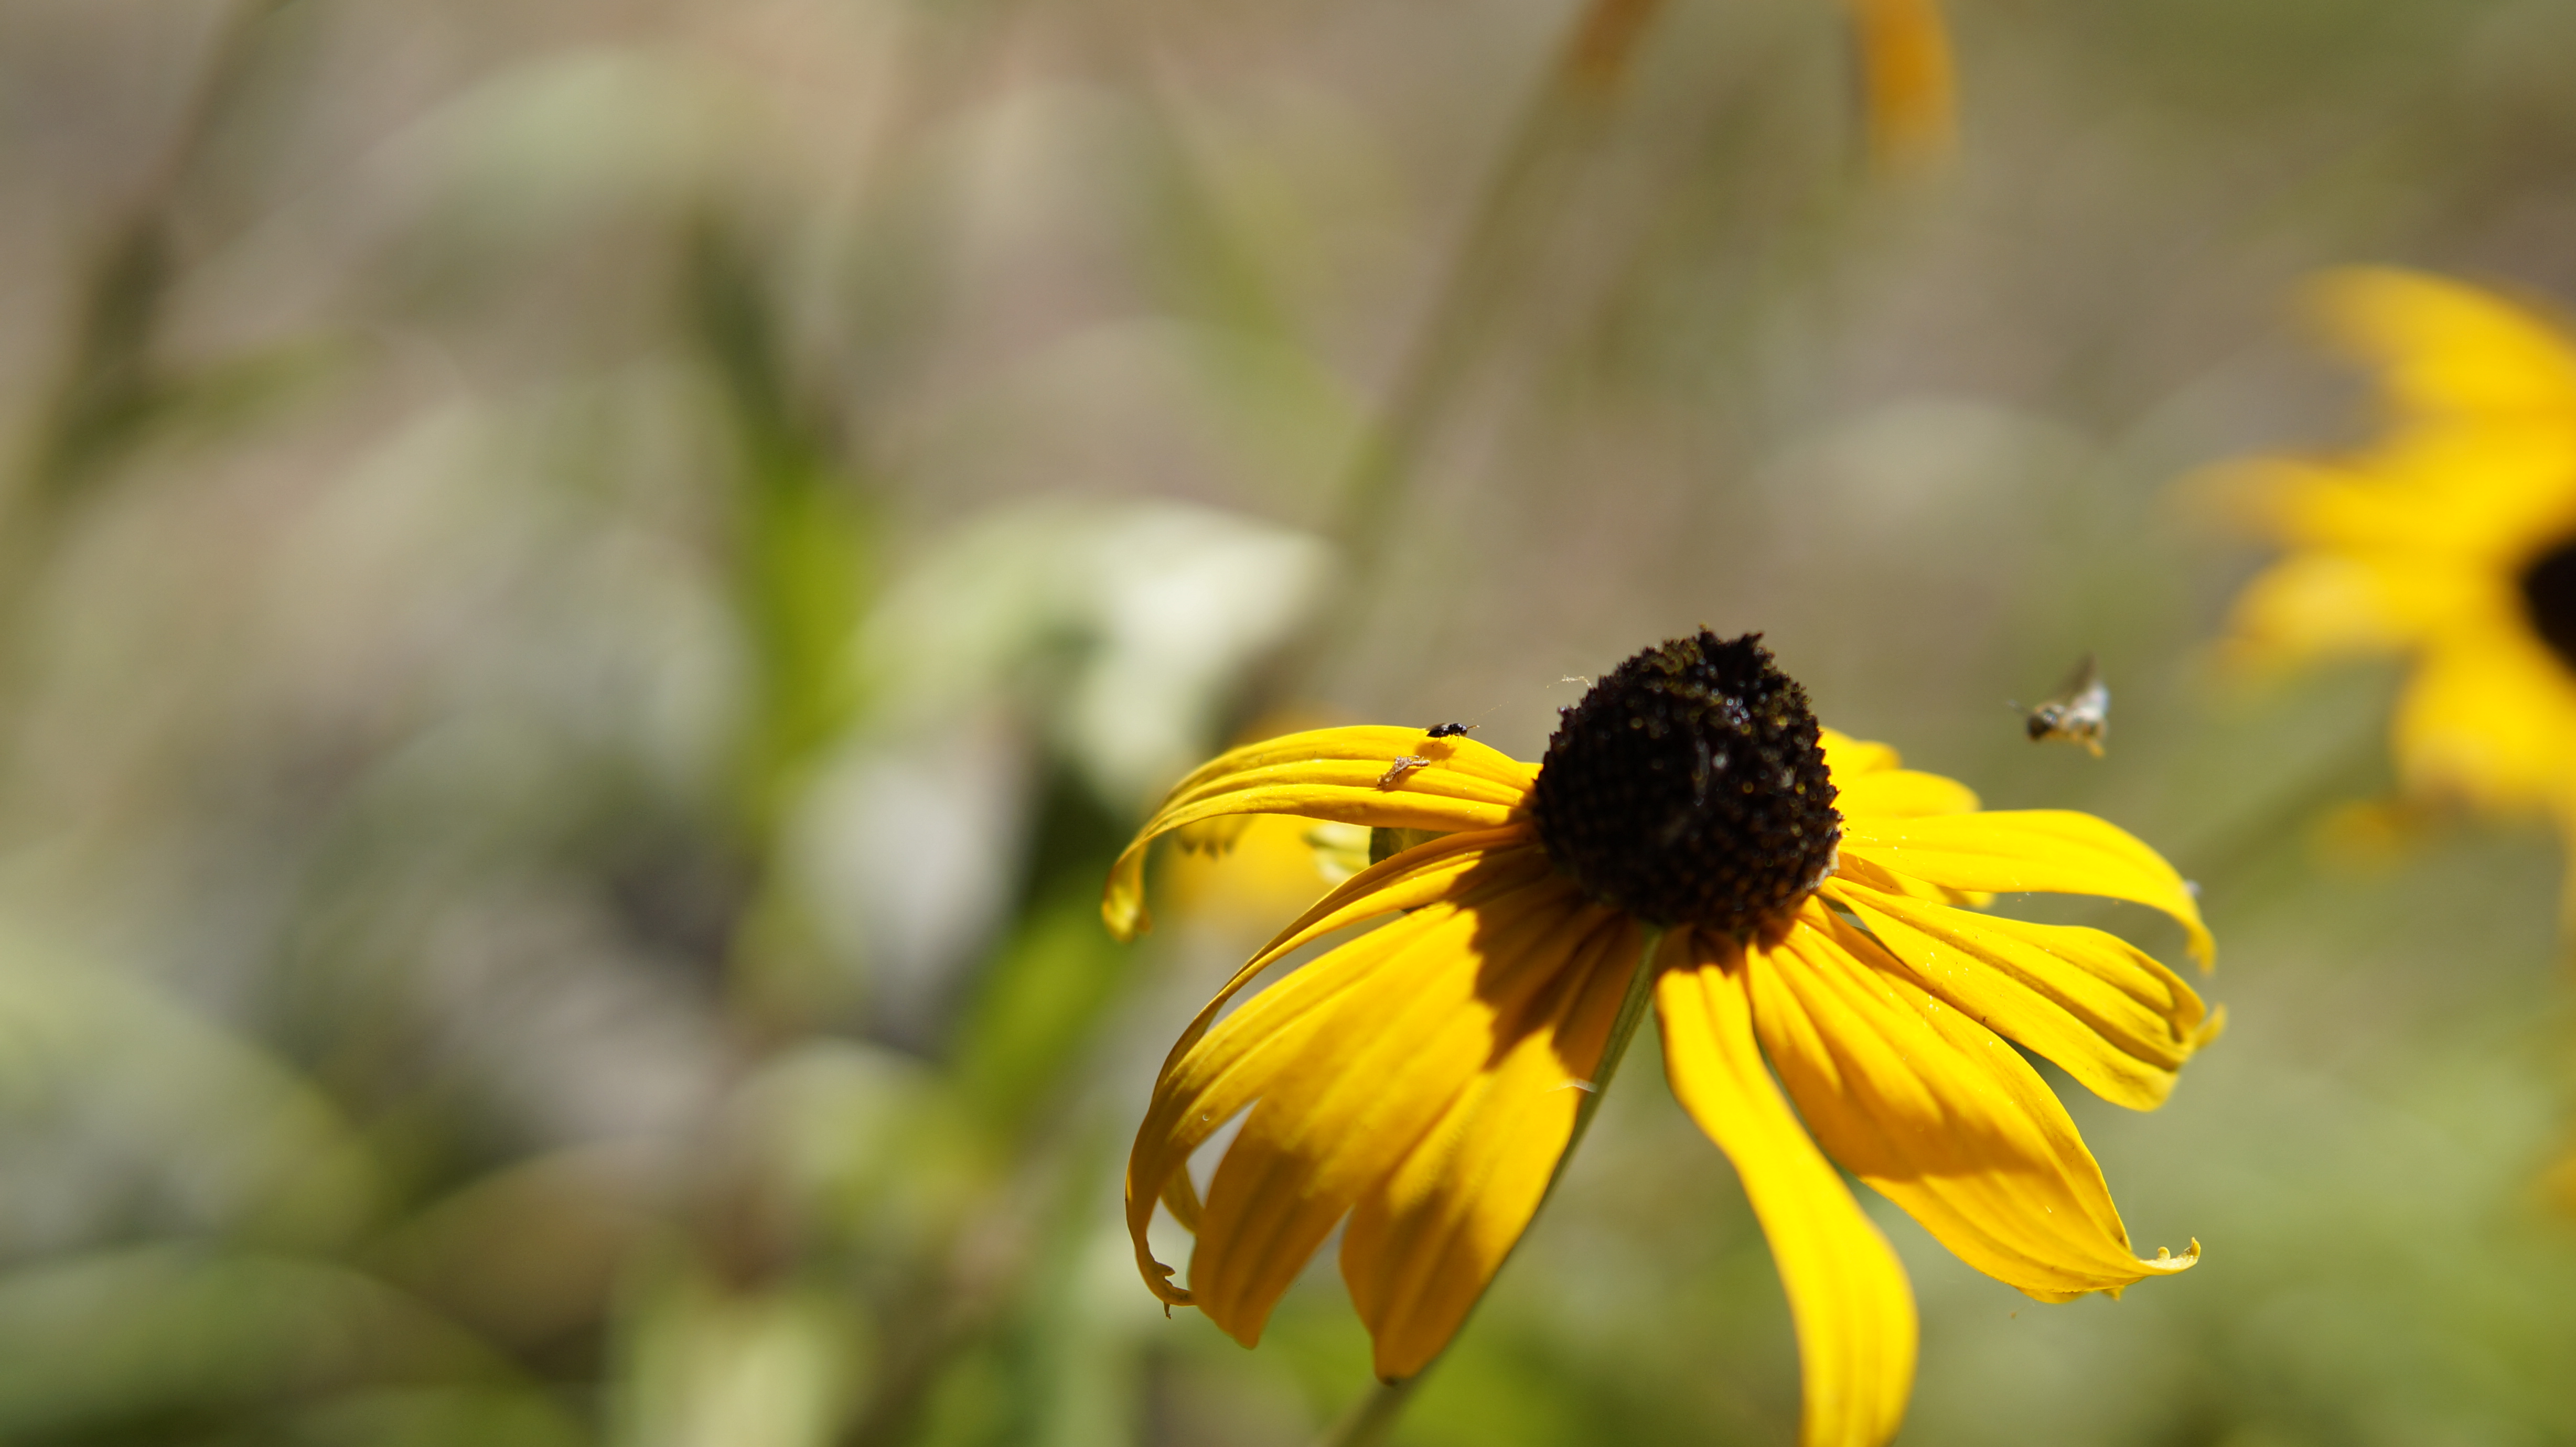
Brown Eyed Susan
Well, almost finished as I write this. Just a quick press and the fasteners to do.


That may sound easy but I tend to get lost in the details. I found some terrific dragon flies in copper but where to put them!

The lining – I tacked the front pieces to the shoulder seams. I don’t always like to cut being somewhat intrigued by folds. The result is that the shoulders stay on the shoulders when wearing without any clasps or ties. Though to have more mobility when wearing a tie or clasp will be utilized.


To hem the lining I used a big hair clip to keep the wool up while pining the garment. It worked well.


I have a tendency to ware the garment before completion to get a feel for it. This cape feels good. I had originally left an opening for the arms in the front seams but while trying it out any movement of the arms away from the body were inhibited by the fount folds. To remedy this, I will add a cuffed opening at the sides of the cape but only when all else is done.
I saw this 
Misses’ Cape
so I came up with this


This is my muslin.
The fabric is a foundling from the thrift shop – a soft wool that was too hard to pass on. 2.25 meters was enough for what I had envisioned.
So I laid it out and found what I felt was a worthy center and then cut.

The center is one piece like a kimono, 88 inches (2.25M) in length and shoulder to shoulder 44cm + seam allowance. This piece was then cut up the center to midway point and a t-shaped cut at the neck to give it the kimono opening.
The sleeve cap / side panels I measured for the shoulder of 7.5cm + seam allowance. As I am no longer a whips of a creature, I cut the side panels in a kind of bell shape. This was Thursday night so I put the fledgling cape aside.
Then yesterday the bitch that bore me called wanting to see me. To put a long story short, not all who bare children should raise them. I was quickly tumbling into a psychosis of PTSD and help for this sort is not readily available on a Friday night. The fabric lay cut on the ironing board and the sewing machine was out – so I plied myself from my bad head space and concentrated on the putting together my creation.
A cup of coffee near by (this stuff is really good for mental health!) and basted the sides to the center piece. This I threw over my shoulders and it felt good. By now Loki (the fox terrier) was getting antsy for a cuddle on the couch.

I was needing to continue sewing and Loki was needed her nightly TLC in front of the idiot box so I found a compromise. I folded the right front part of the T on the center panel over and hand stitched a blanket stich. This worked well for two episodes of Battlestar Galactica and I was able to baste both the right side and left side.

The right side is finished on this photo and the left was only pinned but the result was as if I had applied a facing.

The back however did need need something to finish it up. When I made the first cut to the material for the right center I was left with a piece that was 88inches long and about 5 inches wide. I was thinking that I could finish it off as a scarf but it worked out when folded so and layered over back of the neck it looked very stylish.
The front view plied with pins keeping it together until I have my cuddle time with Loki and a needle and thread in front of the TV tonight.

Once it is sewn in place, I will re-seam the side panels making the seams a little bigger to remove some extra width at the shoulders. I will then work on the front hand openings that I am planning on the seams.
winter wallows on my mind

the summer echoes of children
this day is quite
music provides presence
sunshine touches the inner wall as the
evening sun glides to the horizon
my plants stretch for its touch
to soon its light will fade from their view
winter is on its way

graciously,
kids do not consider winter
in sunshine filled days
the grasshopper caught in the vent is
entertainment enough for their curiosity
I envy this innocence, this simplicity
far from intrinsic modern living
these children are ageless
winter is on its way

the beast that builds our burdens wanders by,
stranded, abandoned yet luckily found
in the depths of our hearts
wild passion flows from the desolate
revelry that awakens sleepers
is the unwelcome intrusion
it fades,
winter is on its way

the wind rustles though the suite
a fort of blankets,
a treasure of fresh fruit
hidden amongst the living room furniture
no safe place out of doors
for theses implements of childhood
today the wind is warm,
gentle,
winter is on its way

an active neighborhood
by all accounts
planes, trains and automobiles
their melody flow amongst the old apple trees
crows defending what is rightfully theirs bellow resistance
here lie the seeds of decay
a warren for the unwanted, unloved
to absolve society they deface it
then go home
winter is on its way

yet
beyond winter
lie the seeds of spring
waiting
wanting
needing
cool warmth of the Capricorn sun
chasing shadows from the winter crevices of my mind

All photos by Cathy Tremain, Poem by Cathy Tremain
Let’s chat! marriage, love, daily motivation, uplifting, self love & more
Nature's nuances in a nutshell
Everyday thoughts . . .
Where curiosity meets opportunity
Geschichten mitten aus dem Leben; über Momente die uns prägen, Freude, Schmerz, Hoffnung und Schicksal dem wir täglich begegnen. Ein kleiner Blick ins Innere, ein Blick hinter die Tür.
Photos, stories and more
Photographer Of Life and moments
Your official home for all things New York Mets
yup! words love me
Loves, lamentation, and life through prose, stories, passions, and essays.
Philosophical Soul Ventures
Entertaining Story Cards to inspire writers
The fictional adventures of Simon Birdsong.
A Portal To Another Green World
Illustration, Concept Art & Comics/Manga
投資とレビューと商品紹介

