A relaxing moment.
A relaxing moment.
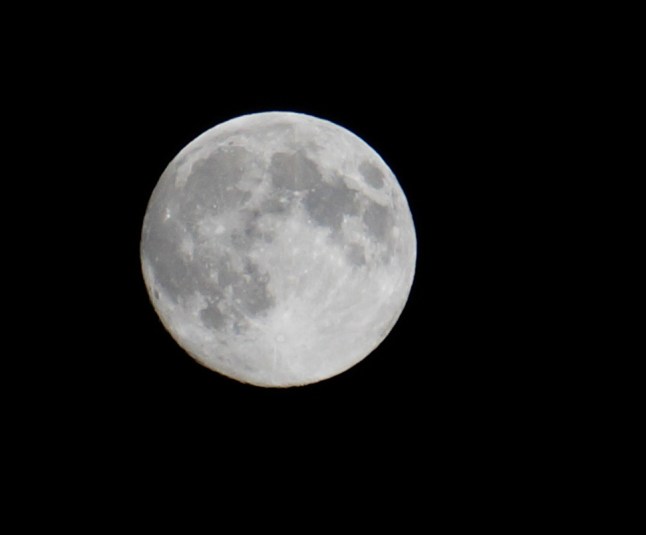
the full moon from Victoria BC Canada
I had an idea that I could sew while camping so I started a Kimono. 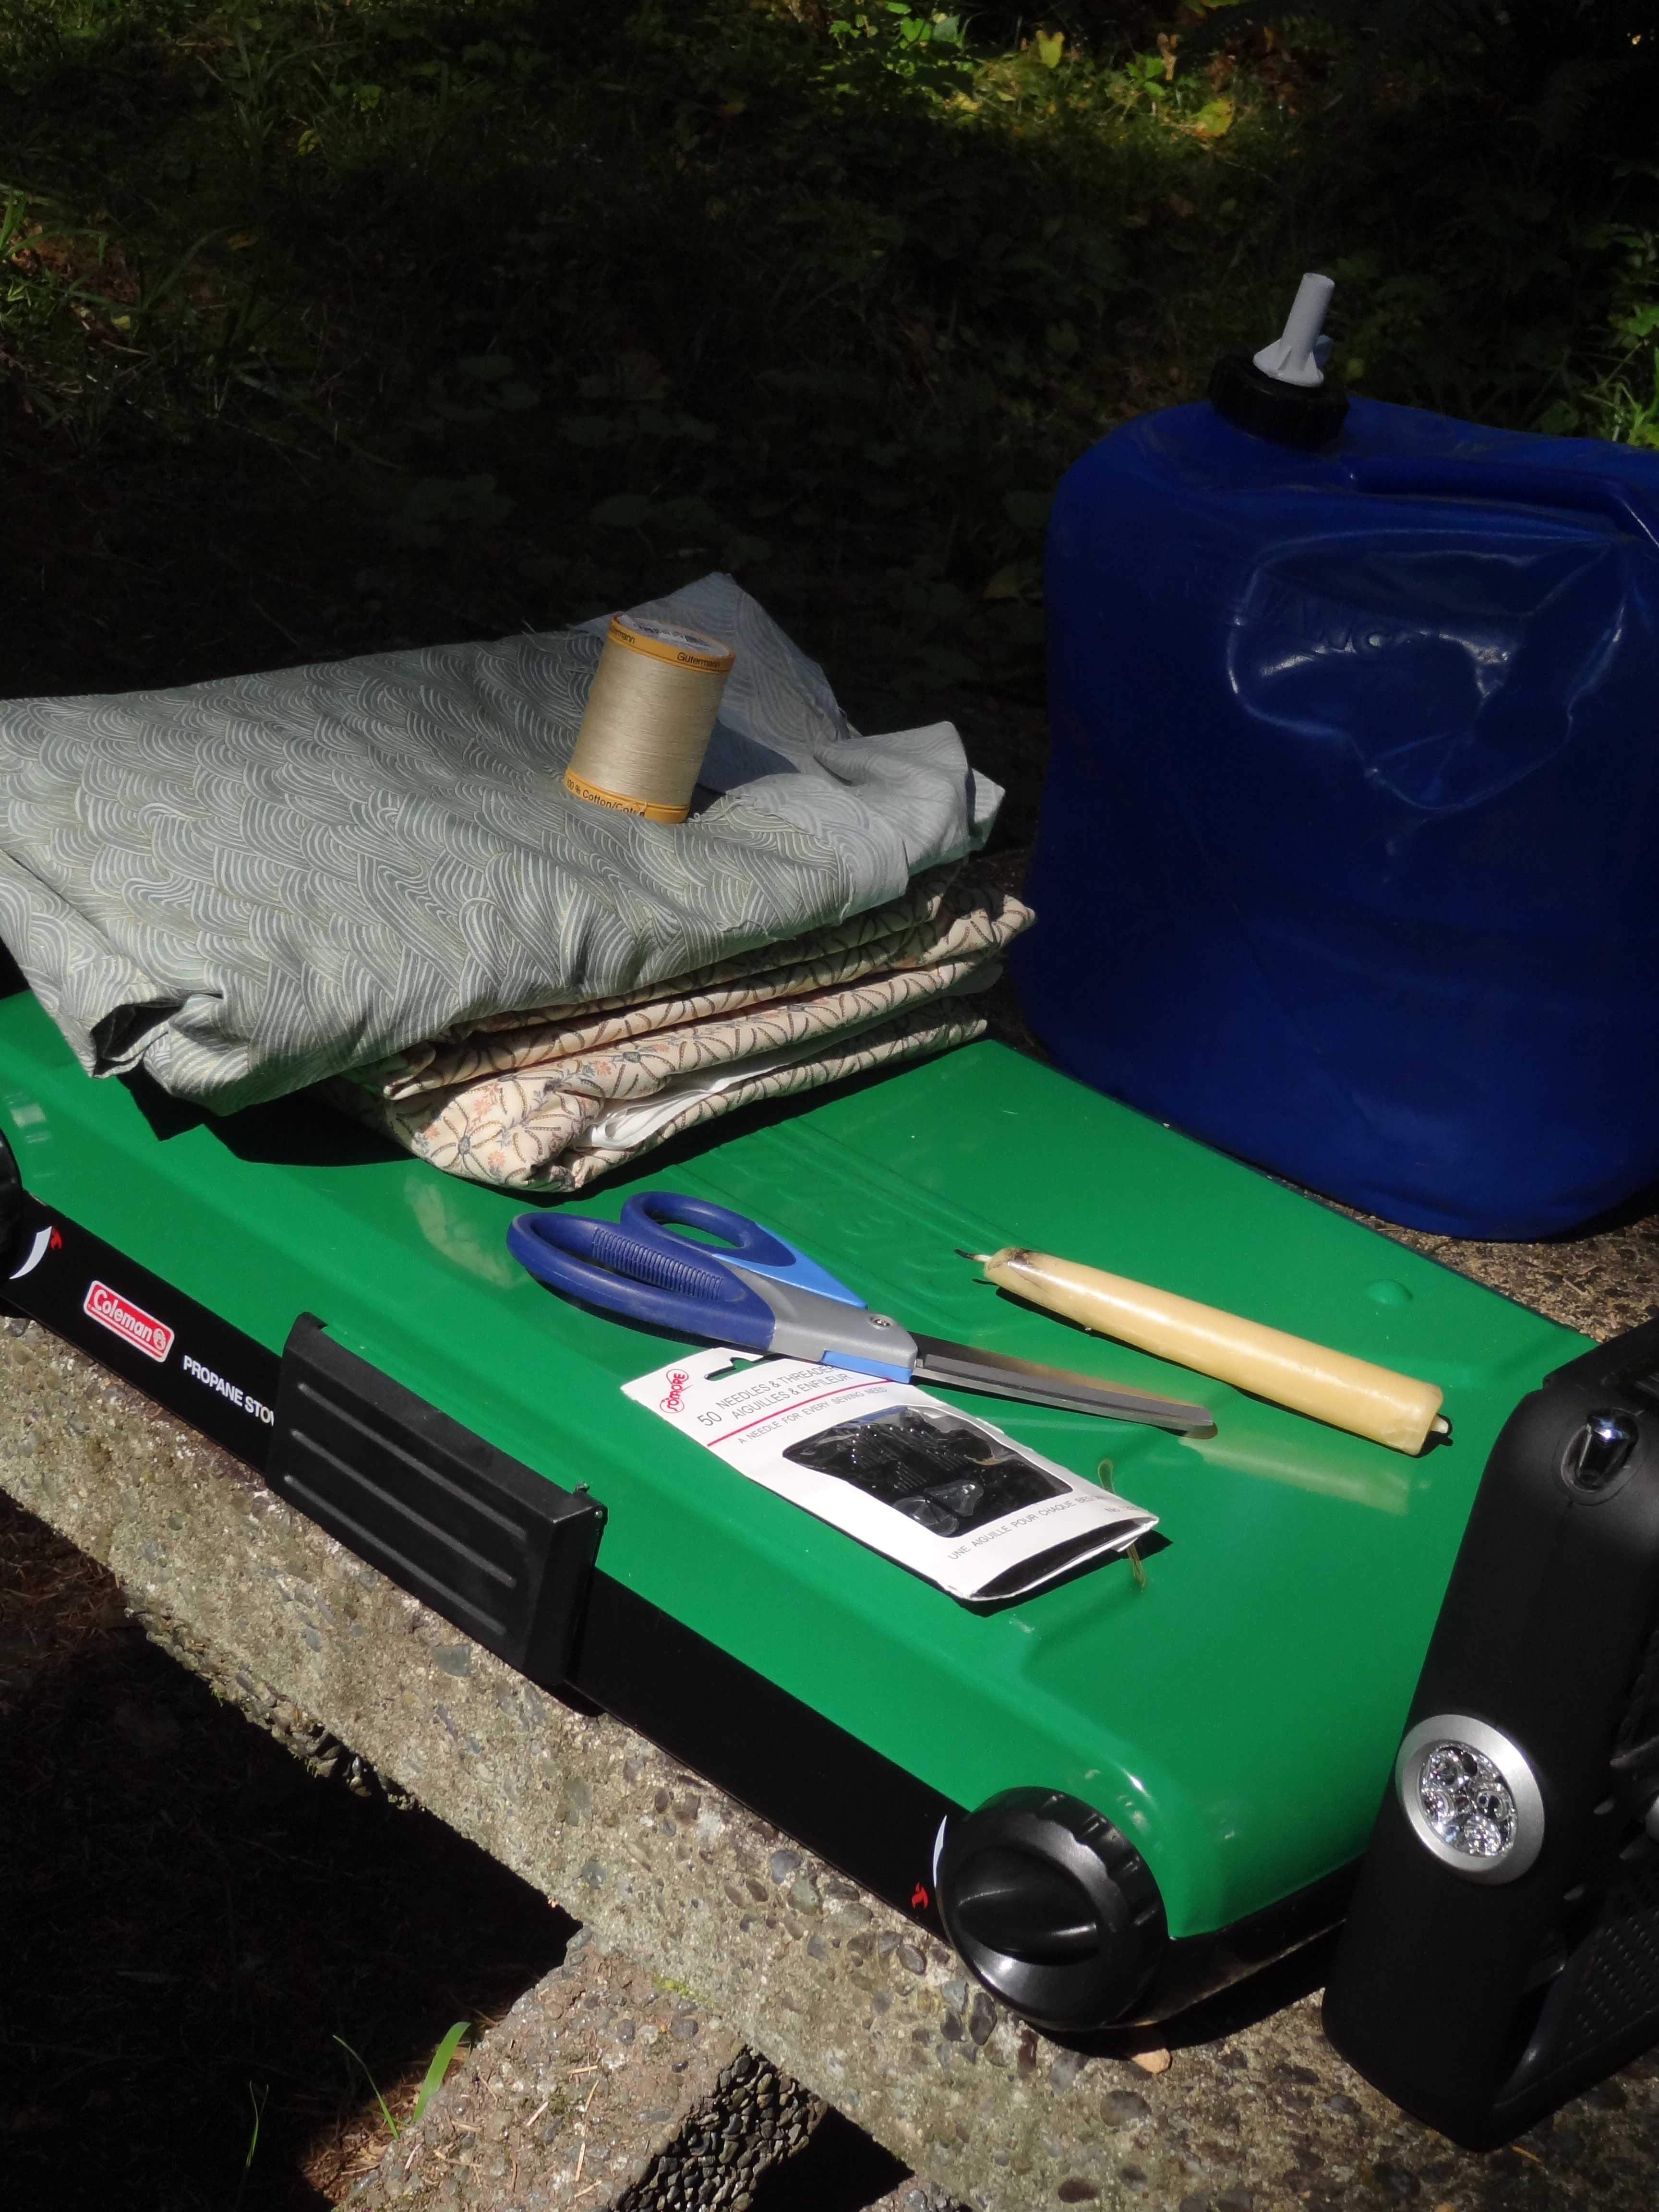
I brought a bees wax candle,

So once I was a bit rested ( a couple of days) I took scissors to cloth after measureing against my sholders. I added a couple of inches and it is was here that I made my first mistake – I did not give enough ease for this type of garment – I should have added another 4 inches for the extra ease that you want in a house robe. Oops but I carried on!
I next made a cut down the centre of the fabric to the just shy of the halfway mark of the full panel. This is where to cut a few inches on either side for the neck opening – a very long T cut is the finished result.

I slipstitched the side seams into two nice French seams and had the beginnings of a small kimono. I then remembered I needed two front panels – oh, the joy of being very tired.
 This is where I made my second mistake.
I did not make the front panels long enough as they should be shy of the T top opening. Also, the angle was not necessary but this was how I made my first three kimonos of a Folkware pattern and the method stuck with me. Oops # 2
 The distracting woods.
So I had to come up with a fix in the bush and this is what I did. I took a long piece (probably 7 feet) and cut it in half – Oops #3 – it should have been a diagonal cut but I was trying to make up for the first Oops.. So the final fix was cutting the a remnant , matching the pattern and slip stitching to keep it in place and I had the front almost finished.
Once home, I neatened up the panel fix seams with some folding and overstitching the neater seams.


Very time consuming but I was on holidays and had the time. Once home, over the next few days I finished what normally takes two hours on the machine.
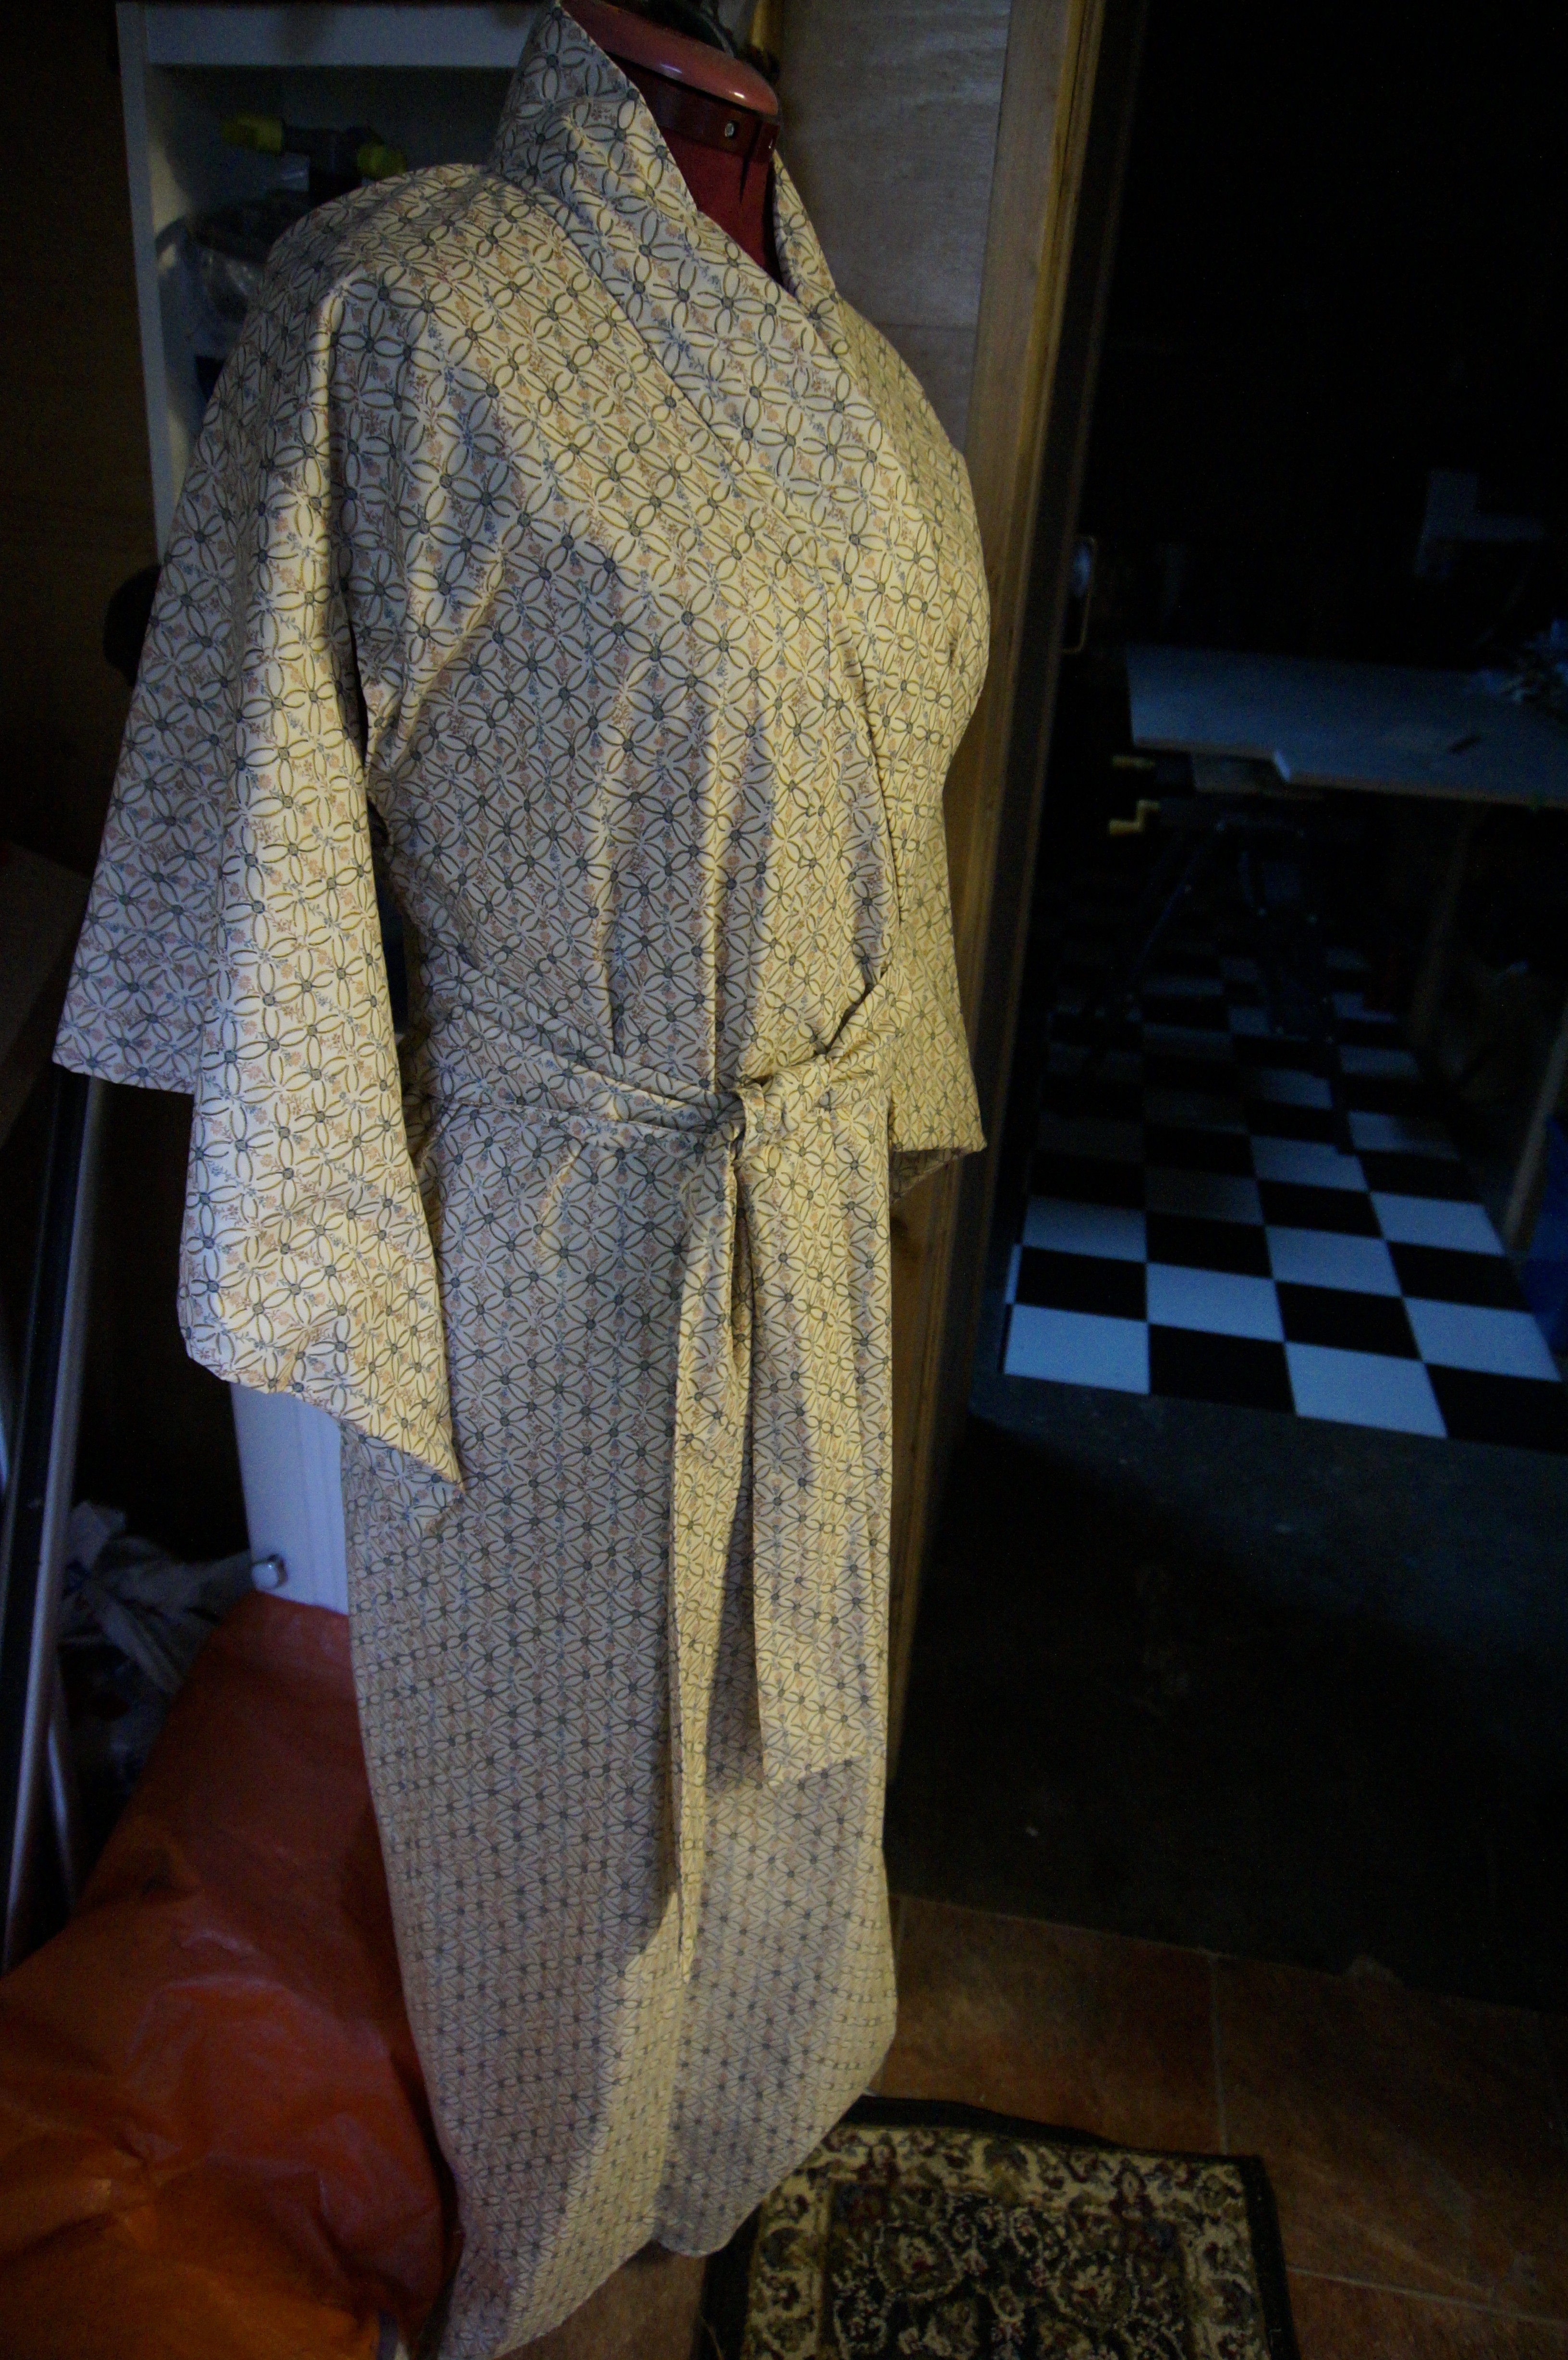
Amazingly it still looks like a Kimono! I have more details on the collar and the sleeves as well as the finishing touches.
And if any one is interested I will do anther page to finish the job, just drop me a line in the comment’s to encourage me to find the time this week.
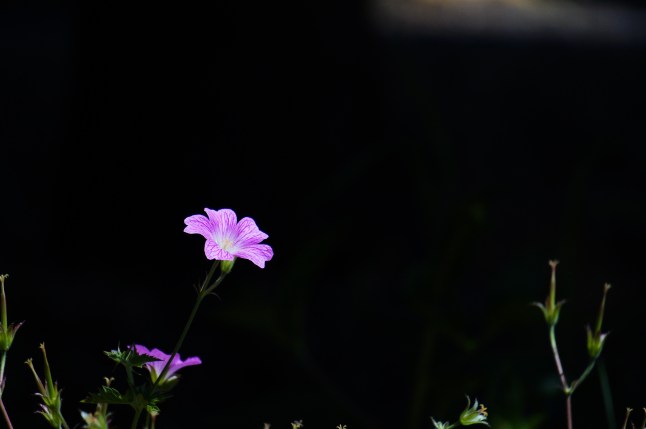
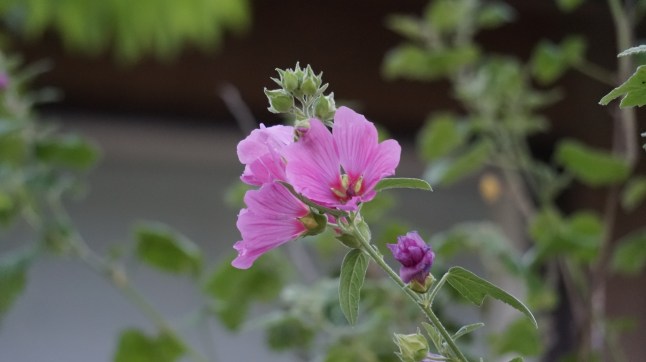
Some eye candy thanks to the new Sony Nex – 3
New camera – twilight shot.

This was started while camping. Note to self – remember to bring tape measure when sewing while camping.
 Click on any picture to enlarge.
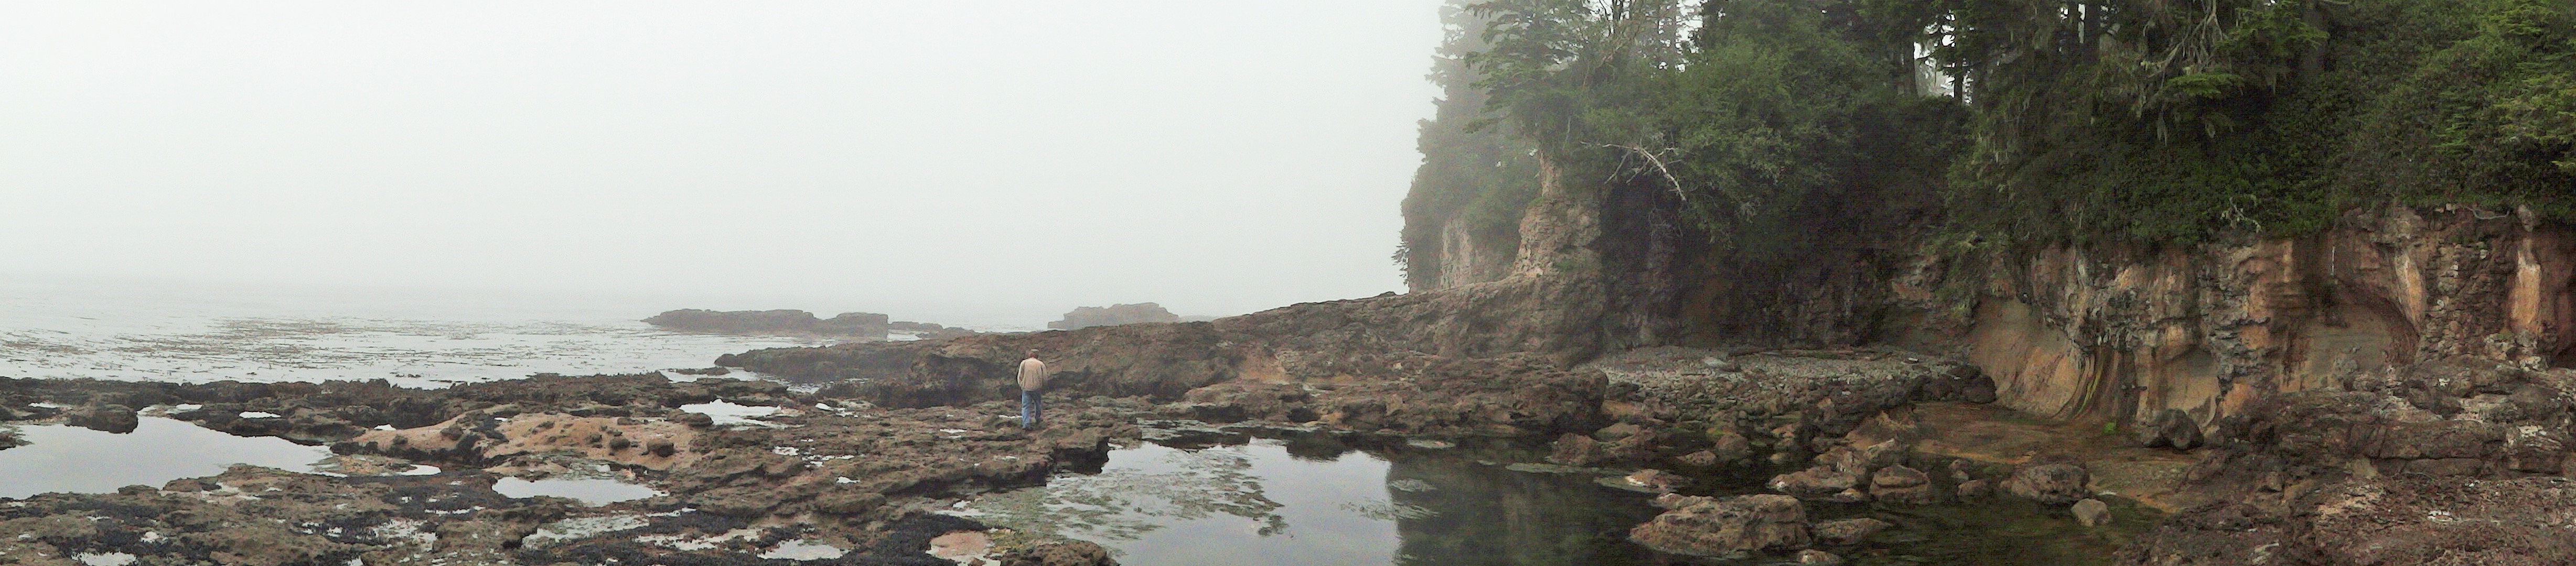
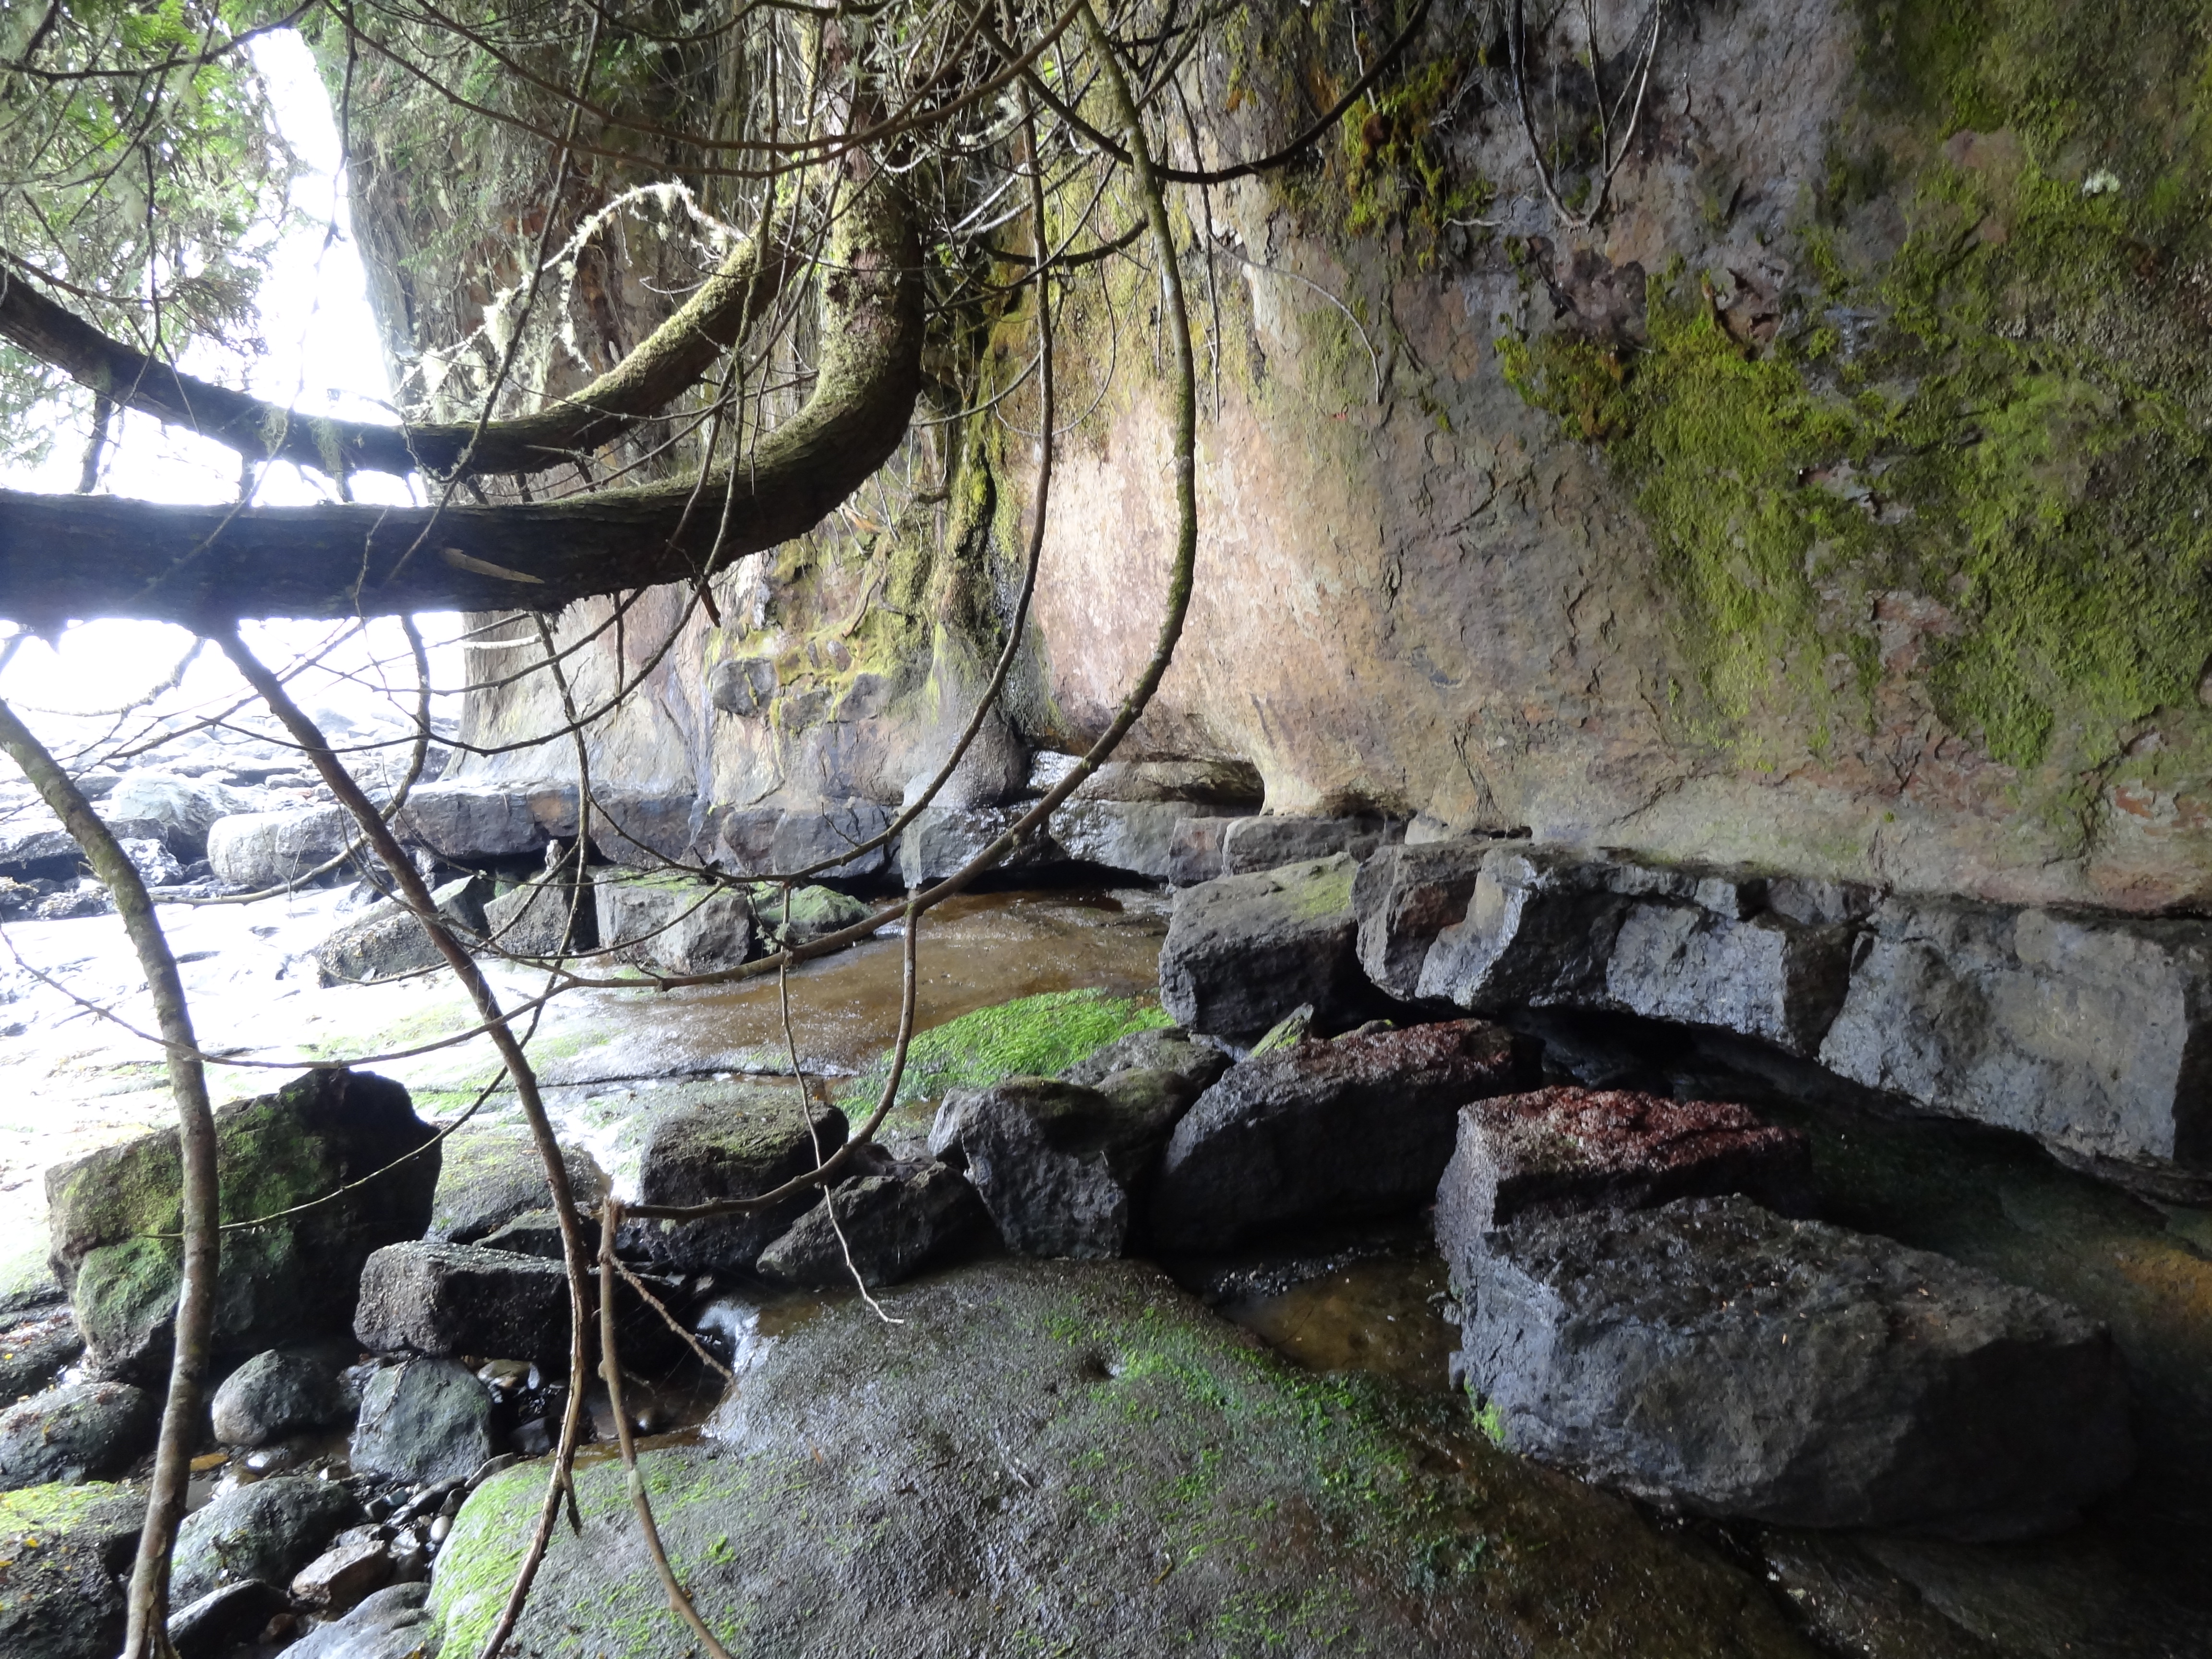
Botanical Beach is located on the west coast of Vancouver Island. It is part of the Juan de Fuca Provincial Park. It is an amazing place even in the morning fog. We struck camp at 6:30 am and made it down to Botanical Beach for the 8:09 am low tide of 1.5 feet. It is a half mile hike down to the beach from the parking lot. The fog was heavy on the trees tops.
At the bottom of the steep terrain the beach opens up to the pacific ocean. It is a vast space. 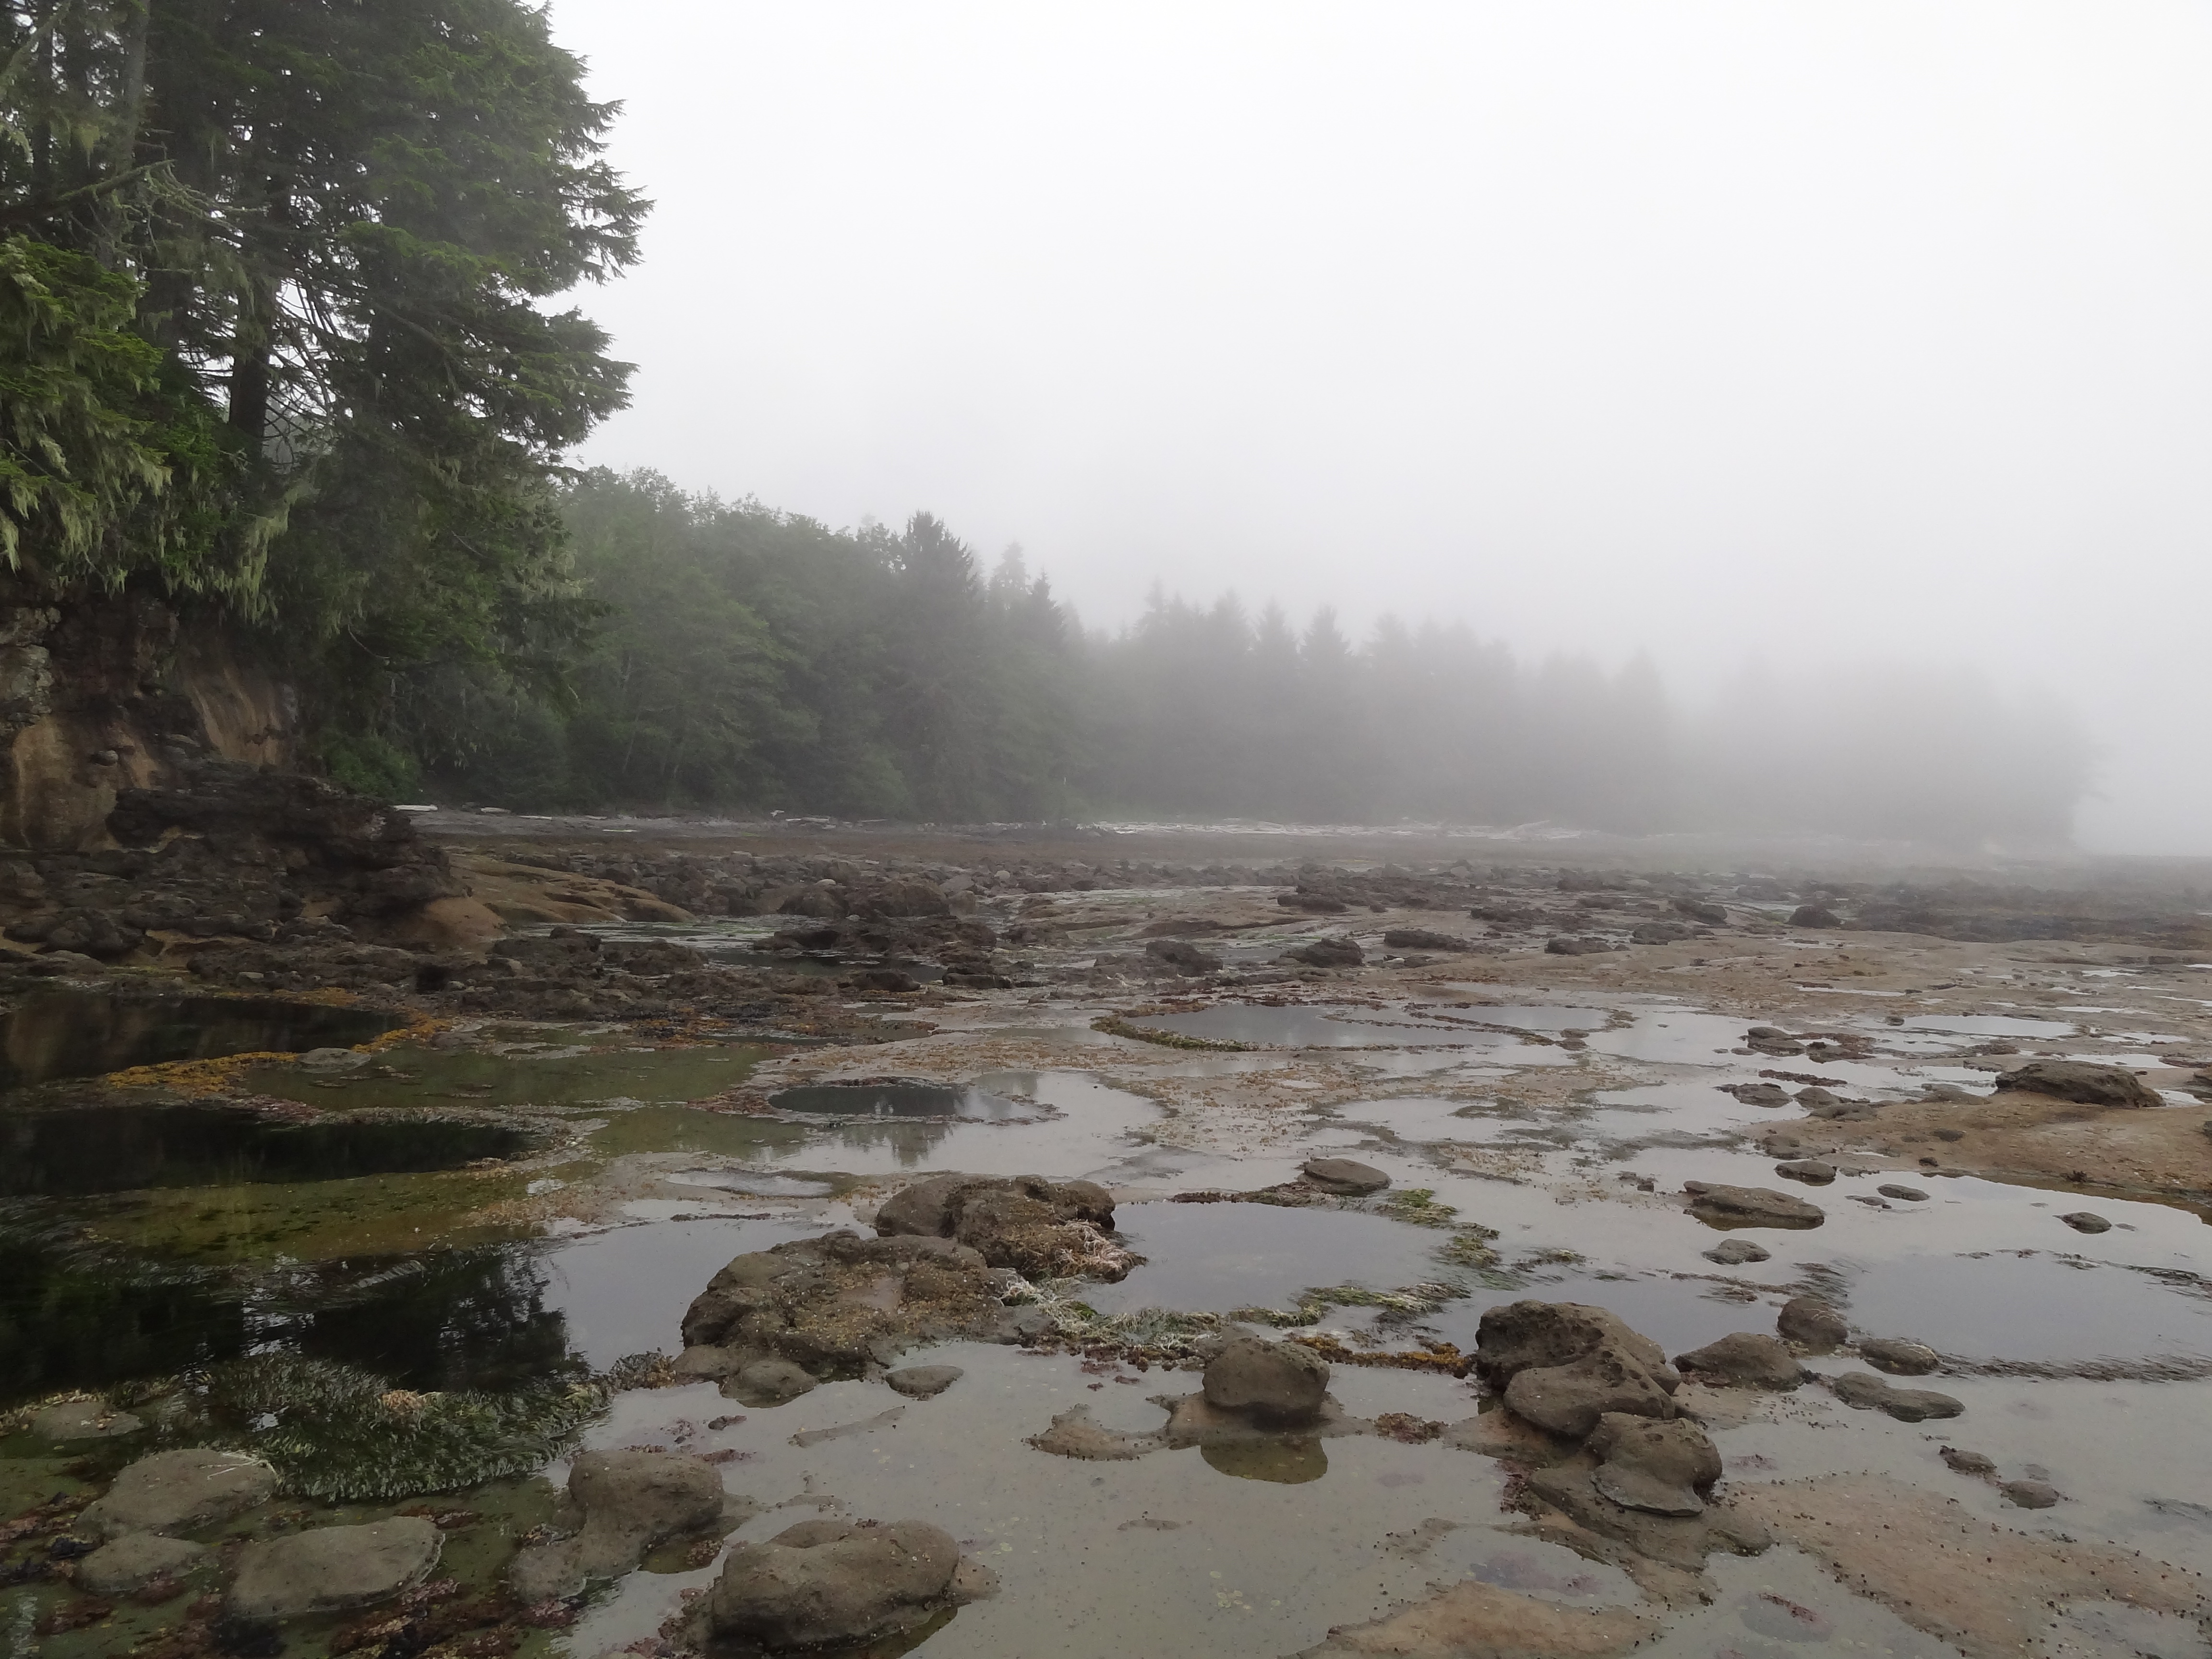 The blue of the ocean hides under the fog. The fog does not detract from the astounding space of Botanical Beach.
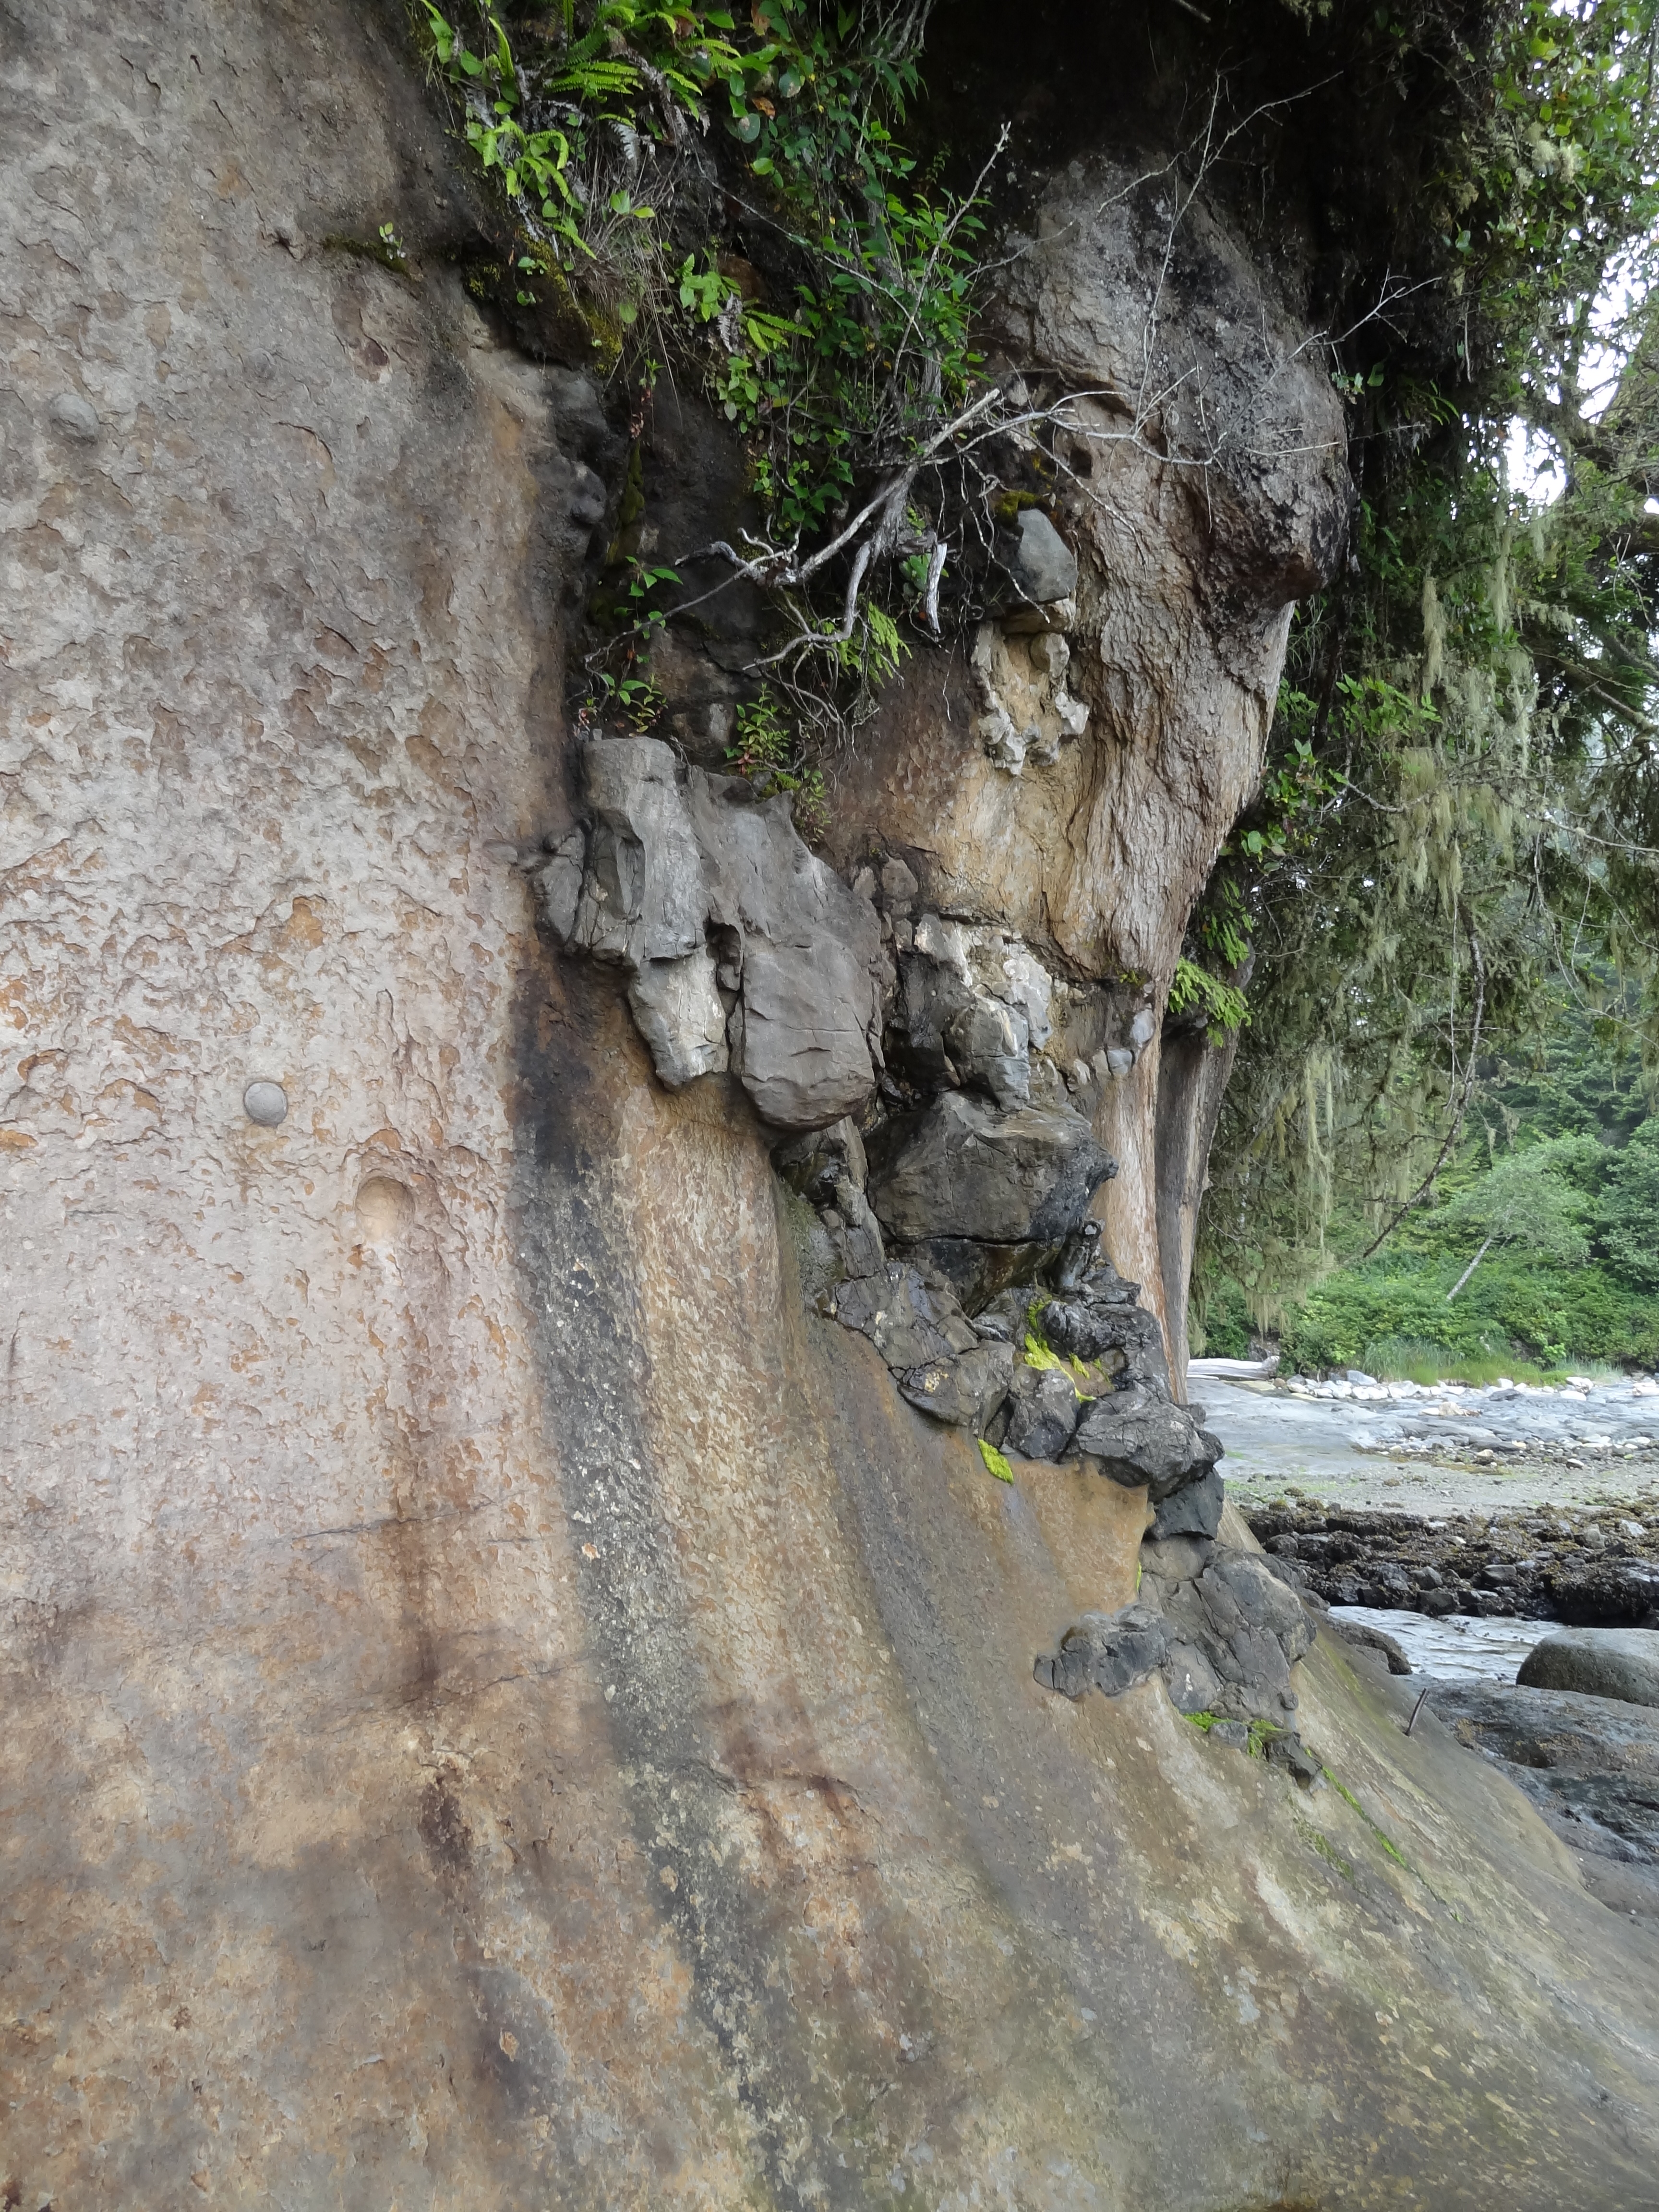
The diversity is not only in the plant and animal life, it is compounded in the rock formations.
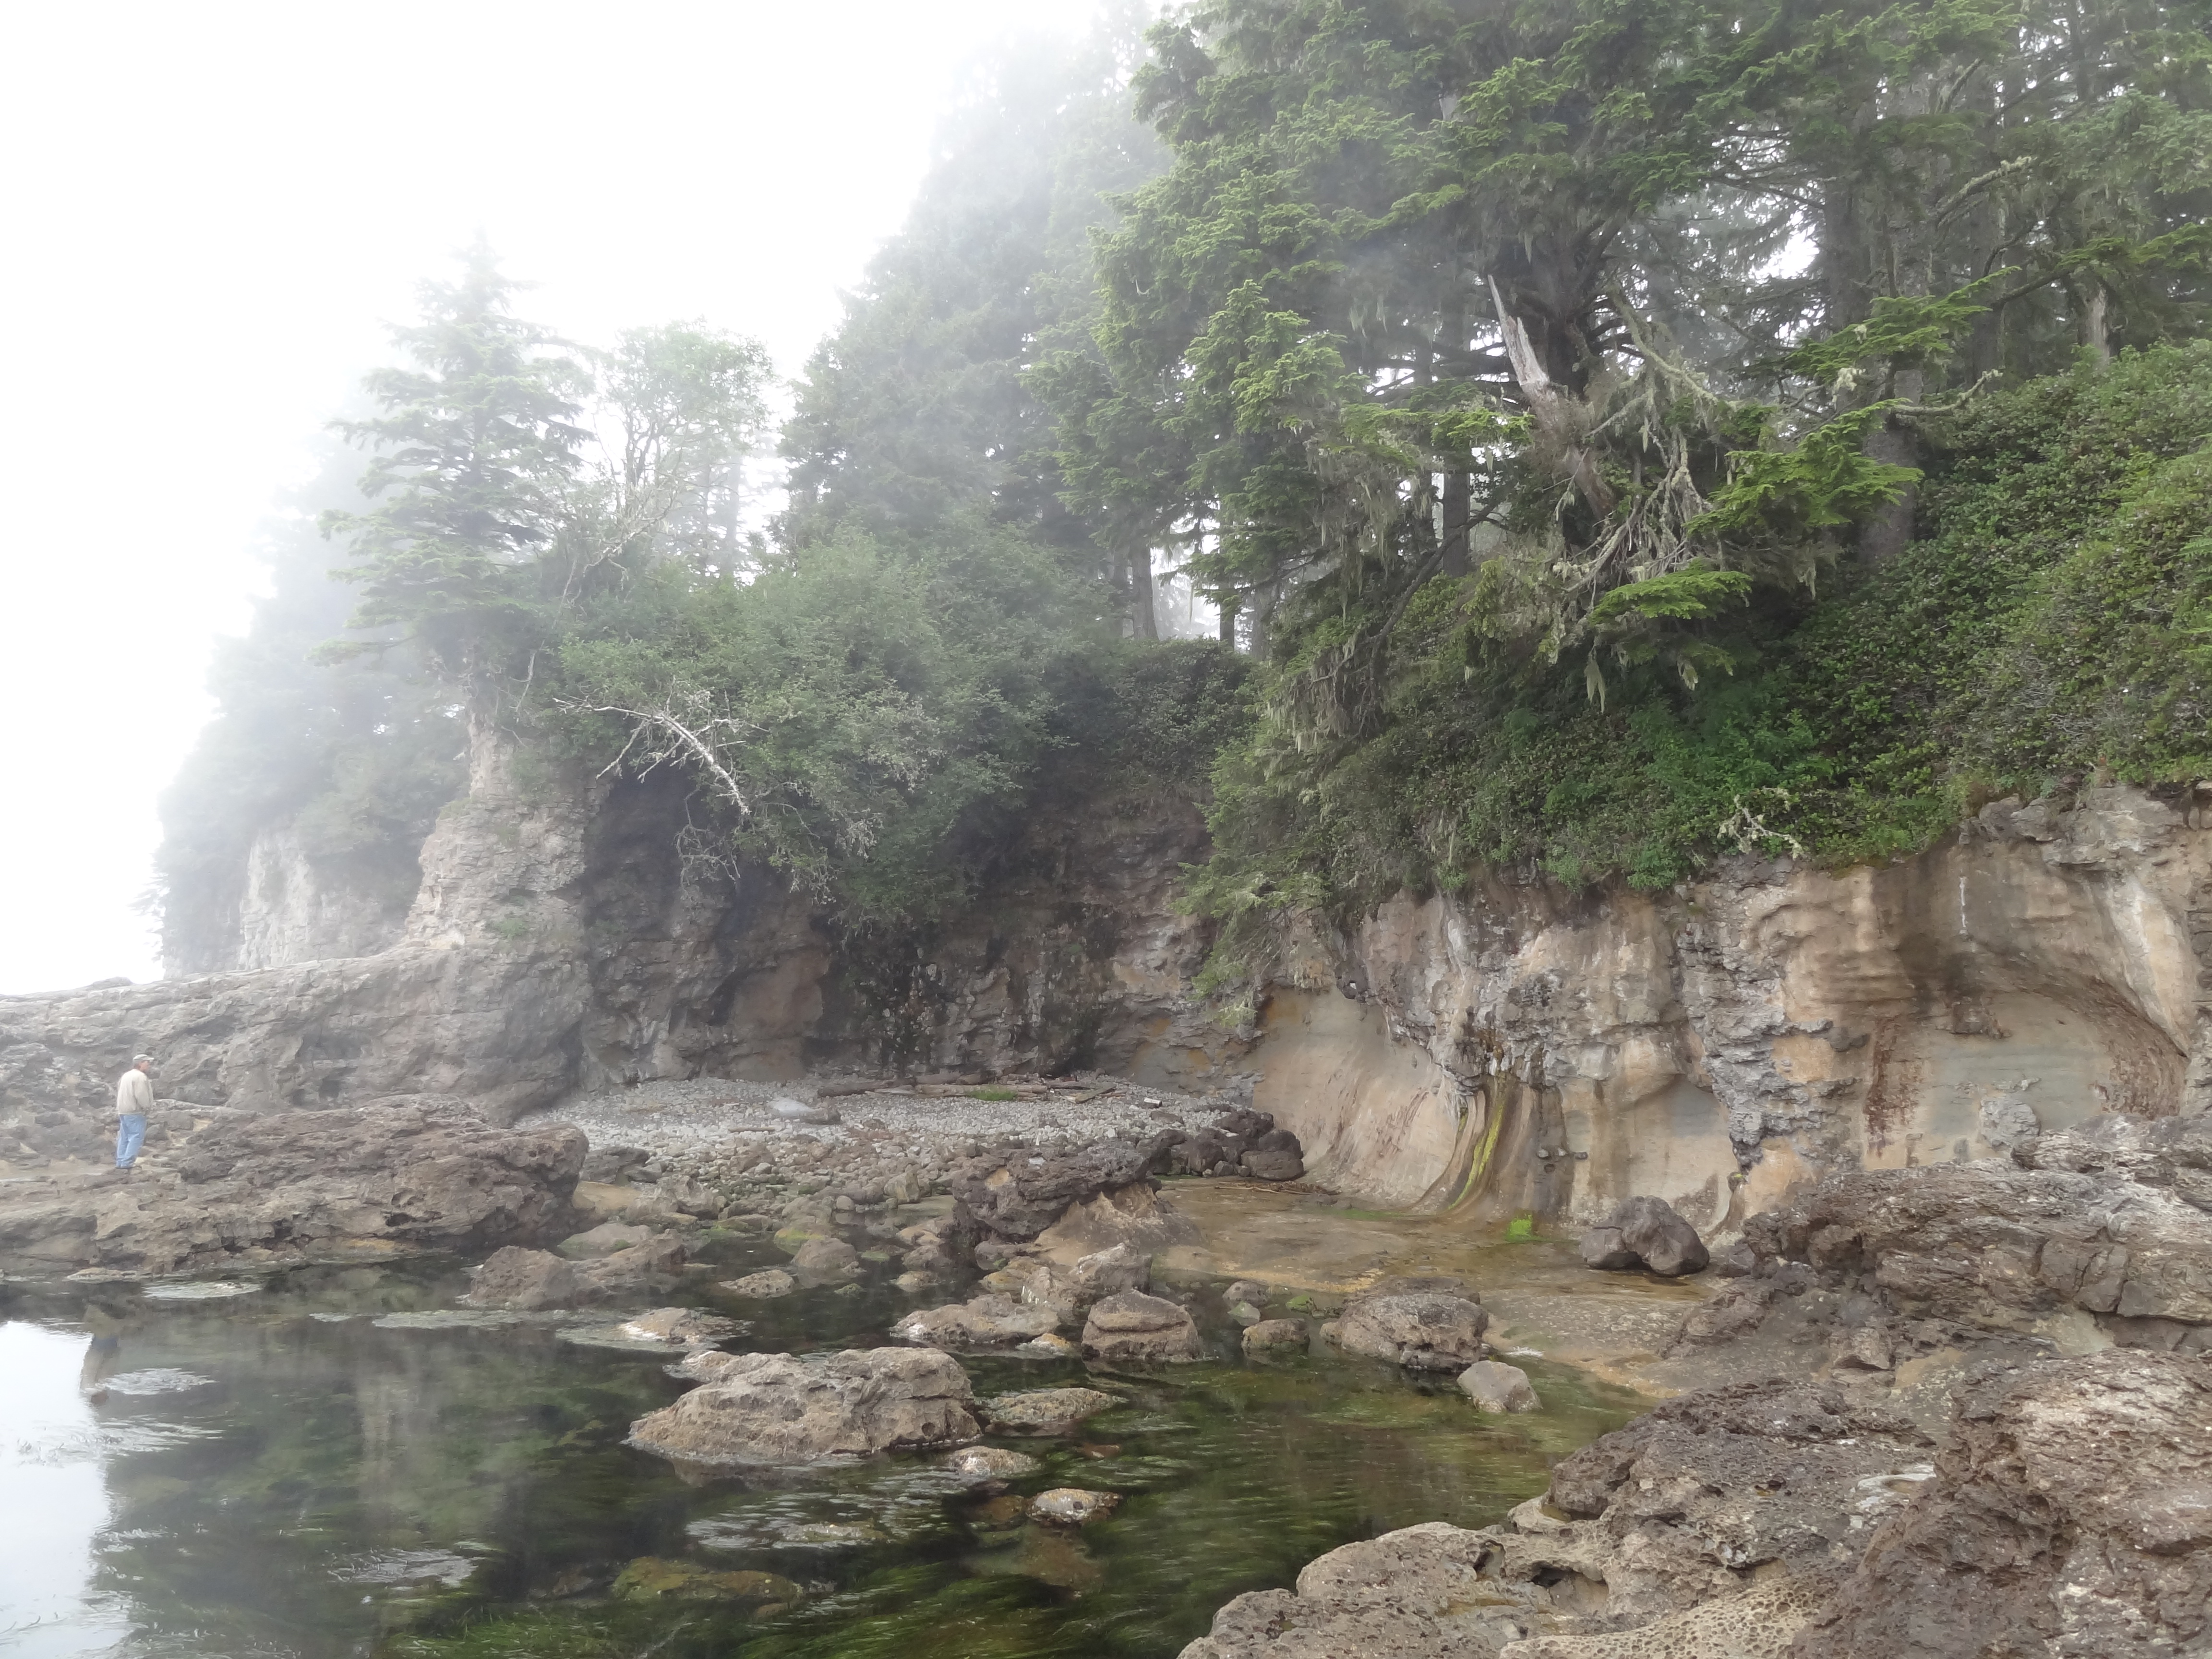
Tide pools abound – both small and large like the one above that mirrors the trees up on the cliff.
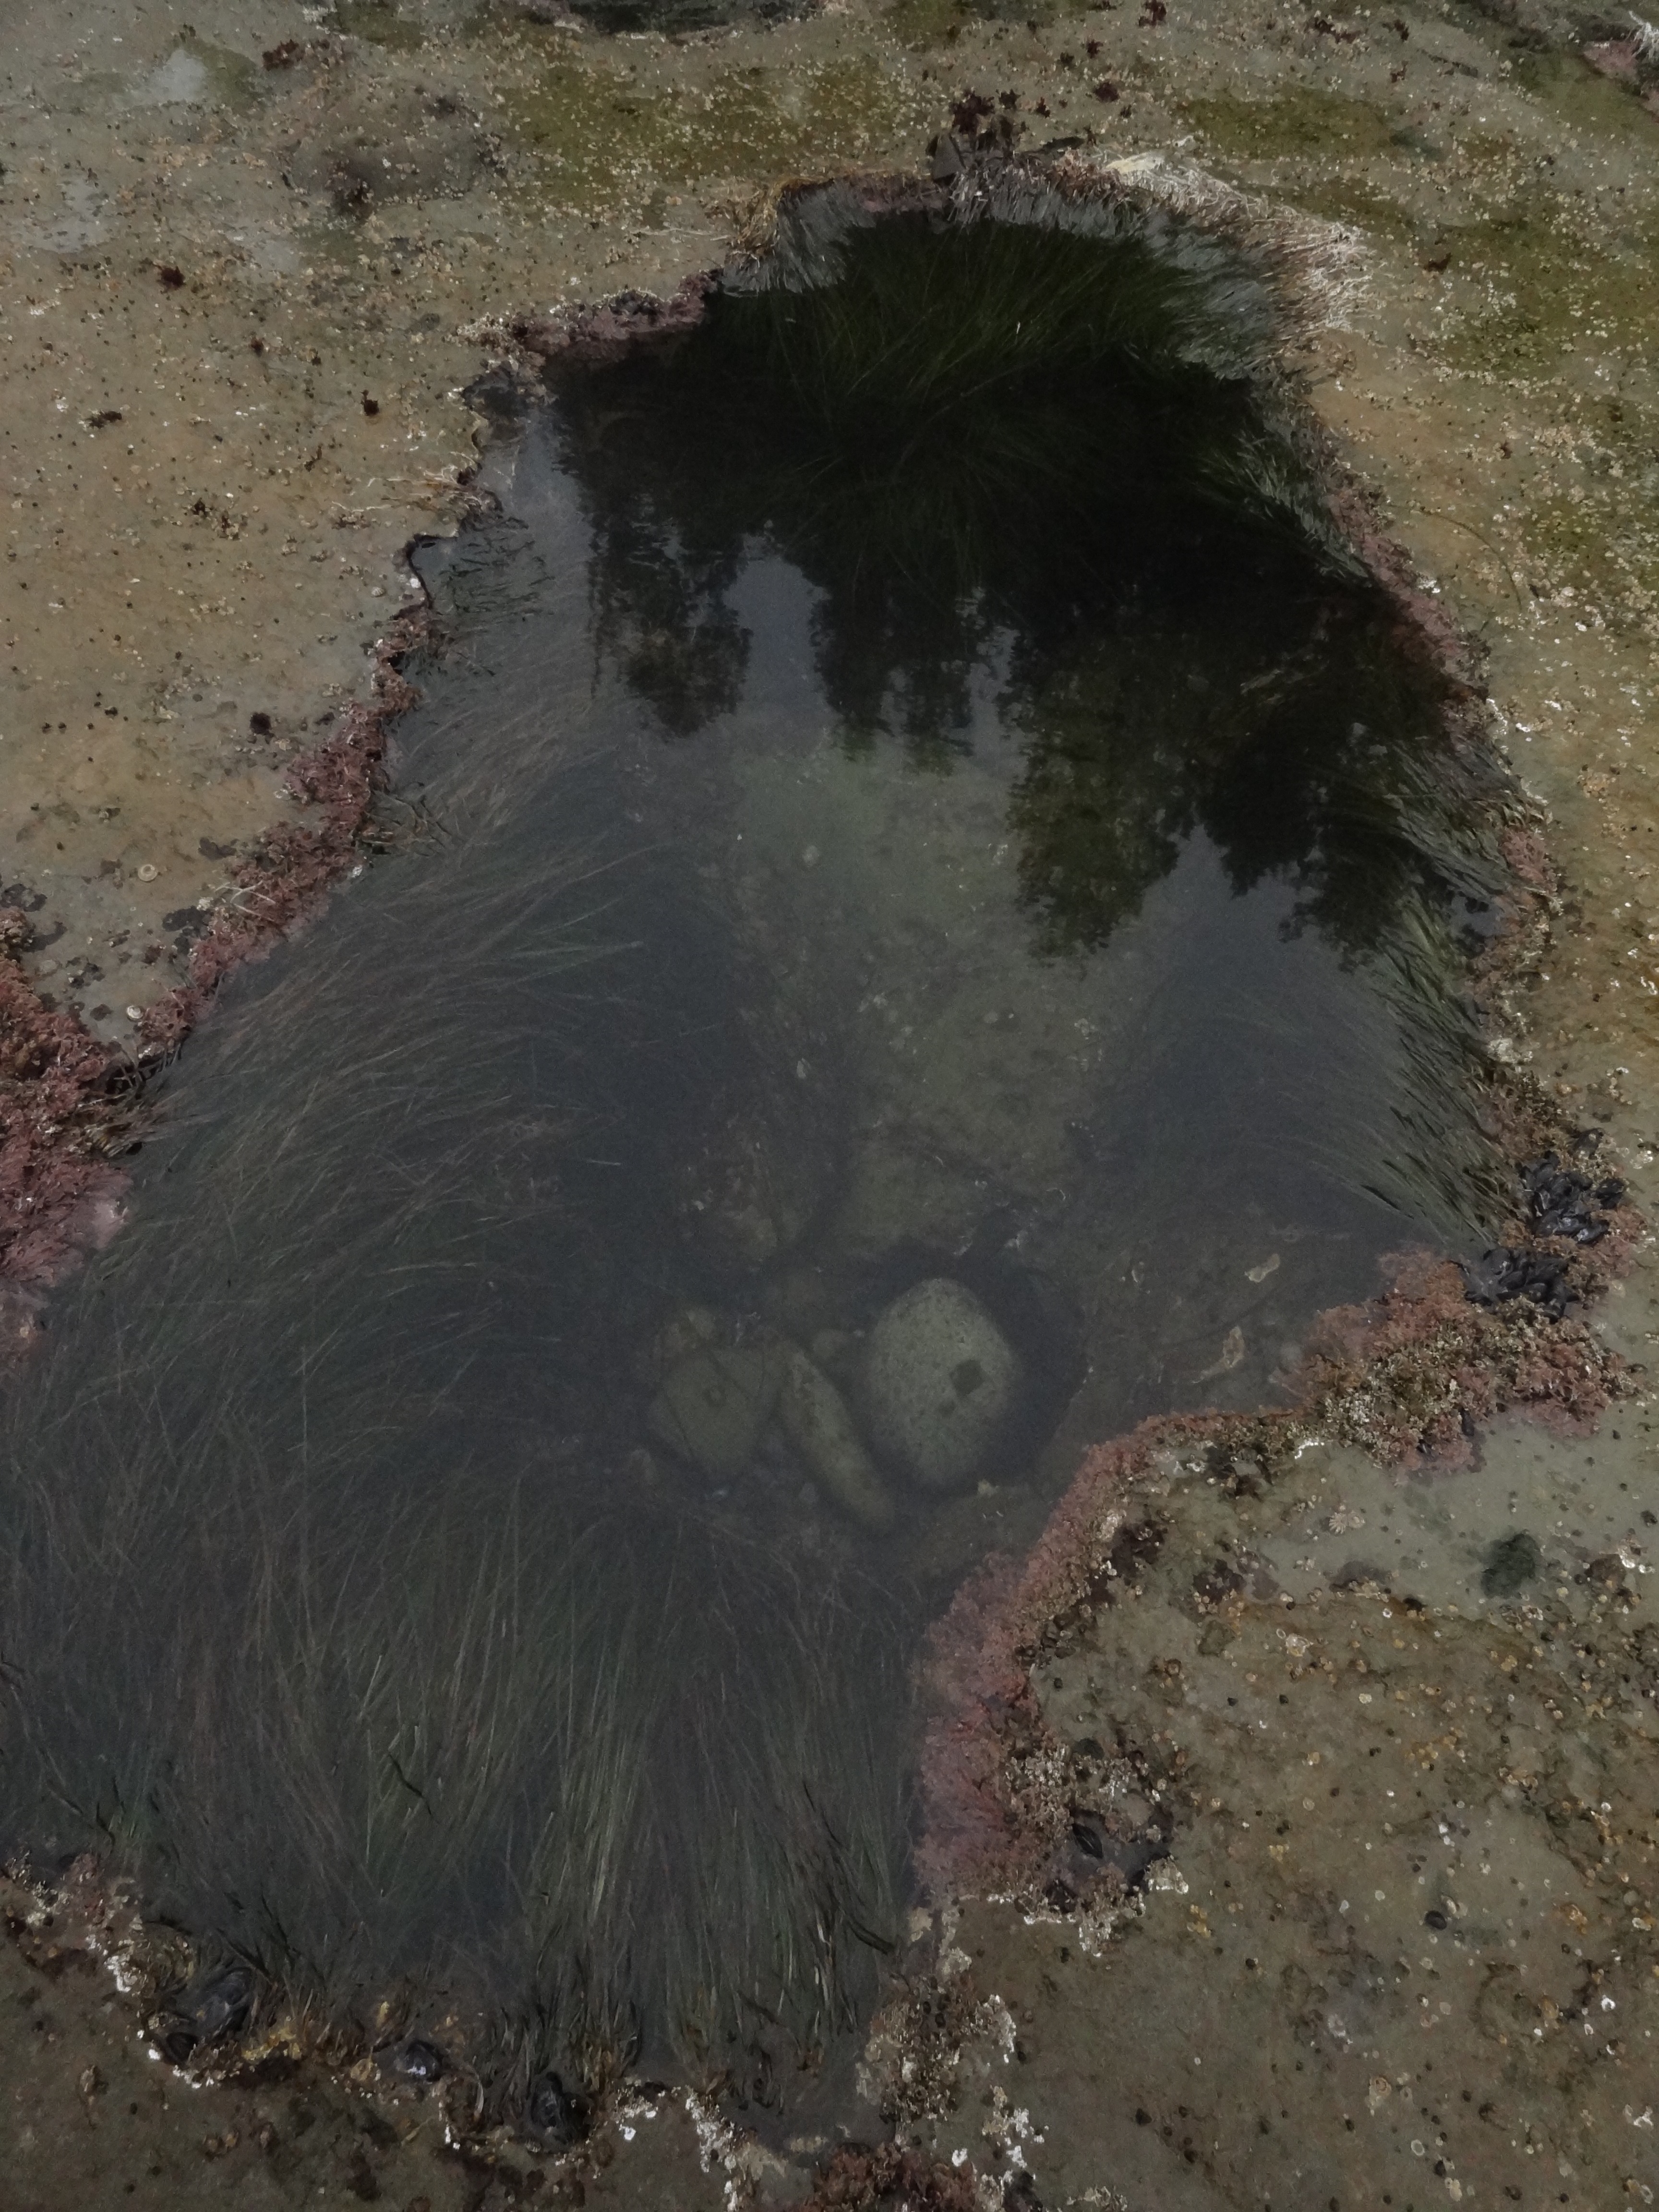
Or like this one, small but deep.

Or this one that harbours a sea urchin and some sea vegetation.
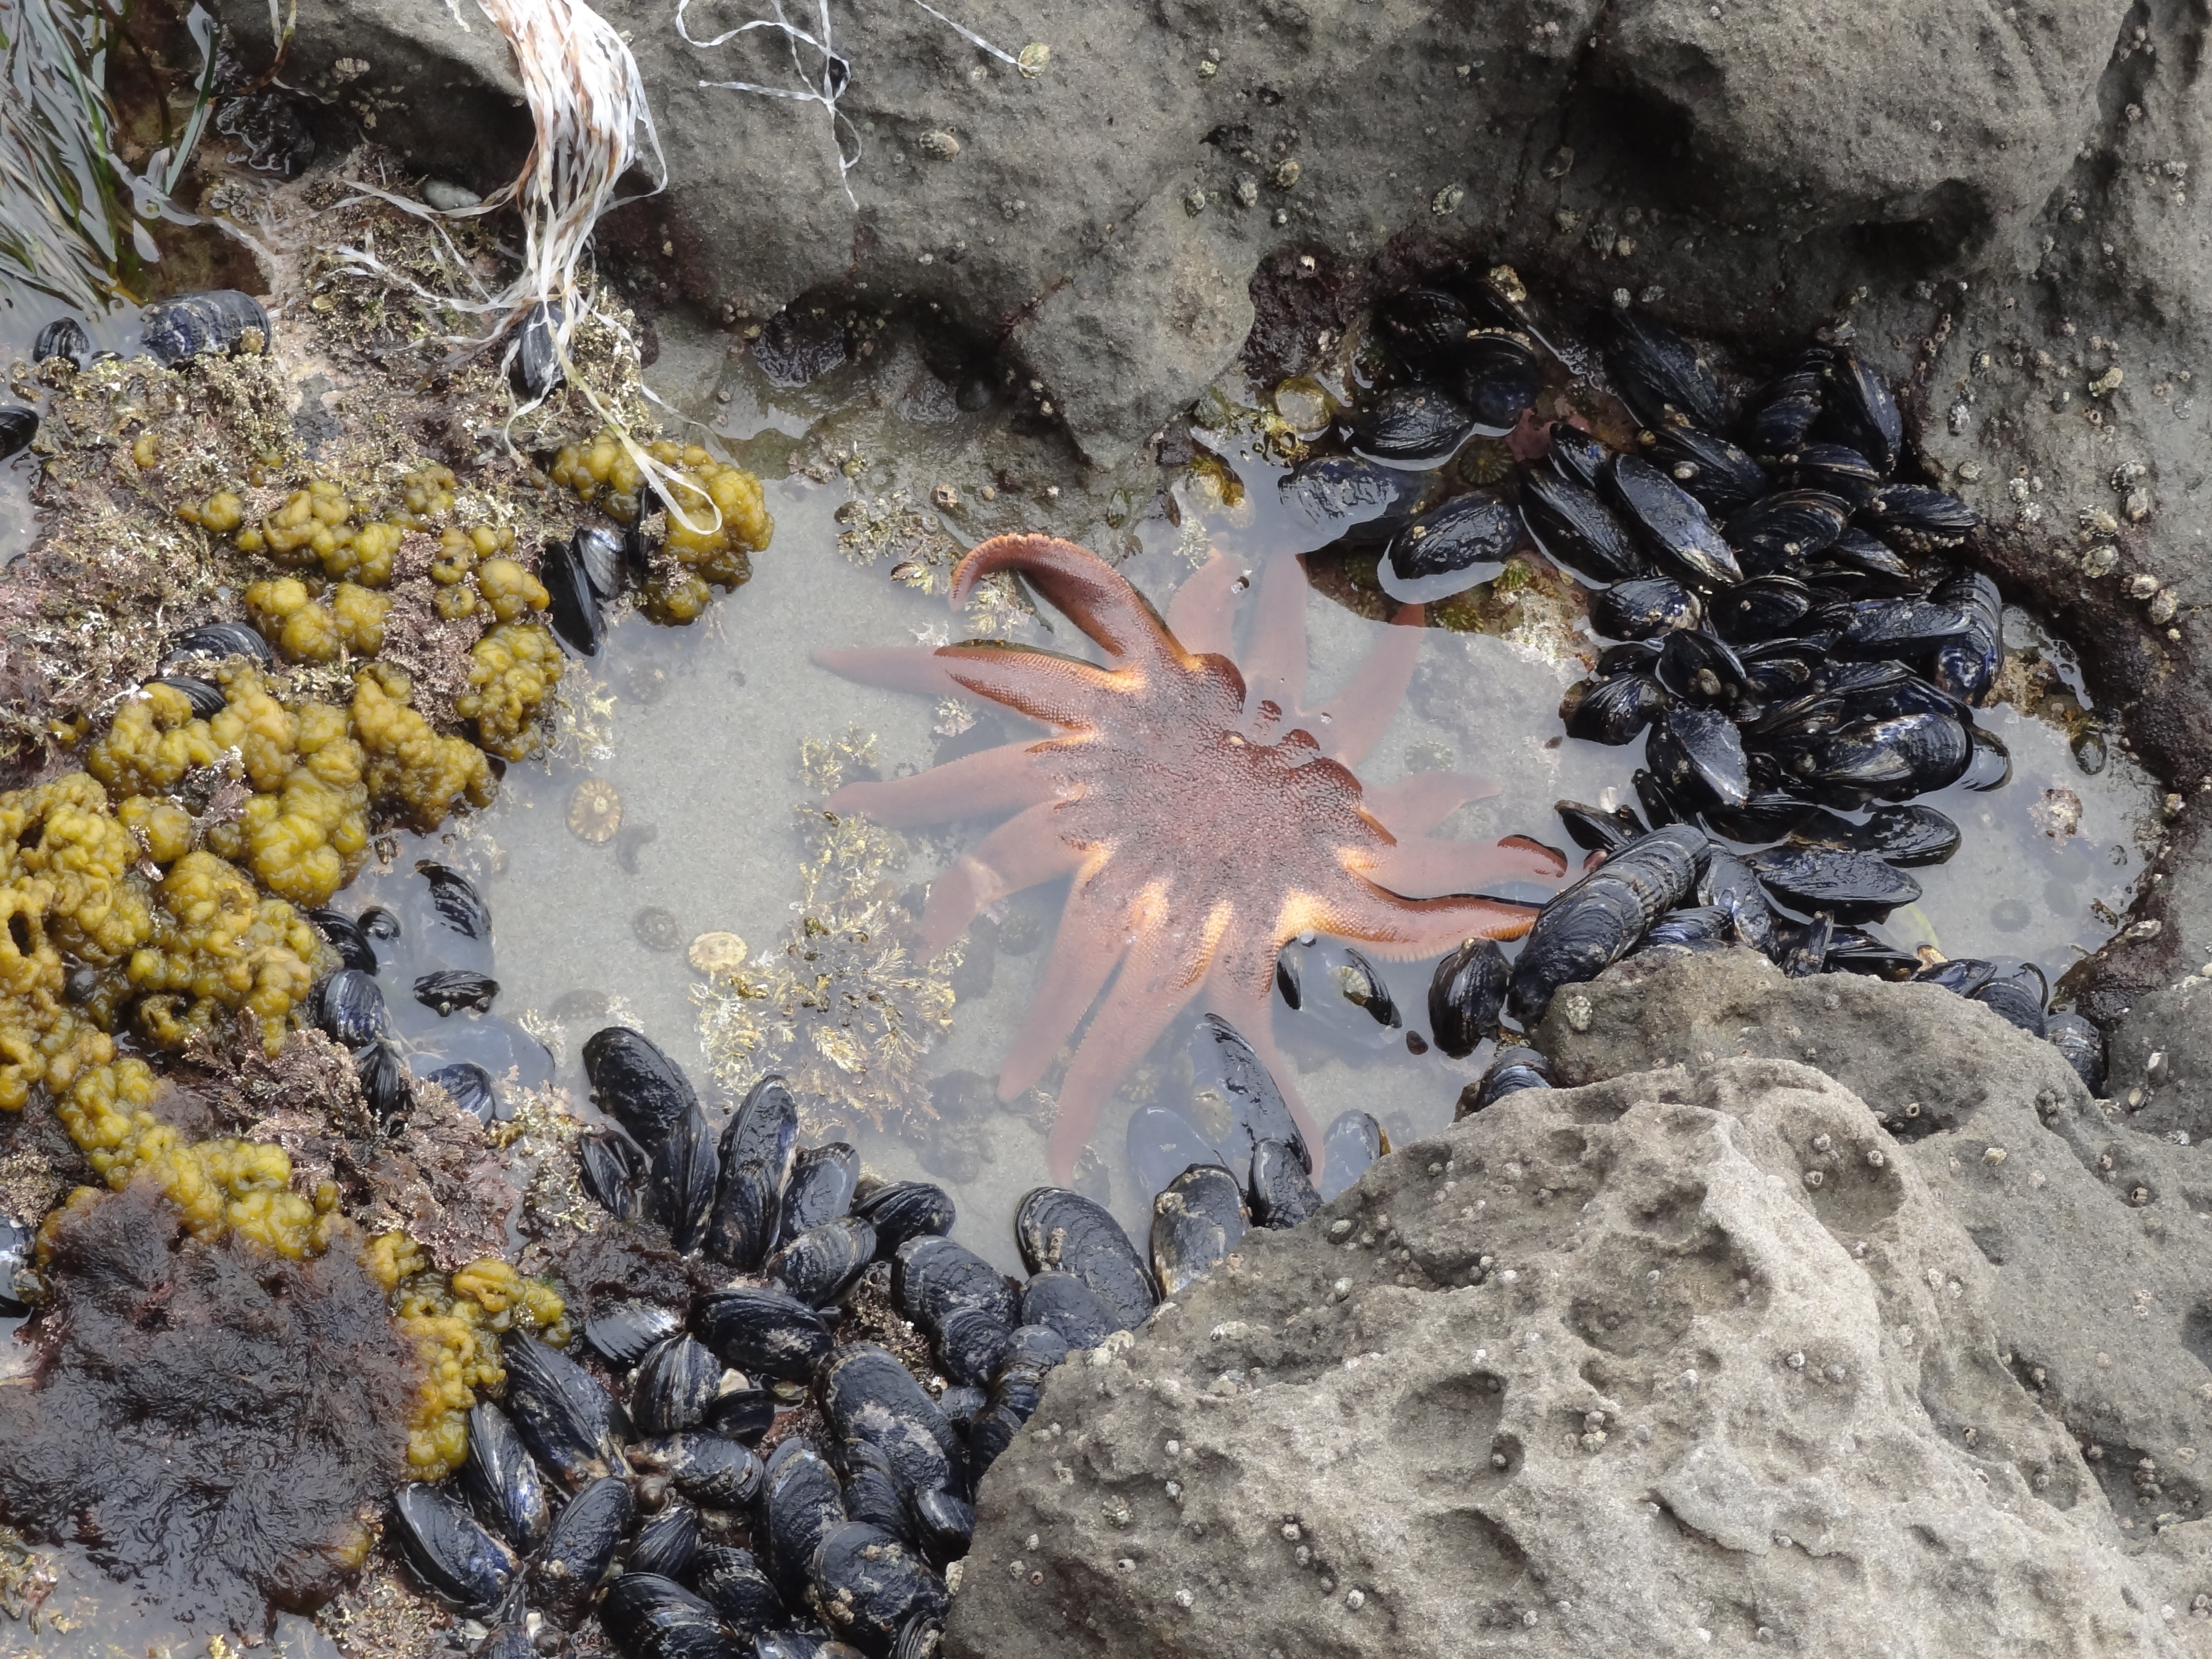
Botanical Beach is a shutter bugs dream! Everywhere you look, another stellar vista to take in.

Fairy Lake Vancouver Island British Columbia, Canada
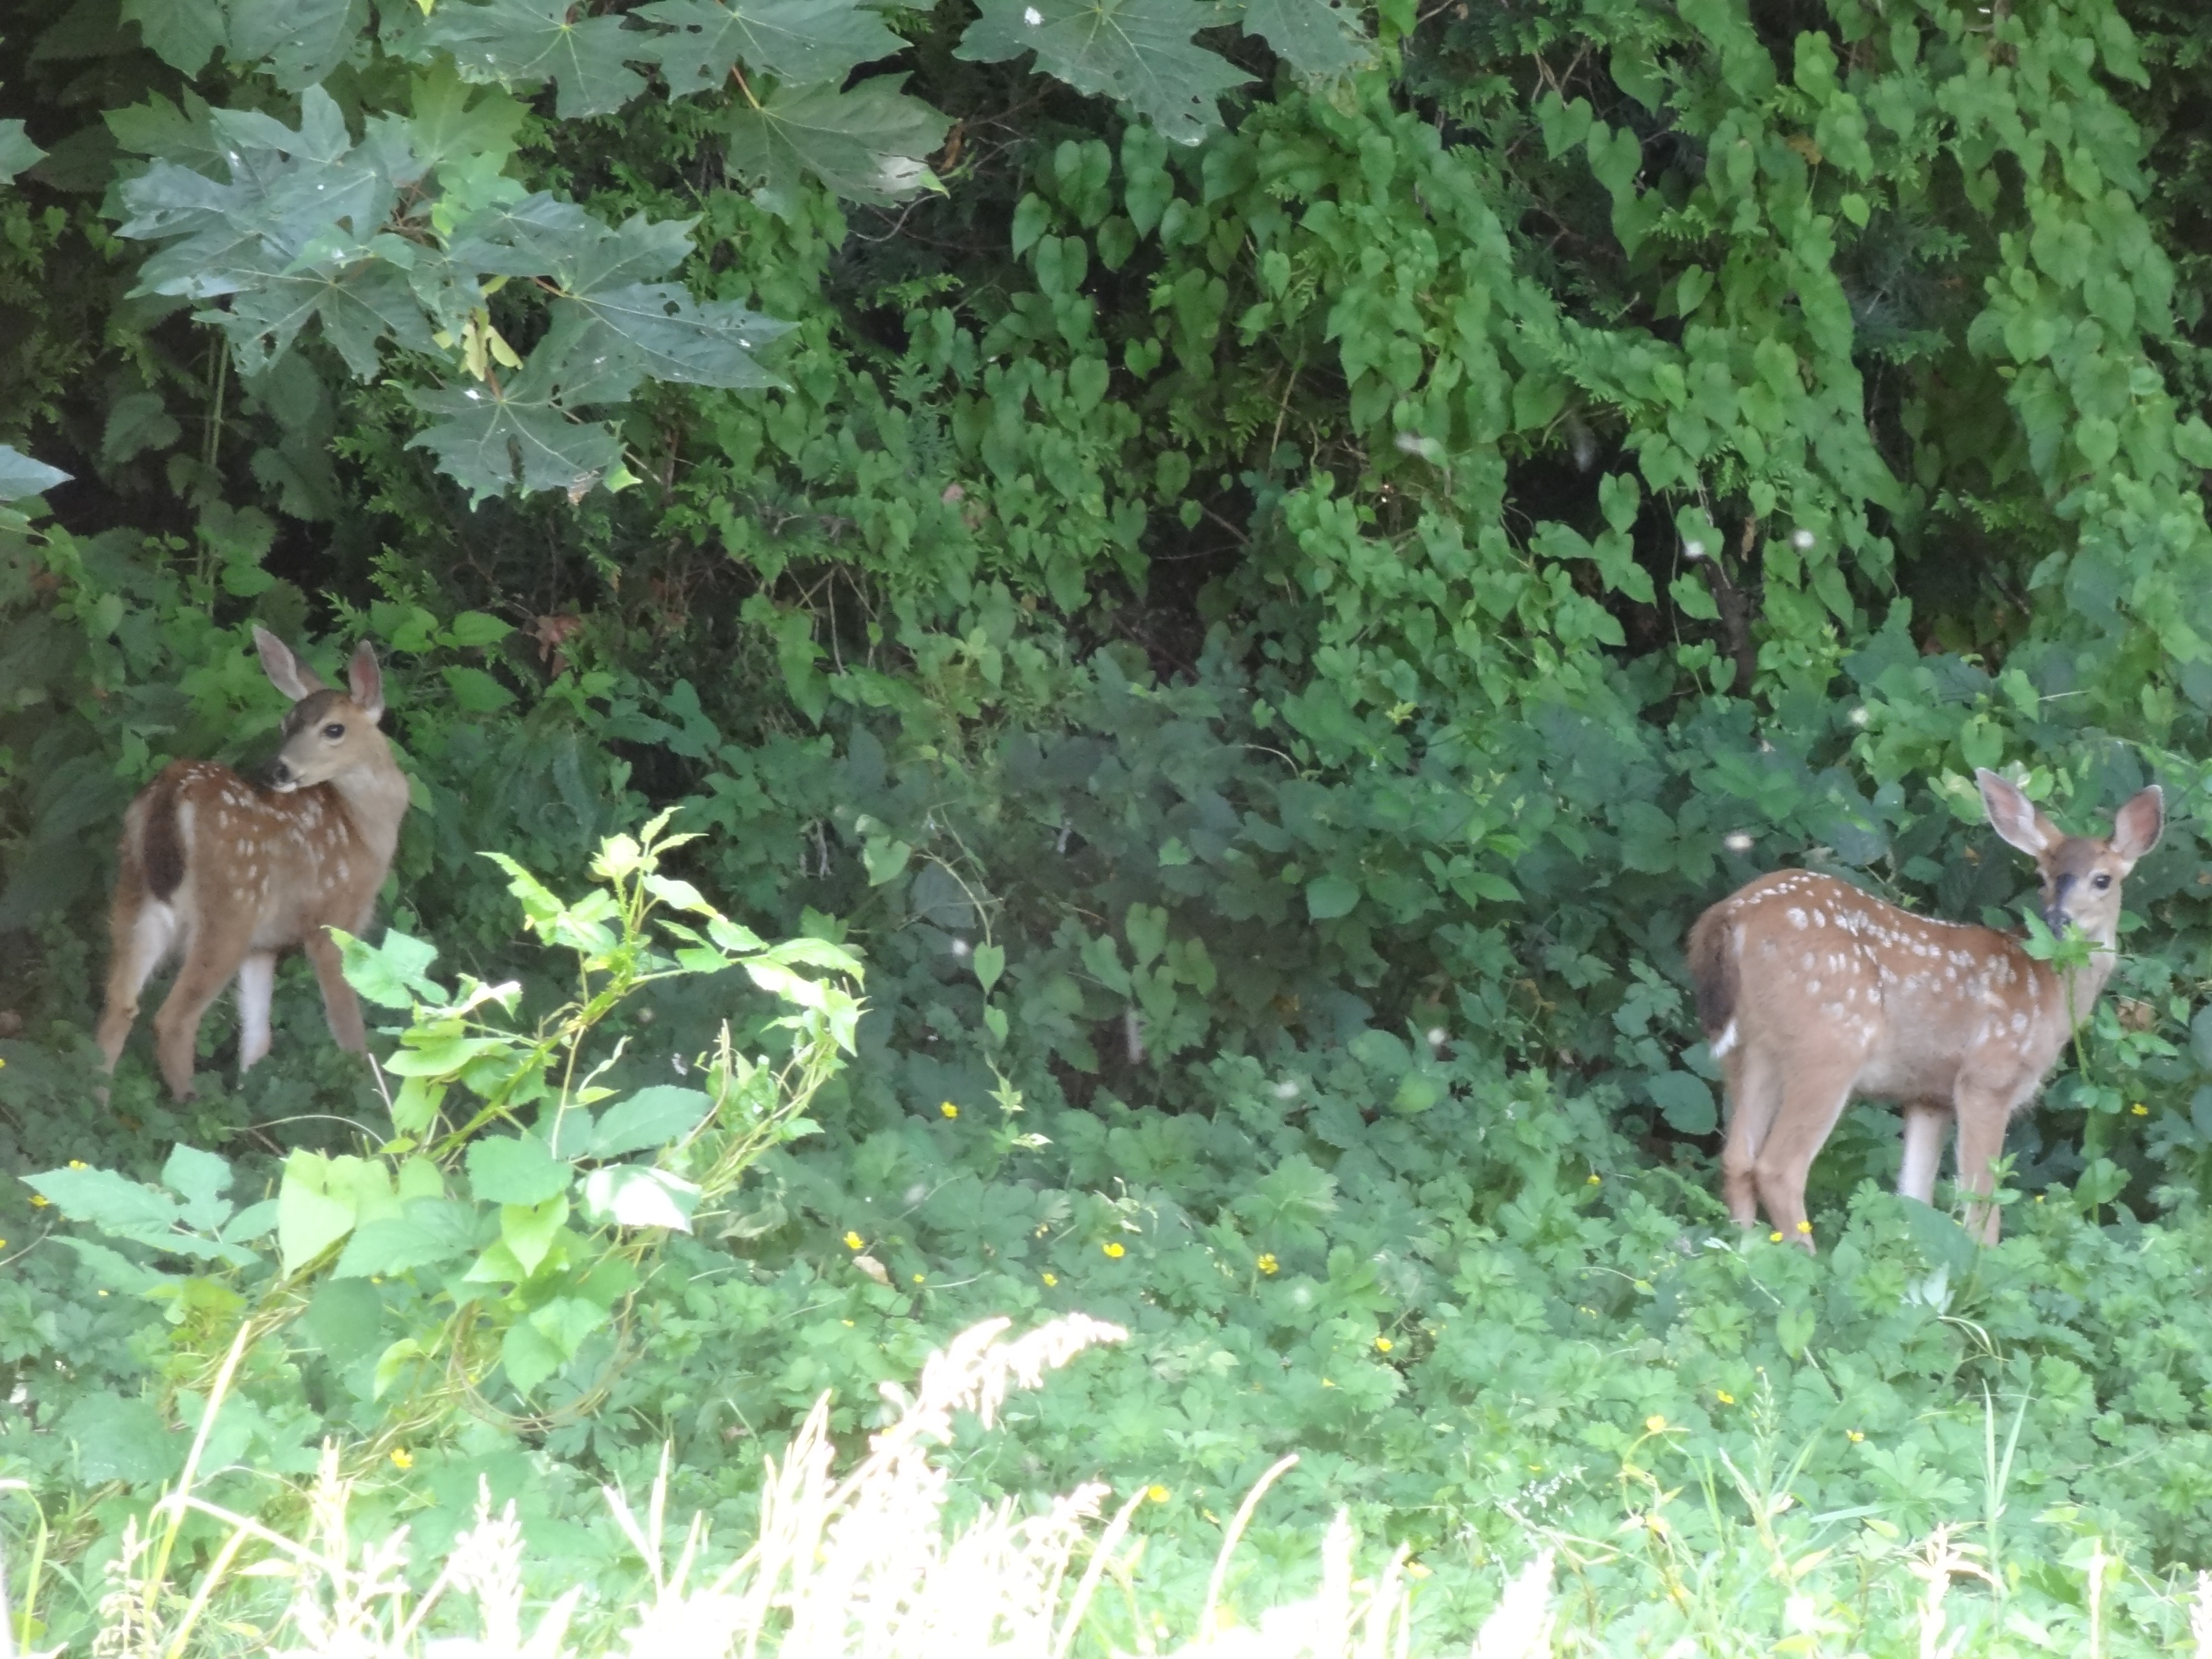
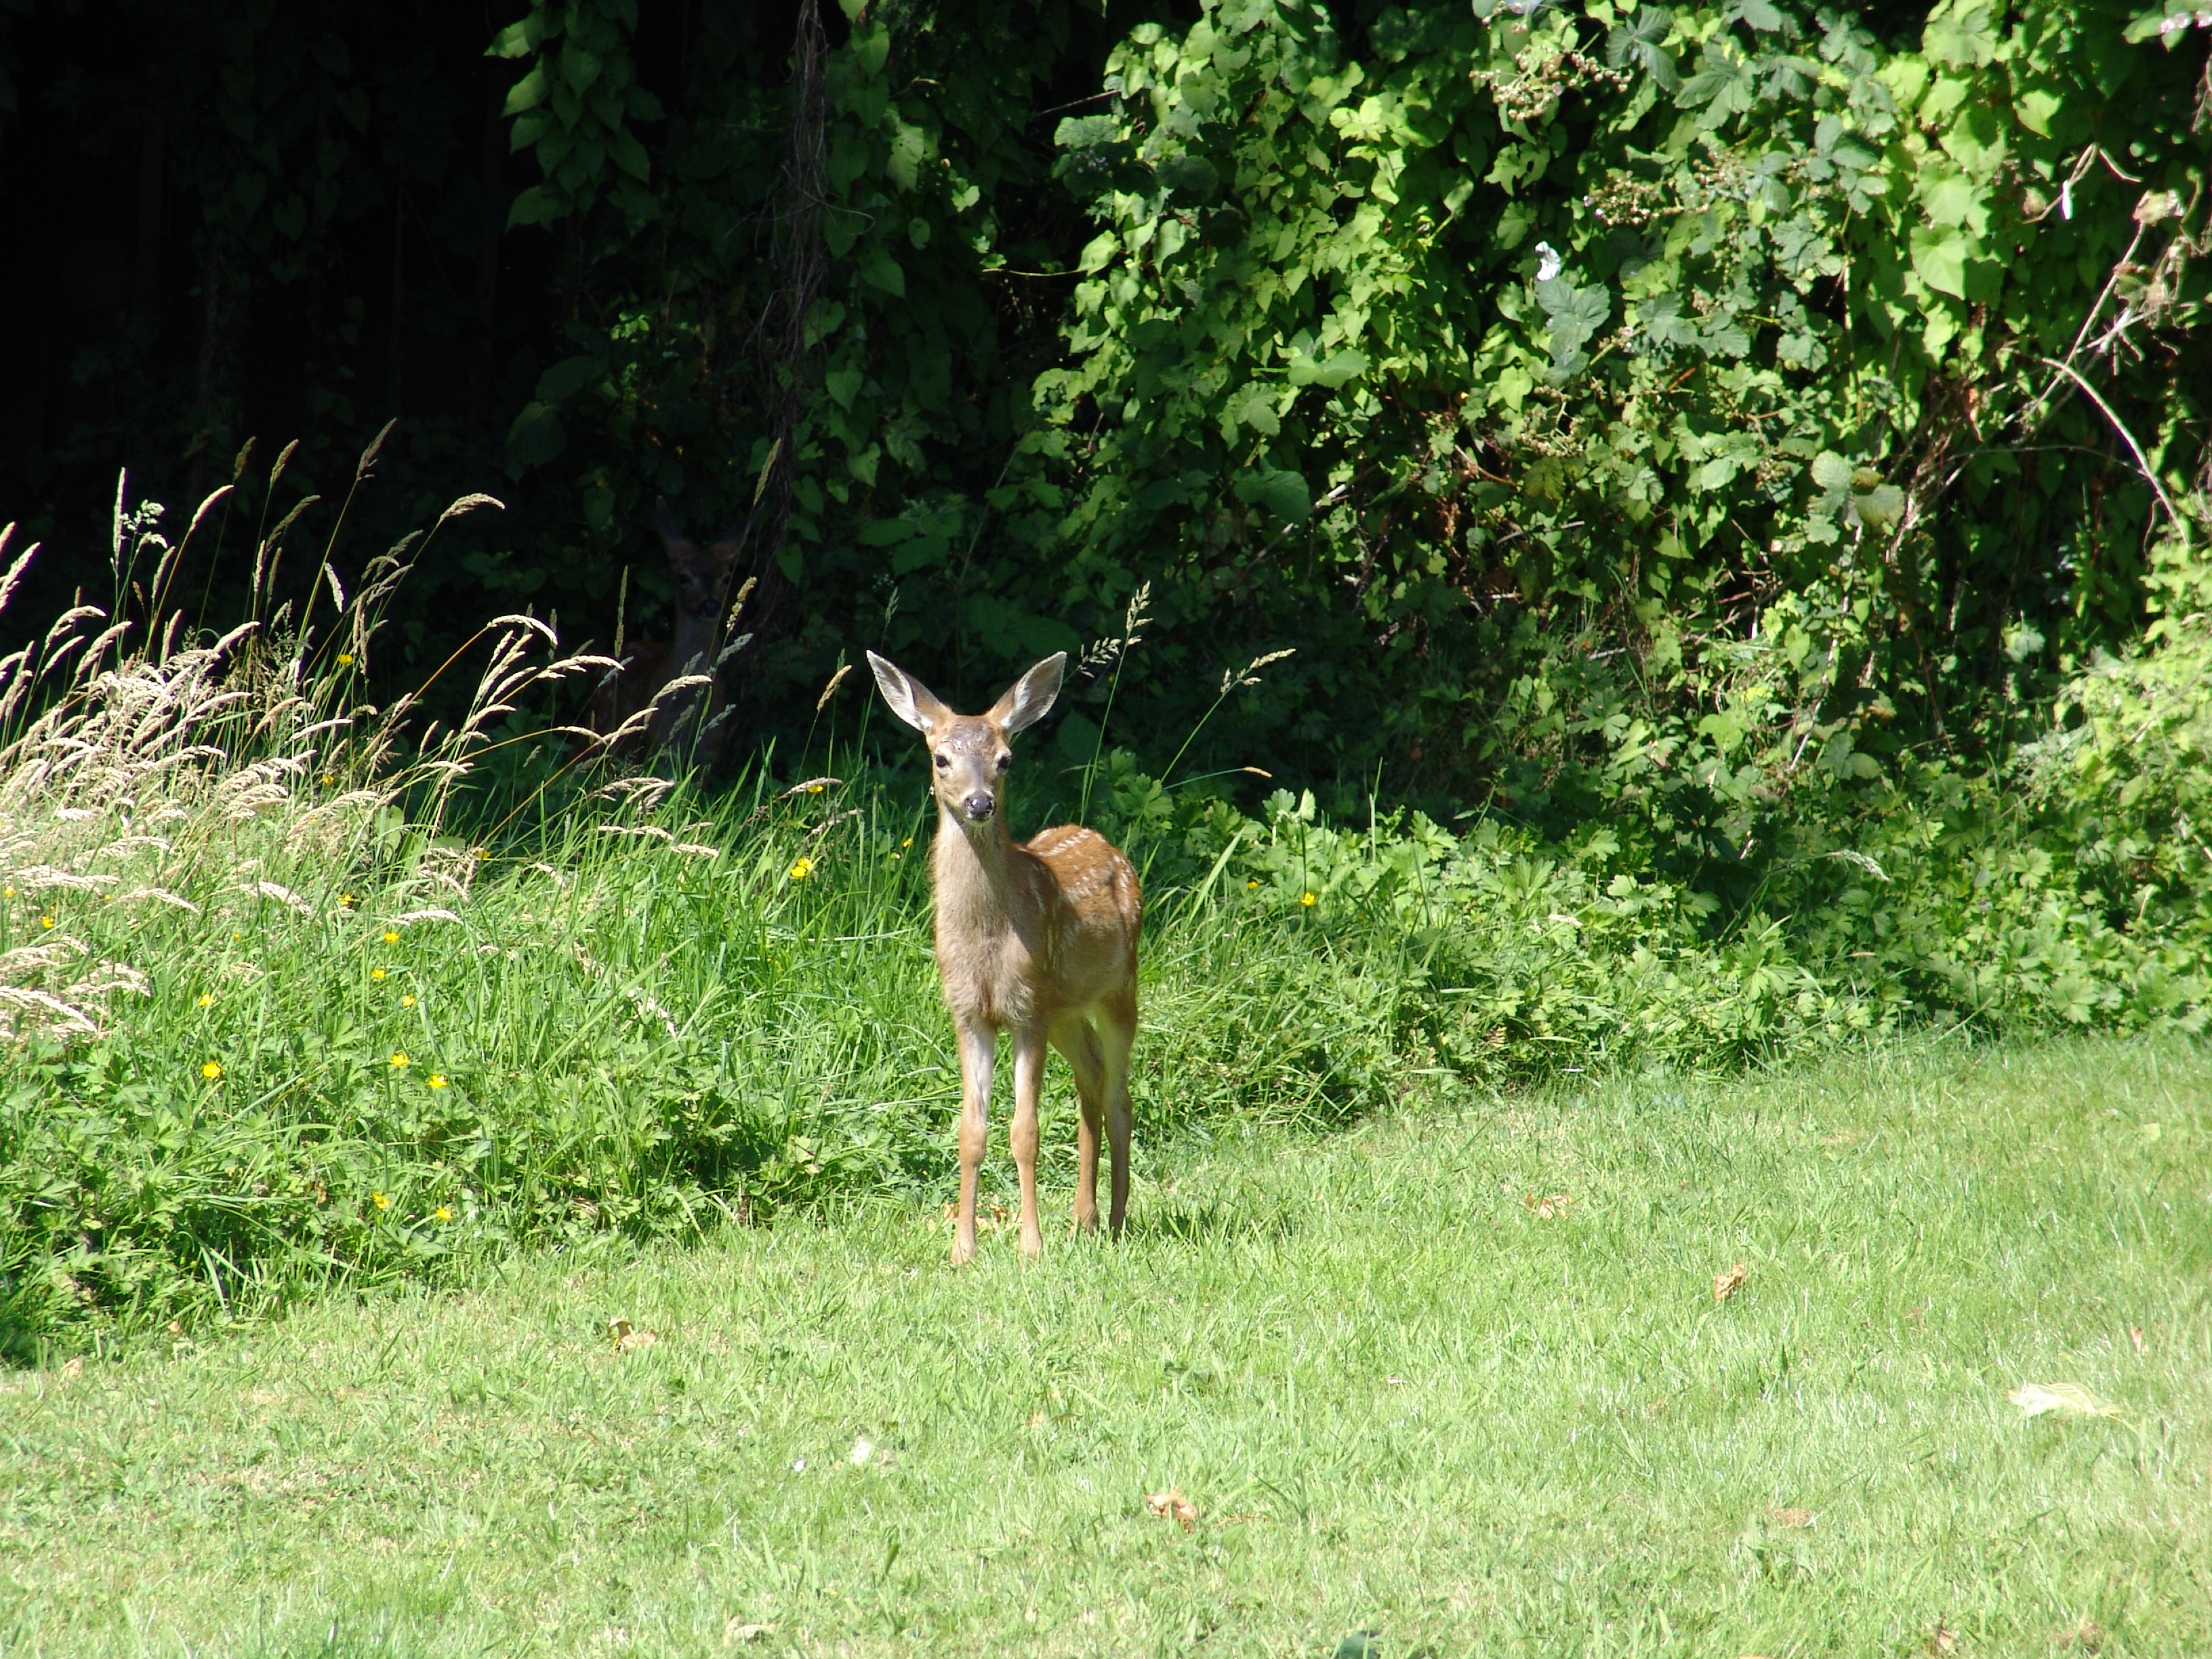
These two were hanging out in the safety of our back yard while mom went off foraging.
Let’s chat! marriage, love, daily motivation, uplifting, self love & more
Nature's nuances in a nutshell
Everyday thoughts . . .
Where curiosity meets opportunity
Geschichten mitten aus dem Leben; über Momente die uns prägen, Freude, Schmerz, Hoffnung und Schicksal dem wir täglich begegnen. Ein kleiner Blick ins Innere, ein Blick hinter die Tür.
Photos, stories and more
Photographer Of Life and moments
Your official home for all things New York Mets
yup! words love me
Loves, lamentation, and life through prose, stories, passions, and essays.
Philosophical Soul Ventures
Entertaining Story Cards to inspire writers
The fictional adventures of Simon Birdsong.
A Portal To Another Green World
Illustration, Concept Art & Comics/Manga
投資とレビューと商品紹介